How to Draw a Tribal Lion: Easy Step-by-Step Guide
Ready to create a bold, graphic lion? This tutorial is perfect for artists ages 8+ looking to practice clean, high-contrast line work. You'll only need a pencil, a fine-liner or black marker, and an eraser to bring this powerful tribal design to life.
🎯 Final Result

Step-by-Step Instructions
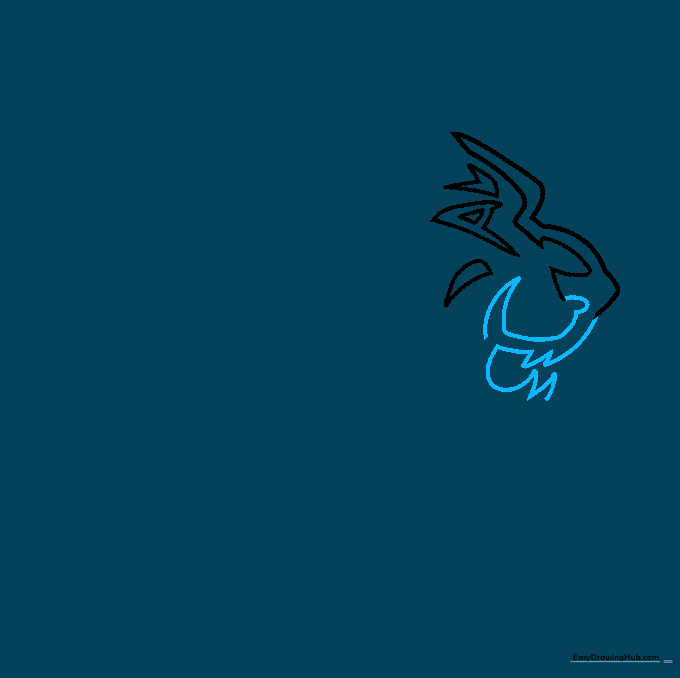
Step 1: Establishing the Eye and Brow

Start by sketching a thick, sideways 'V' for the eyebrow and an 'A' shape on its side for the eye. Tip: Keep your pencil lines light so you can easily refine the edges later with your marker.
Step 2: Defining the Snout and Nose

Use parallel curved lines to build the brow, shifting inward toward the eye. Add a curved 'V' shape to define the nose pad. Tip: Focus on keeping these lines smooth and fluid to capture the tribal aesthetic.
Step 3: Sketching the Muzzle and Teeth
Draw the muzzle using a long, sweeping line. Add jagged, triangular shapes for the teeth. Tip: Make the teeth sharp and pointed to emphasize the lion's fierce expression.
Step 4: Adding the Beard and Brow Detail
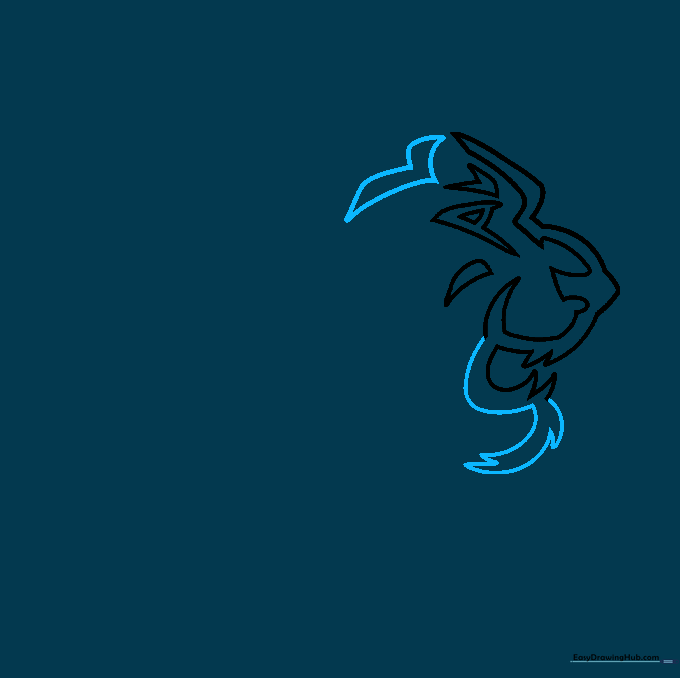
Complete the mouth outline and add the beard using short, jagged strokes. Add a wide 'V' above the eye for depth. Tip: Vary the length of your jagged lines to make the fur look more natural.
Step 5: Drawing the Ear and Mane Base
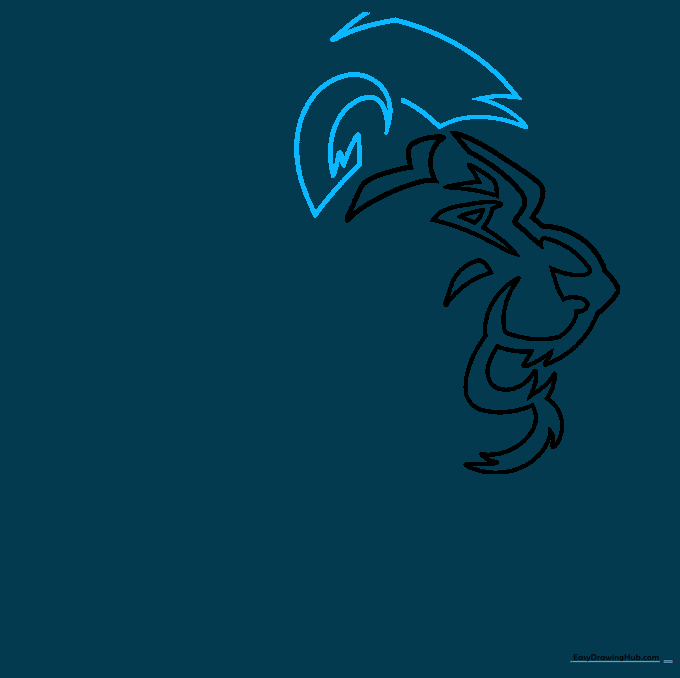
Draw the ear with two long, meeting curves. Start the mane with jagged, rectangular shapes. Tip: Connect the base of the ear to the head with short, sharp strokes to show texture.
Step 6: Expanding the Mane

Continue the mane around the side of the face using long, curved lines that meet at sharp points. Tip: Keep the shapes varied in size to avoid a repetitive look.
Step 7: Creating Flowing Mane Shapes

Use long, sweeping curved lines to craft the jagged 'V' shapes of the mane. Tip: Imagine the mane is flowing in the wind to give your drawing more energy.
Step 8: Adding Texture to the Mane

Outline additional jagged shapes within the mane to create depth and texture. Tip: Don't worry about symmetry; tribal art often looks better with organic, slightly irregular shapes.
Step 9: Finalizing the Outline

Fill in any remaining gaps in the mane with jagged, pointed shapes to complete the silhouette. Tip: Check your lines one last time before moving to the final ink step.
Step 10: Inking and Shading

Use your black marker to fill in the shapes. Tip: Use a steady, slow motion to get clean, crisp edges. The contrast is what makes this tribal design look professional!
More Tutorials


