How to Draw a Tribal Heart Tattoo: Easy 10-Step Guide
Ready to level up your doodling skills? This tribal heart tattoo tutorial is perfect for artists ages 8+ looking to practice bold, flowing lines. All you need is a pencil, an eraser, and a black marker to create this striking, stylized design. Follow along to learn how to balance symmetry with artistic flair.
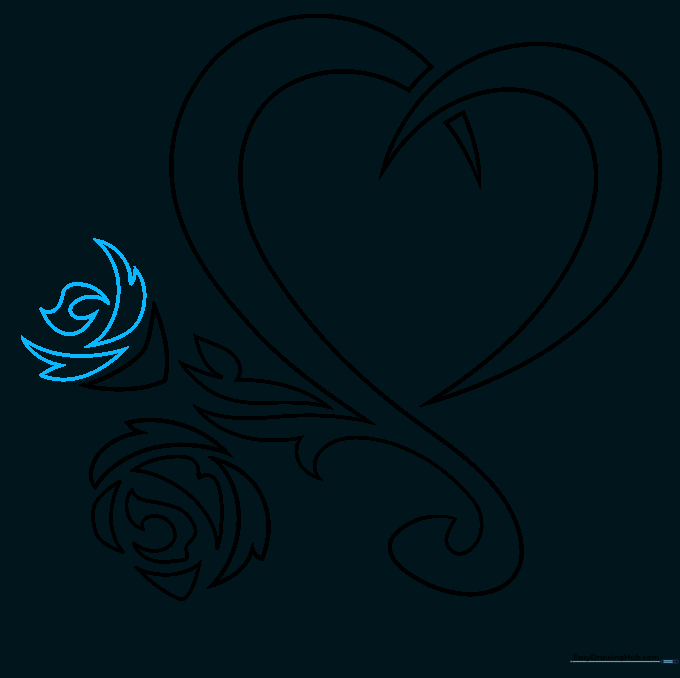
🎯 Final Result

Step-by-Step Instructions
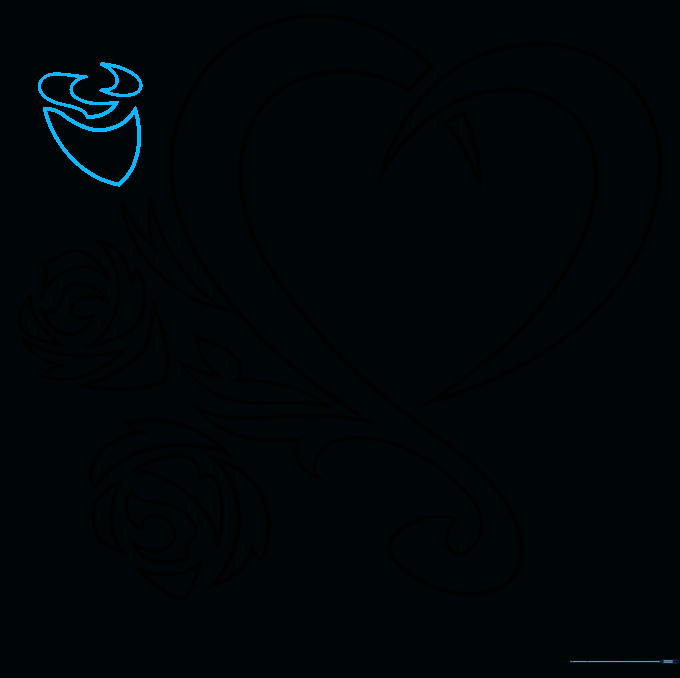
Step 1: Sketching the Primary Lobe

Start by drawing a crescent shape to form the left lobe of the heart. Inside, add a narrow, curved triangle to act as a highlight. Teacher's Tip: Keep your pencil pressure light here; this 'shine' mark helps your drawing look 3D later on.
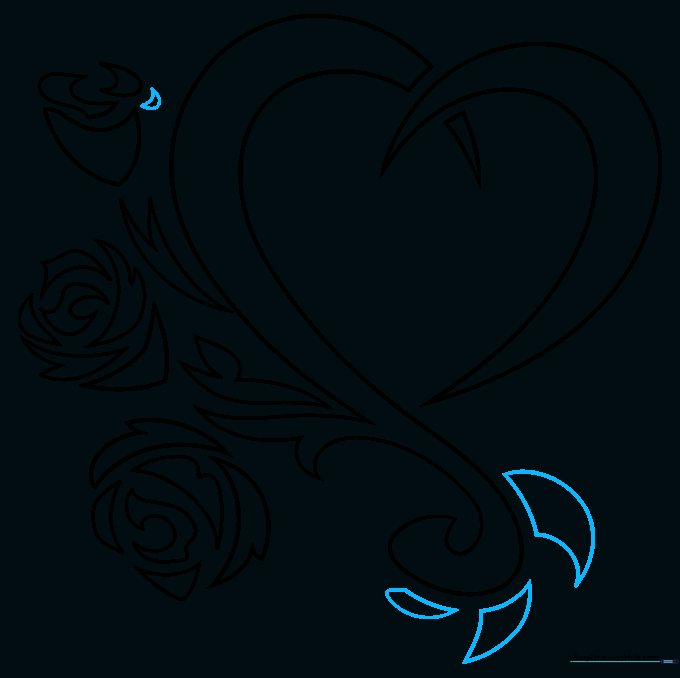
Step 2: Forming the Spiral Base
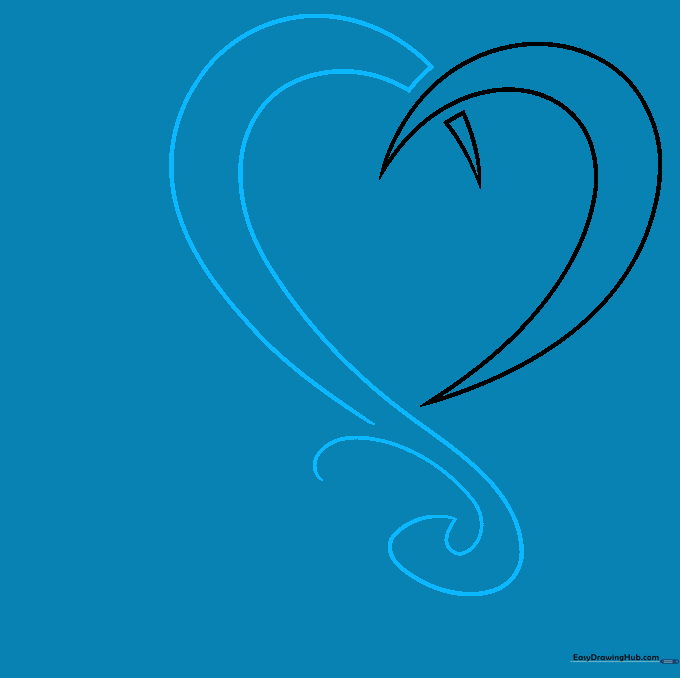
Use smooth, curved lines to draw the right side of the heart. Instead of closing it, let the line extend downward into a spiral. Teacher's Tip: Focus on the flow of the line—think of it like a ribbon curling in the wind.
Step 3: Adding Floral Accents
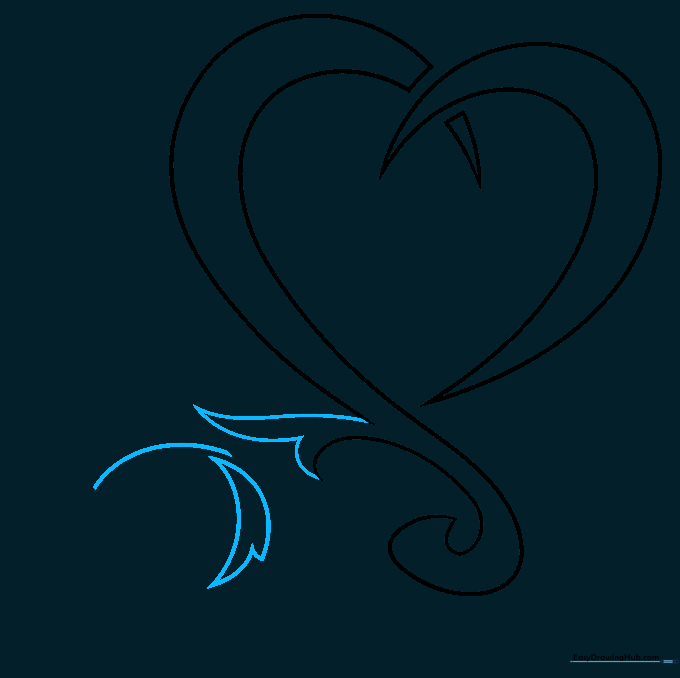
Enclose the spiral with a two-pointed shape that mimics a ribbon end. Next, sketch a three-pointed shape to the side to begin your rose. Teacher's Tip: Keep your shapes sharp and pointed to maintain that classic 'tribal' aesthetic.
Step 4: Shaping the Rose Petals
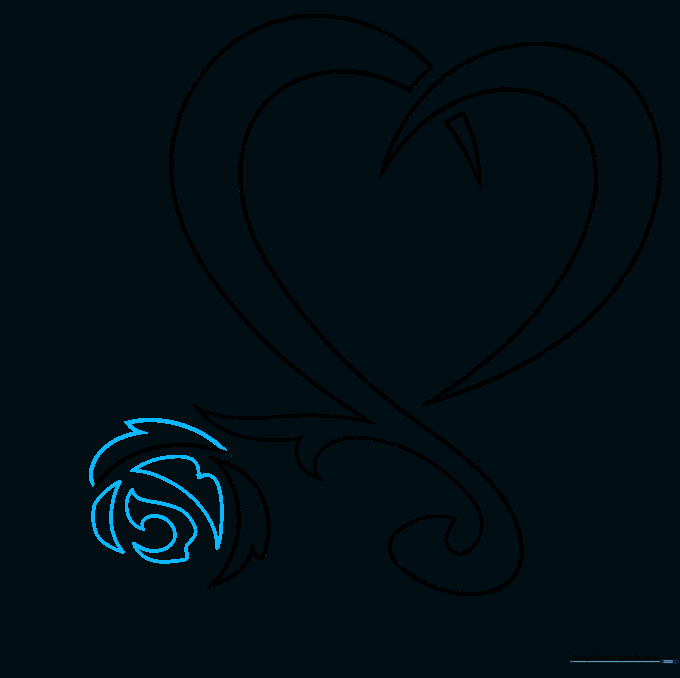
Use curved, sweeping lines to build the irregular shapes of the rose petals. Teacher's Tip: Don't worry about perfect symmetry; organic, flowing shapes look more natural in tribal art.
Step 5: Adding Leaves and Buds
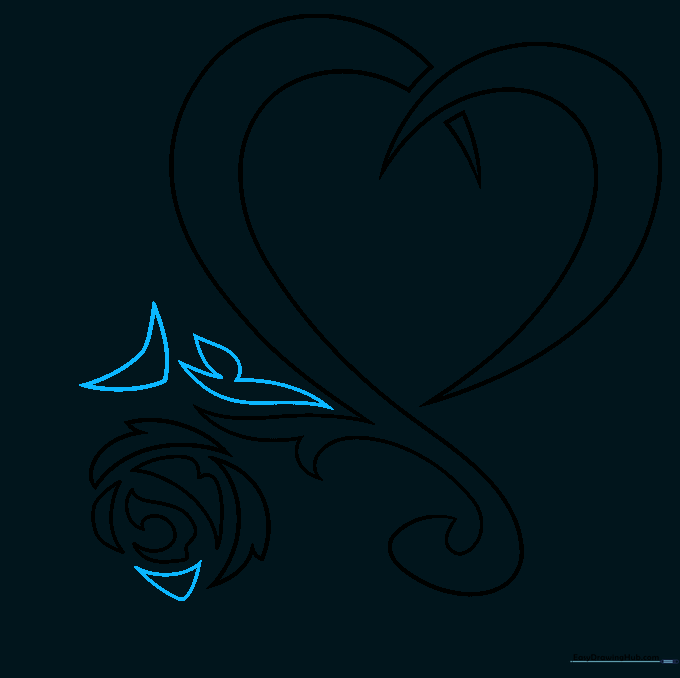
Add triangular petals and sharp, leaf-like shapes around the base of the rose. Start the outline for a second flower blossom. Teacher's Tip: Use quick, flicking motions with your pencil to get those sharp, pointed ends.
Step 6: Defining the Second Blossom
Use curved lines to craft the pointed petals of the second rose. Teacher's Tip: Overlap your lines slightly to give the flower depth and volume.
Step 7: Refining the Foliage

Continue adding pointed, curved petals and leaf shapes to fill out the design. Teacher's Tip: Keep your spacing consistent so the design feels balanced.
Step 8: Adding the Final Rosebud
Draw a small rosebud to complete the floral cluster. Use triangles for the sides and crescents for the petal tops. Teacher's Tip: Small details like this make the whole piece look more professional.
Step 9: Finalizing the Outline
Complete the tribal heart outline by adding curved triangle shapes around the lower point. Teacher's Tip: Ensure these shapes flow downward to give the heart a sense of movement.
Step 10: Adding Color and Shade

Shade your design. For a classic tribal look, use a solid black marker to fill in the shapes. Teacher's Tip: If you want to get creative, try using different shades of one color to create a modern, vibrant effect!
More Tutorials


