How to Draw a Tree: Easy 10-Step Guide for Beginners
Looking for a fun, screen-free way to build drawing confidence? This guide is perfect for artists ages 5 and up. You only need a pencil, an eraser, and paper to create a beautiful, textured tree from scratch.
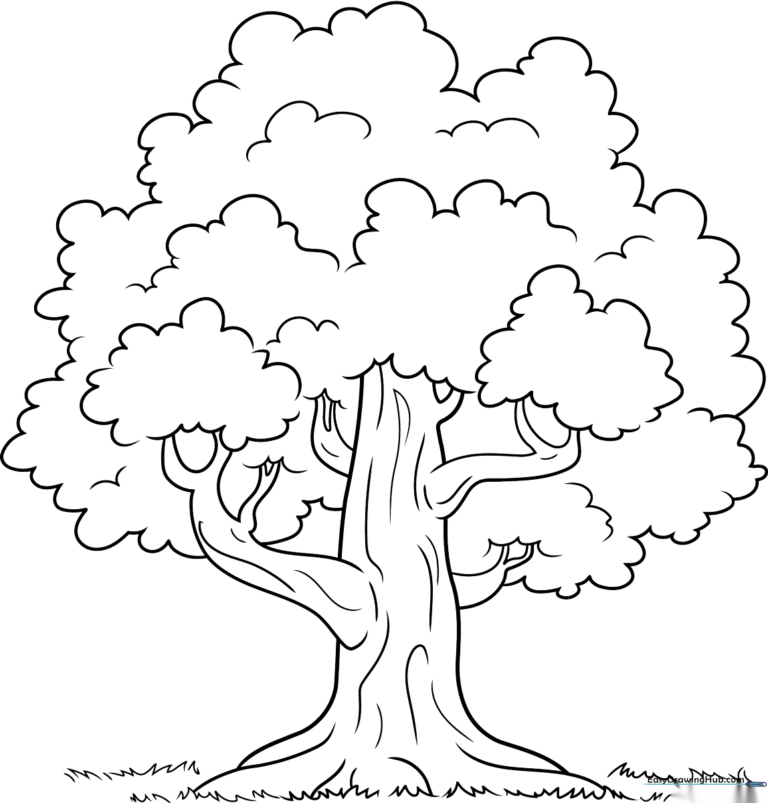
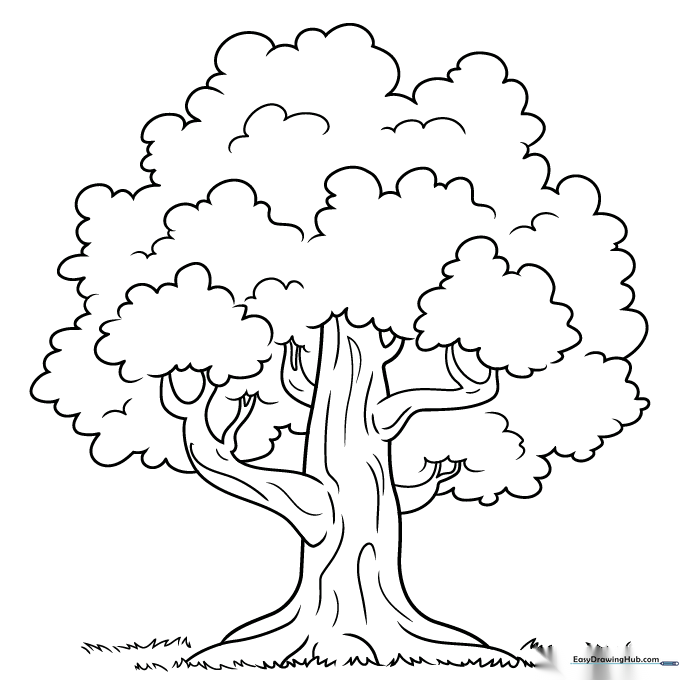
🎯 Final Result
Step-by-Step Instructions
Step 1: Sketching the Trunk and Roots
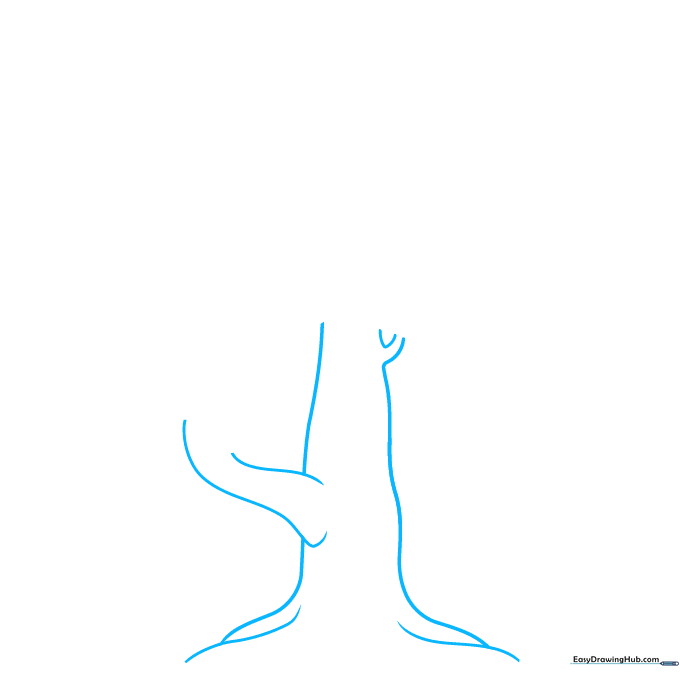
Start by drawing the central trunk using two vertical lines. At the bottom, add curved lines that meet at sharp points to form the roots. Teacher's Tip: Keep the roots wide at the base to make your tree look sturdy and grounded.
Step 2: Forming the Main Branches

Extend pairs of curved lines from the trunk to create your first set of branches. Use 'U' shapes to connect them, creating a 'Y' structure. Teacher's Tip: Branches are rarely perfectly straight, so don't be afraid to add a slight wobble to your lines.
Step 3: Adding Secondary Branches and Canopy
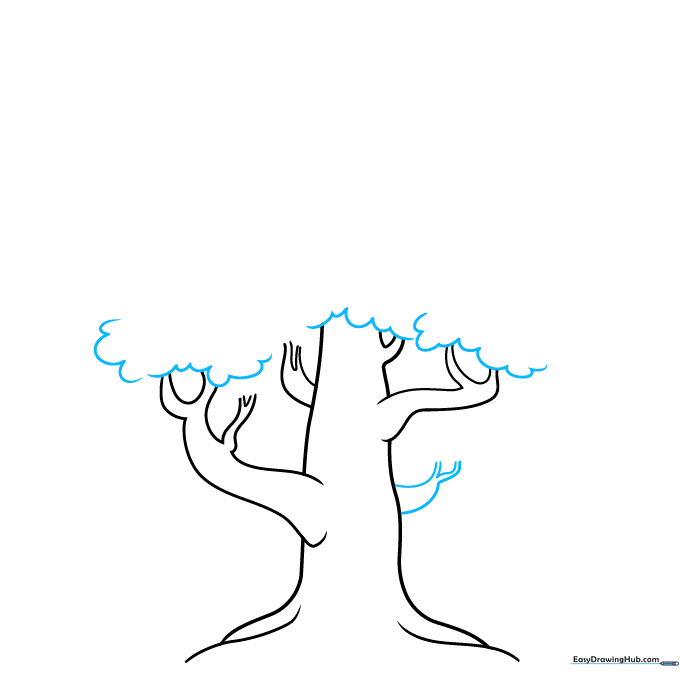
Add more 'Y' shaped branches to fill out the top. Then, begin the canopy by drawing connected, cloud-like curved lines. Teacher's Tip: Think of these as fluffy clouds resting on top of your branches.
Step 4: Expanding the Canopy
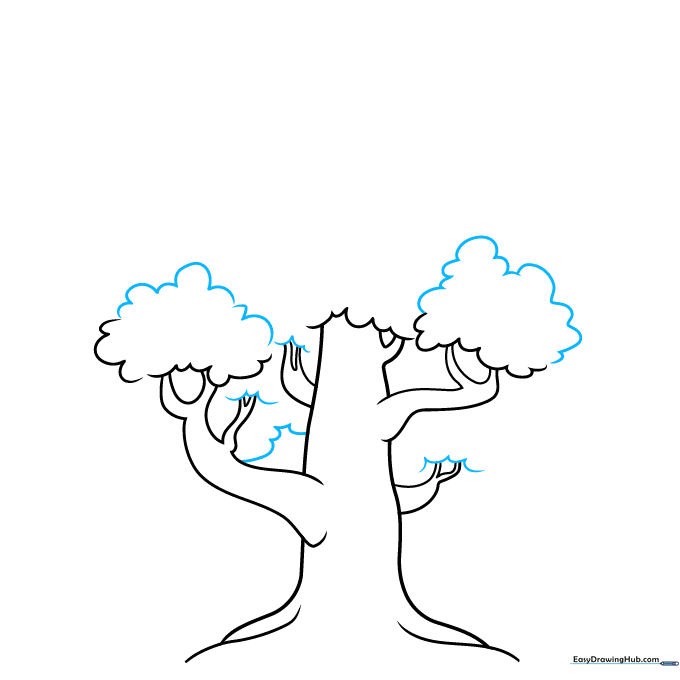
Continue building the canopy by adding more overlapping cloud-like masses. Teacher's Tip: Vary the size of your 'clouds' to make the tree look more natural and less like a perfect circle.
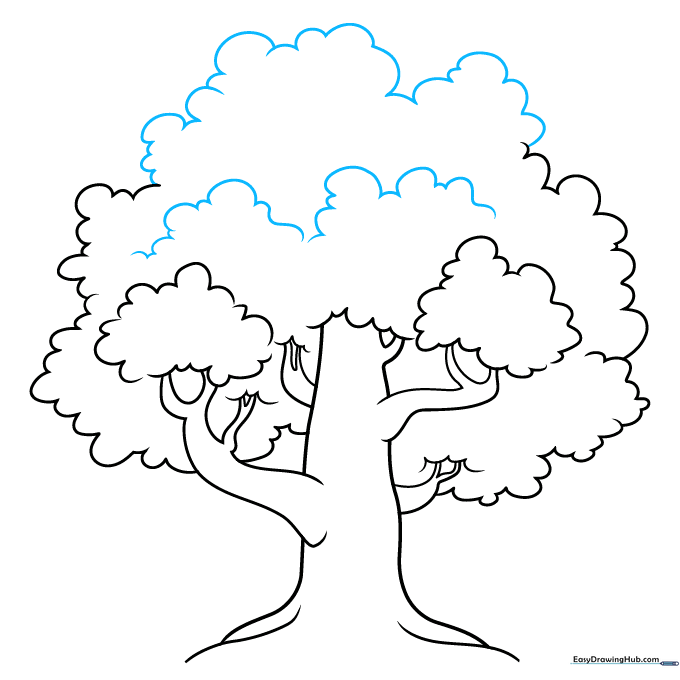
Step 5: Defining the Canopy Edges

Enclose the top of the canopy using a series of connected, curved lines. Teacher's Tip: Make sure your lines overlap slightly to create the illusion of depth in the leaves.
Step 6: Adding Texture to the Canopy
Finish the top of the canopy and add internal curved lines to suggest texture. Teacher's Tip: These inner lines represent shadows and leaf clusters, giving your drawing a 3D feel.
Step 7: Detailing Bark and Canopy
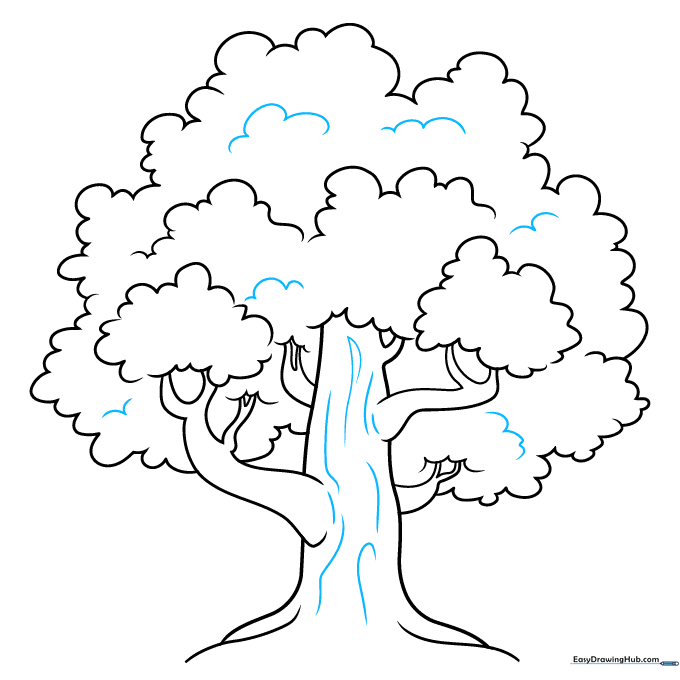
Add more detail to the canopy and use long, vertical curved lines on the trunk to represent bark. Teacher's Tip: Vary the length of your bark lines to make the tree look aged and realistic.
Step 8: Adding Grass at the Base
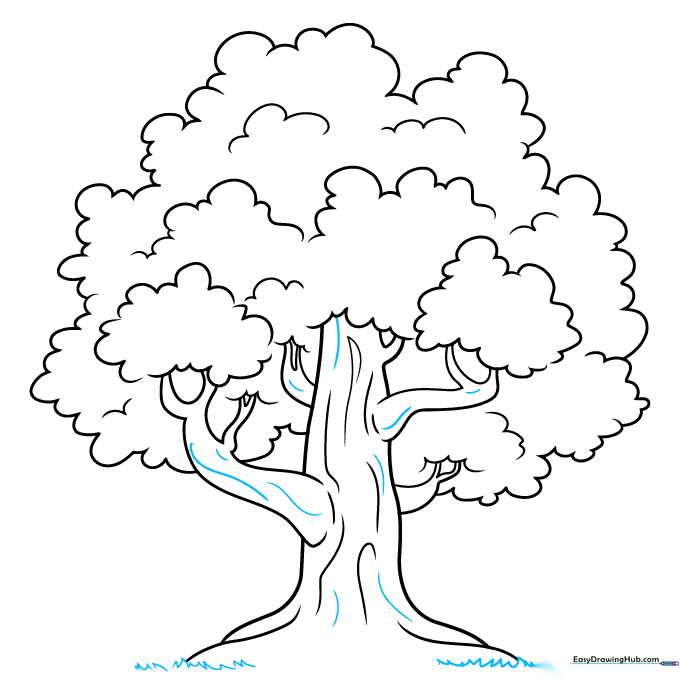
Add more bark texture and draw small, sharp, upward-pointing lines at the base for grass. Teacher's Tip: Keep the grass lines close together to create a lush, full look.
Step 9: Final Touches
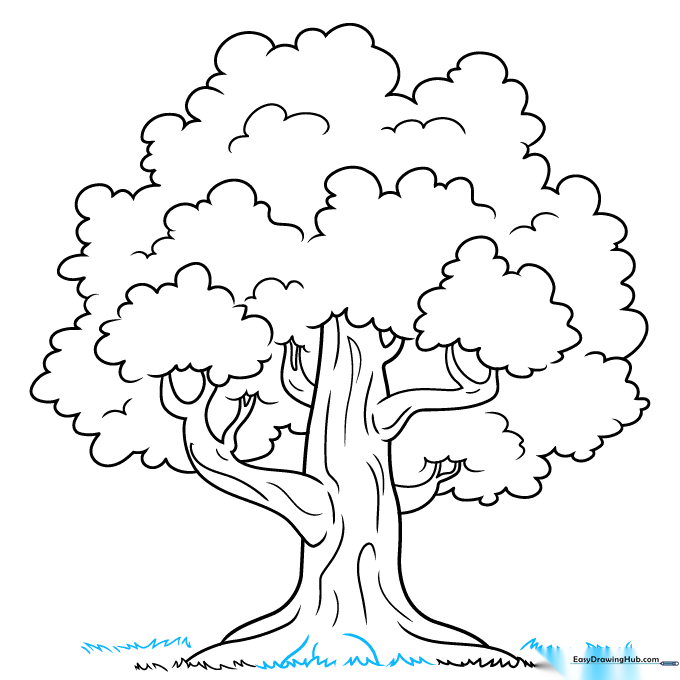
Draw extra grass and one more root piercing the ground to finish the scene. Teacher's Tip: A single root peeking out adds a nice touch of realism to your drawing.
Step 10: Coloring Your Tree
Your outline is ready! Use gray or brown for the bark. For the leaves, try green for summer, or red, orange, and yellow for a beautiful autumn look. Teacher's Tip: Use light pressure with your pencils to blend colors smoothly.
More Tutorials


