How to Draw a Tree Branch: Easy 10-Step Guide for Kids
Looking for a fun way to practice organic shapes? This tutorial is perfect for young artists ages 5+ to learn how to draw a detailed tree branch. All you need is a pencil, an eraser, and some paper to get started on this nature-inspired project.
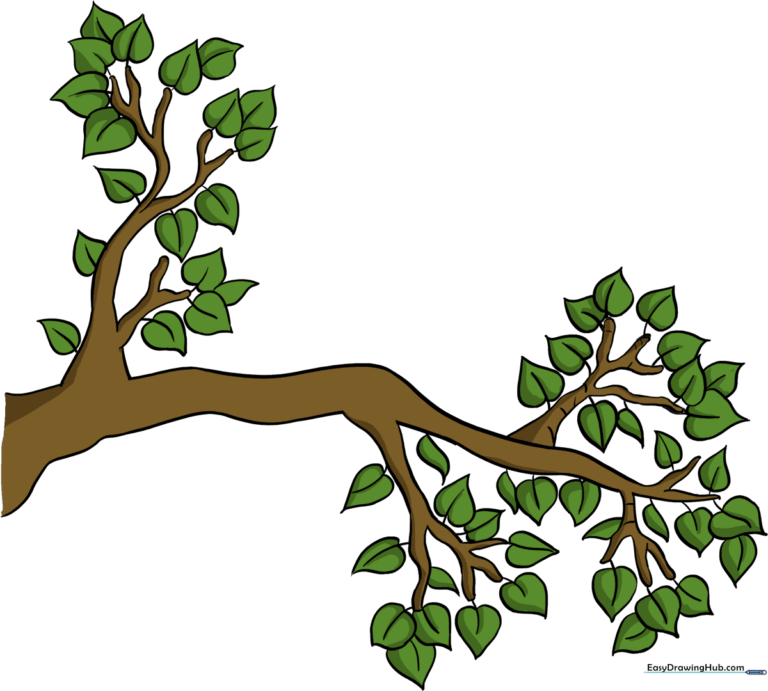
🎯 Final Result
Step-by-Step Instructions
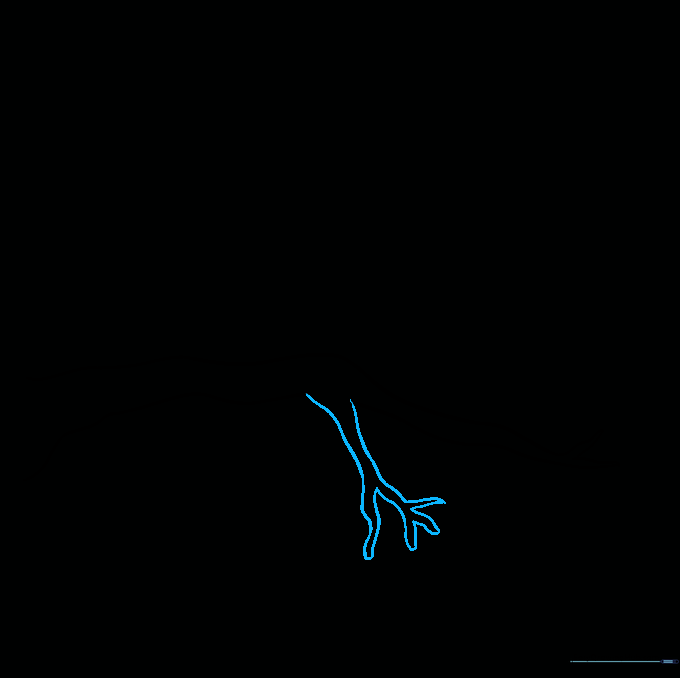
Step 1: Sketching the Main Limb

Draw a long, wavy, curved line to represent the main structure of the branch. Teacher's Tip: Keep your pencil pressure light so you can easily adjust the shape later if it looks too stiff.
Step 2: Creating the First Twig

Draw a second wavy line beneath the first, angling it downward. Connect the ends with a small 'V' shape to create a pointed twig. Tip: Think of this as a fork in the road for your branch.
Step 3: Thickening the Branch

Continue the lower wavy line, keeping it roughly parallel to the top line to give the branch some thickness. Tip: Branches are rarely perfectly straight, so don't worry if your lines are a bit wobbly!
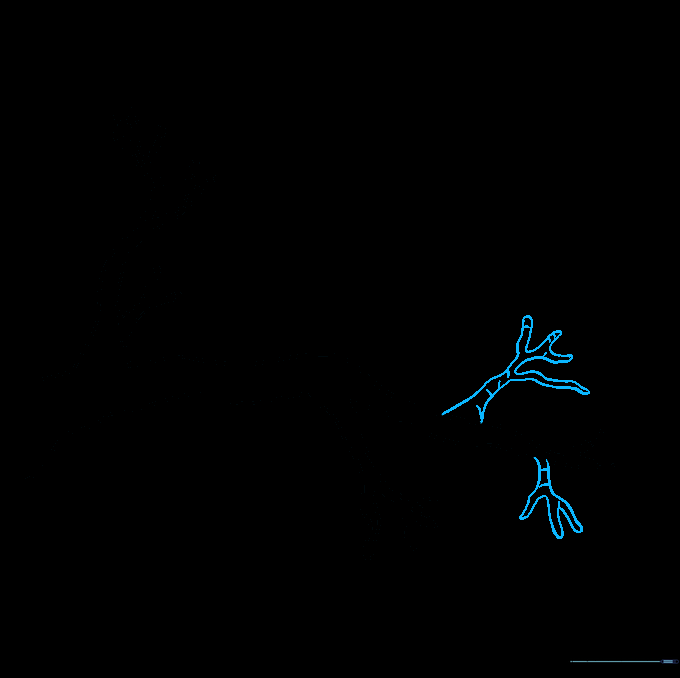
Step 4: Adding More Twigs
Erase a small section on the bottom of the branch and draw two new wavy lines extending outward to form a new twig. Connect them with a 'V'. Tip: Always use your eraser to clean up the 'T-junctions' where twigs meet the branch.
Step 5: Growing Upward
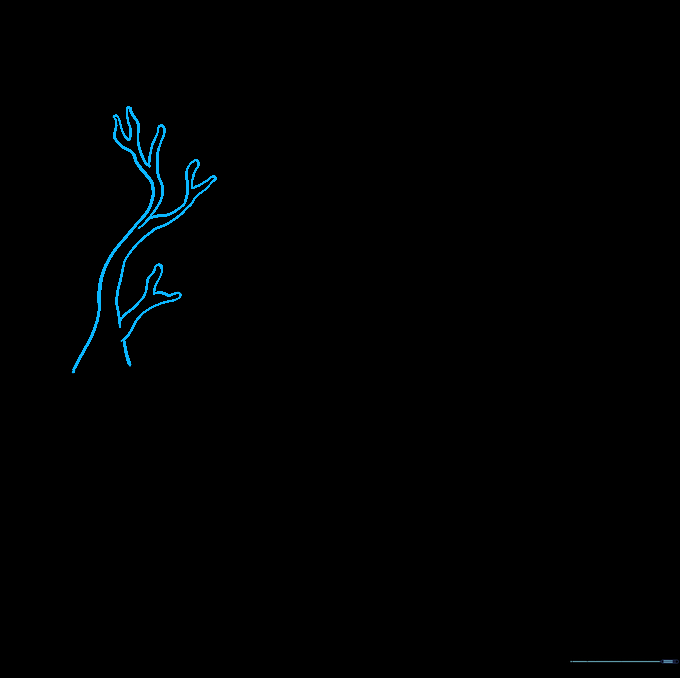
Erase a small section on the top of the branch and extend two curved lines upward to create a new twig. Tip: Varying the direction of your twigs makes the tree look much more natural and less like a cartoon.
Step 6: Expanding the Branch
Add more twigs by drawing pairs of wavy lines that diverge from the main limb. Use 'V' shapes to close the ends. Tip: Don't make every twig the same length; variety is the key to a realistic look.
Step 7: Drawing the First Leaves
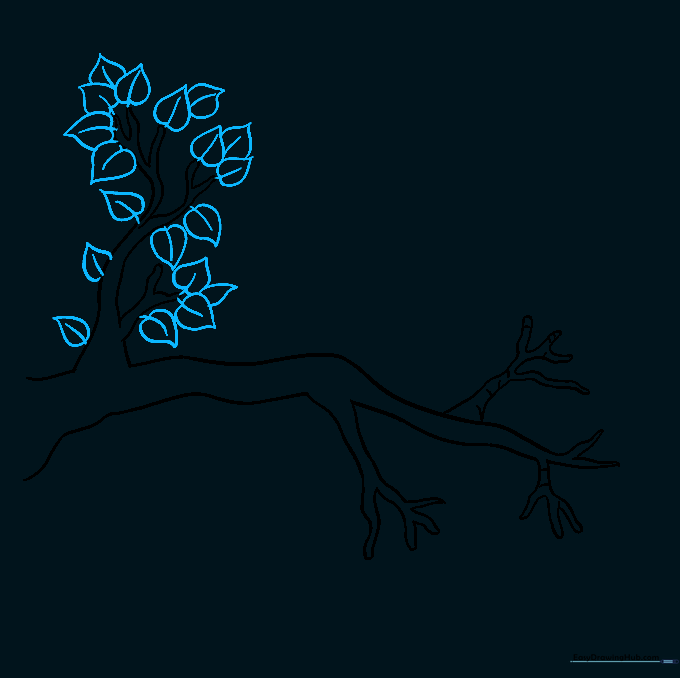
Draw two curved lines meeting at a point to create a leaf shape on a twig. Add a line down the center for the vein. Tip: Start with just a few leaves so you don't crowd the branch too early.
Step 8: Adding More Foliage

Repeat the leaf-drawing process on the next set of twigs. Remember: two curved lines for the leaf, one for the vein. Tip: Try drawing some leaves slightly overlapping others to create depth.
Step 9: Final Leaf Details
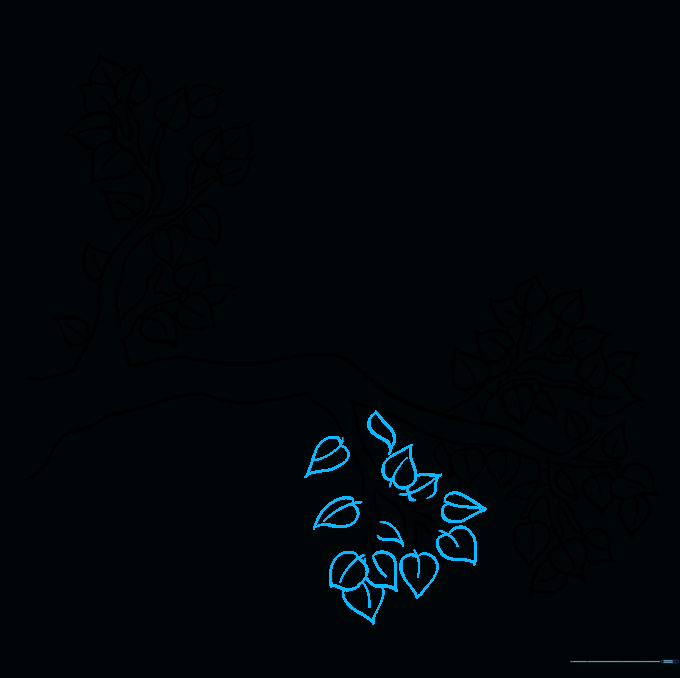
Fill in the remaining twigs with leaves. Ensure each leaf has that central vein line. Tip: If you run out of space, it's okay to leave some twigs bare—this makes the drawing look more natural.
Step 10: Adding Color
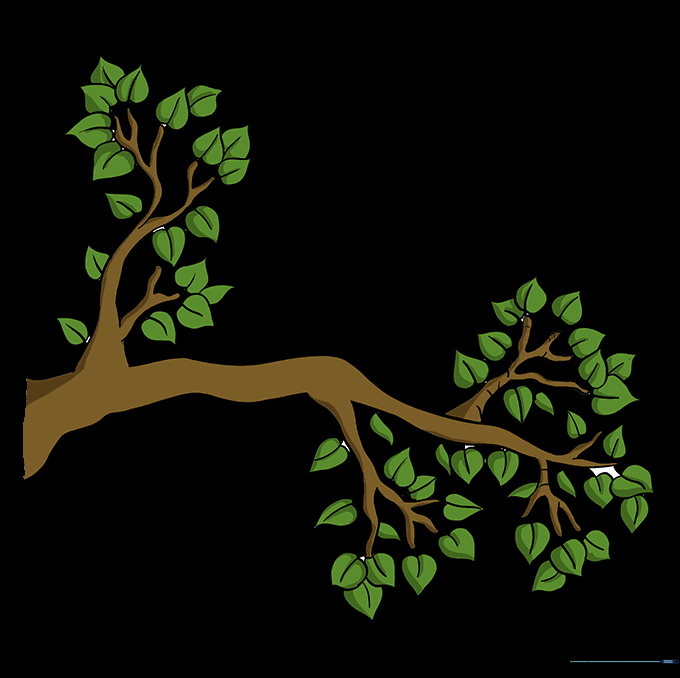
Time to bring your branch to life! Use brown for the bark and experiment with seasonal colors for the leaves—vibrant greens for summer, or oranges and reds for a fall theme. Tip: Use light pressure with your colored pencils to blend different shades of brown for a realistic bark texture.
More Tutorials


