How to Draw a Train: Easy 9-Step Guide for Kids
Ready to hit the tracks? This tutorial is perfect for young artists ages 5 and up who want to draw their own locomotive. All you need is a pencil, an eraser, and a piece of paper to build this train from the ground up, one simple shape at a time.
🎯 Final Result

Step-by-Step Instructions
Step 1: Sketching the Engine Base
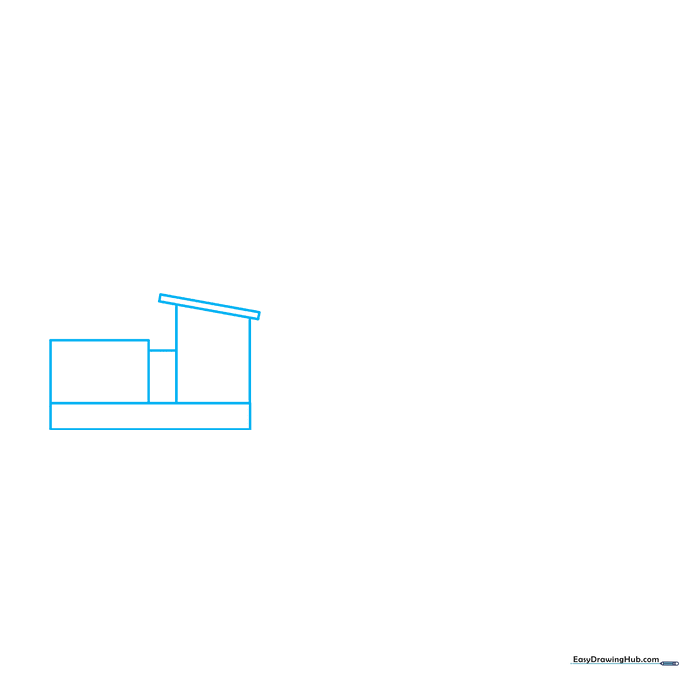
Start by drawing a long, narrow horizontal rectangle for the main body. Stack a smaller rectangle on top. Teacher's Tip: Use a ruler if you want perfectly straight edges, but freehand is great for practice!
Step 2: Adding the Cowcatcher
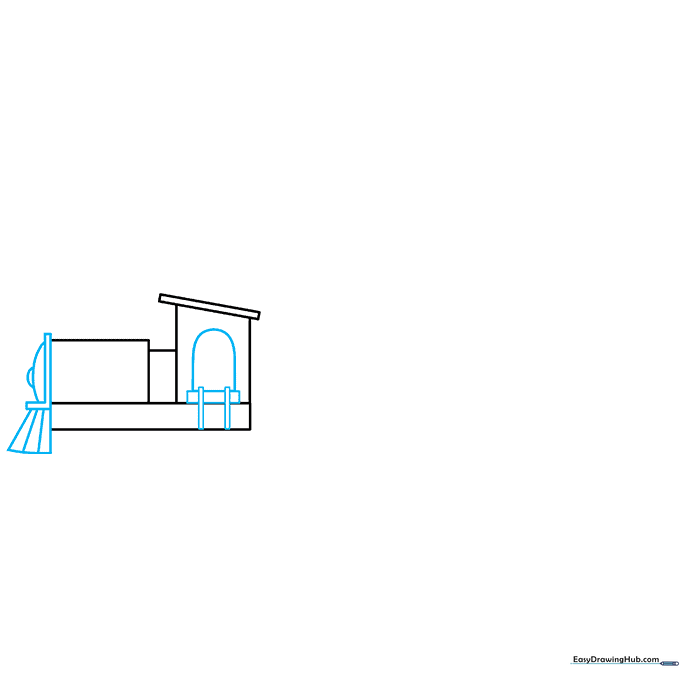
Draw an 'L' shape at the front and a trapezoid below it to create the cowcatcher. Tip: The cowcatcher is what clears debris from the tracks, so make it look sturdy and sharp!
Step 3: Smokestack and Wheels
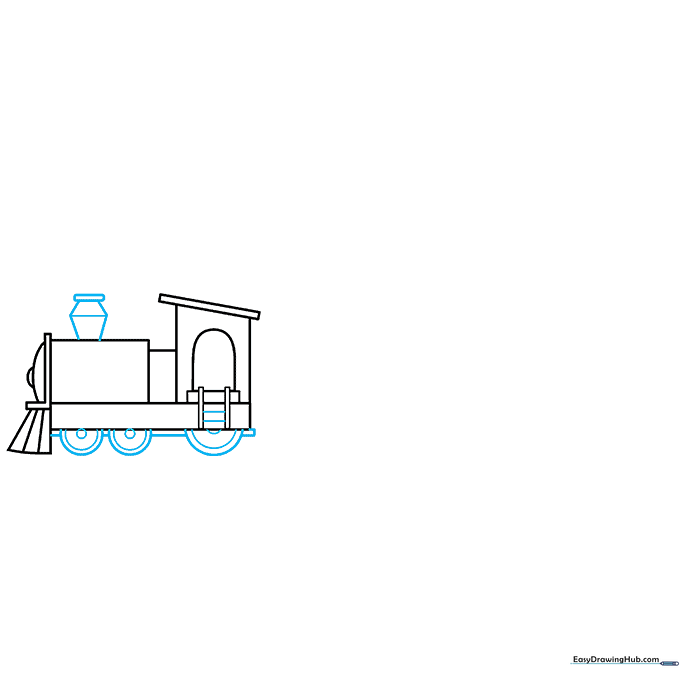
Add two stacked trapezoids on top for the smokestack. Below, draw three circles of decreasing size for the wheels. Tip: Use a circular object like a bottle cap if you struggle to draw perfect circles.
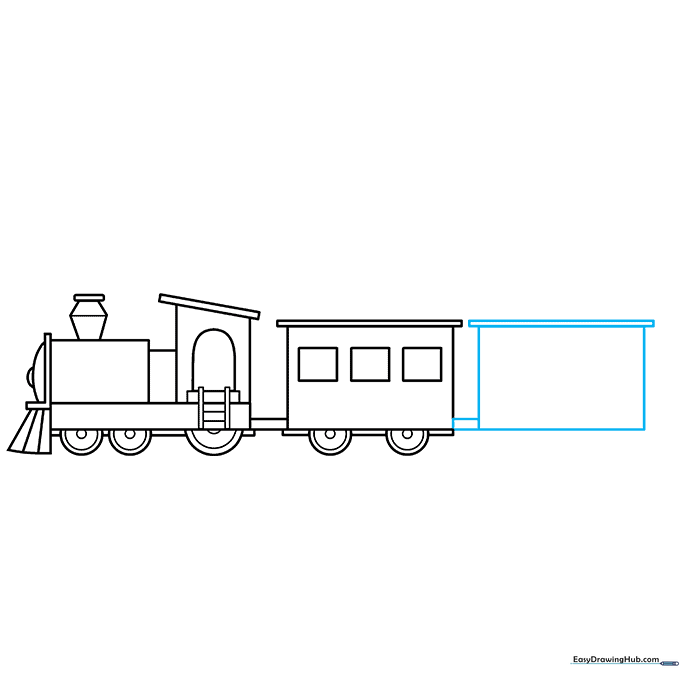
Step 4: Connecting the Cars
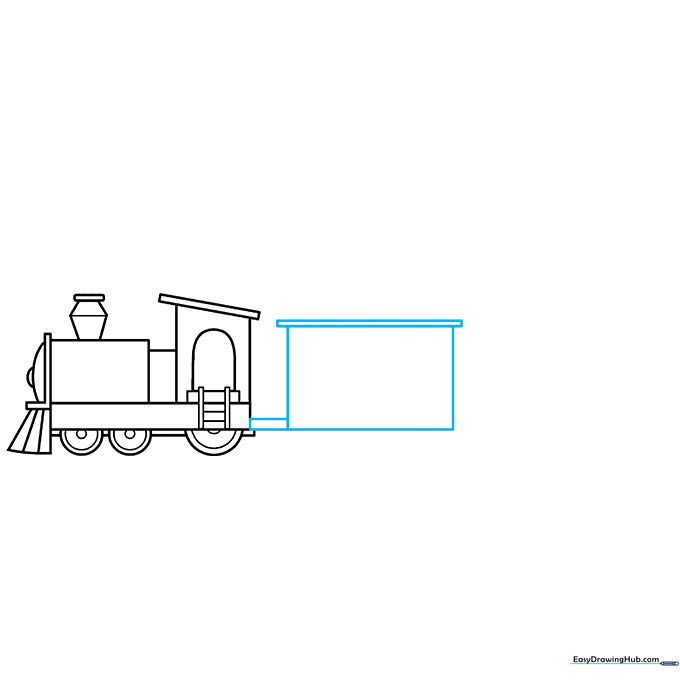
Draw a small rectangle behind the engine to act as a connector. Then, sketch a large rectangle for the first passenger car. Tip: Keep your connector narrow so it looks like a real metal coupling.
Step 5: Windows and Details

Add rectangular windows to your passenger car and draw two wheels underneath. Tip: Make sure the wheels are aligned with the bottom of the car for a balanced look.
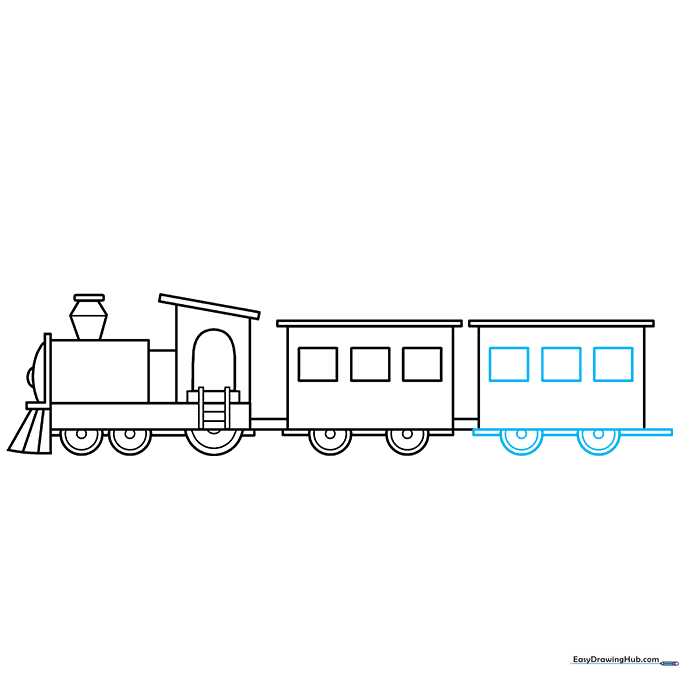
Step 6: Adding More Cars
Repeat the process to add another car behind the first one. Tip: You can make your train as long as you want by adding more rectangular cars!
Step 7: Detailing the Second Car
Add windows and wheels to your second car just like you did for the first. Tip: Try to keep the windows the same size for a uniform, professional look.
Step 8: Final Touches
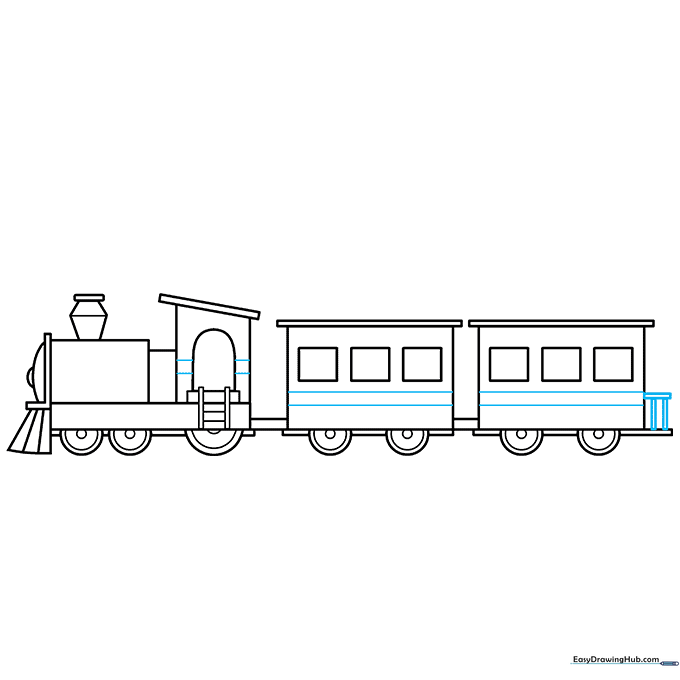
Add horizontal lines along the sides of the cars and a railing on the back. Tip: Use a fine-liner pen to go over your pencil lines for a clean, finished look.
Step 9: The Steam Cloud

Draw fluffy, cloud-like curved lines coming out of the smokestack. Tip: Vary the size of the curves to make the smoke look natural and moving.
Step 10: Color Your Train
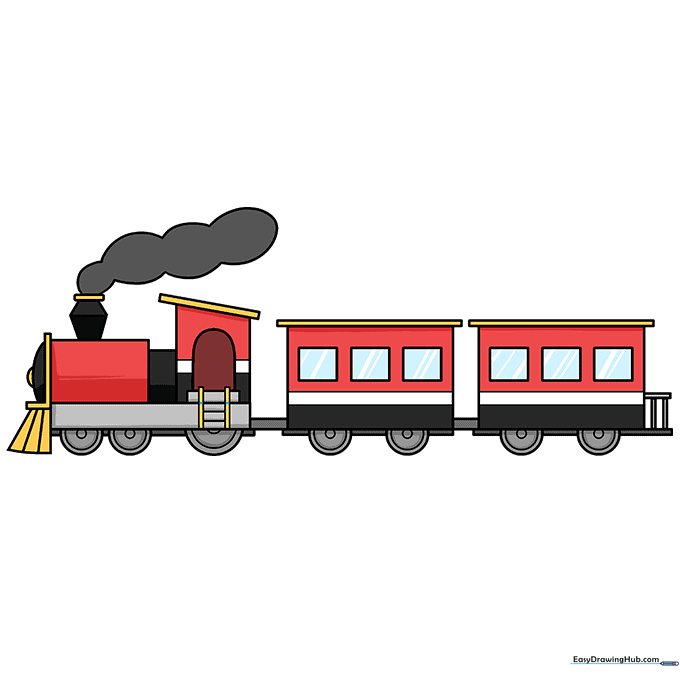
Time to bring your train to life! Use bright colors for the body and darker shades for the wheels. Tip: Use a light grey or blue for the steam to make it look airy.
More Tutorials


