How to Draw a Tractor: Easy 10-Step Guide for Kids
Ready to bring a farm scene to life? This tutorial is perfect for young artists ages 5 and up. All you need is a pencil, an eraser, and some paper to start building your own heavy-duty tractor from scratch.
🎯 Final Result

Step-by-Step Instructions
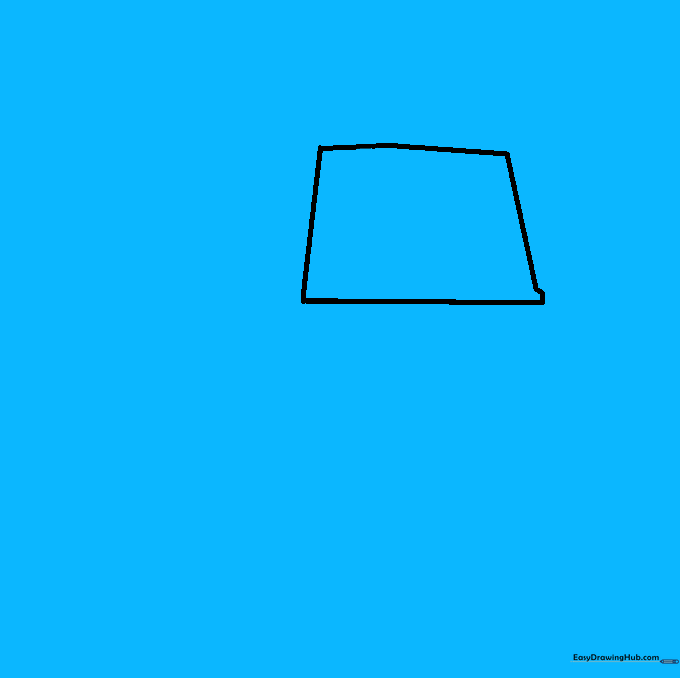
Step 1: Sketching the Cab

Draw a slightly irregular four-sided shape to form the tractor's cab. Teacher's Tip: Keep your pencil lines light so you can easily adjust the shape if it looks a bit wobbly!
Step 2: Adding the Windows
Draw two rectangular shapes inside the cab to represent the windows. Teacher's Tip: Make one window narrower than the other to give your tractor a sense of depth.
Step 3: Drawing the Roof
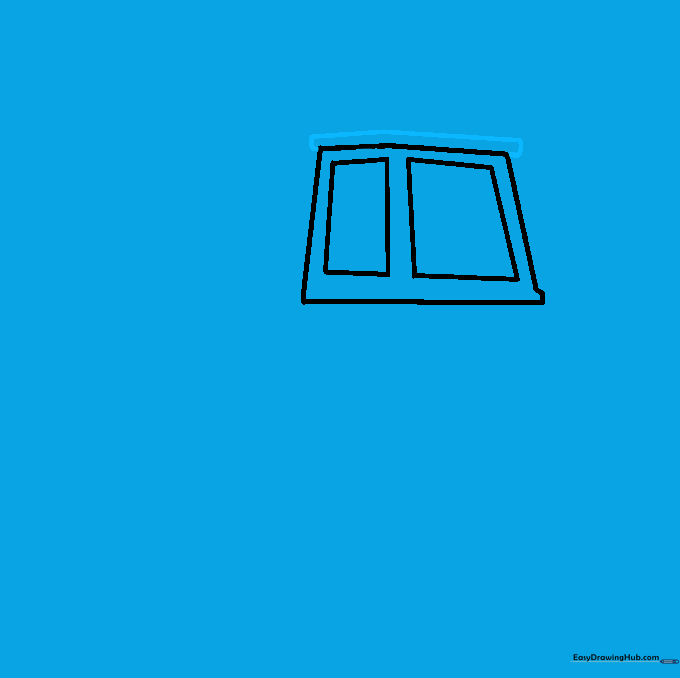
Add a narrow rectangle on top of the cab to create the roof. Teacher's Tip: Ensure the roof is slightly wider than the cab to protect the driver from the sun!
Step 4: Shaping the Wheel Well

Extend lines from the cab to create the wheel well. Teacher's Tip: Use a ruler if you struggle with straight lines, but don't worry about perfection—tractors are rugged machines!
Step 5: Adding Chassis Details
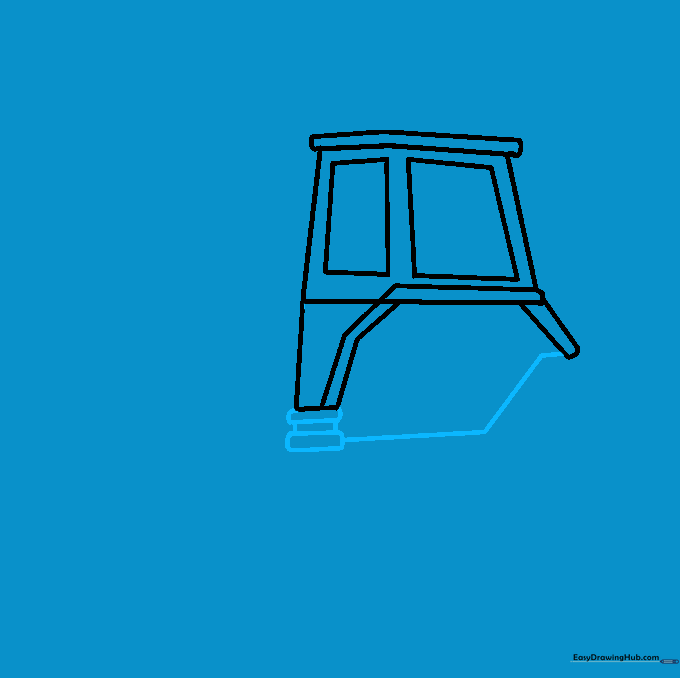
Enclose three narrow rectangles beneath the wheel well and connect them. Teacher's Tip: These rectangles form the frame, so keep them aligned to make the tractor look sturdy.
Step 6: The Front Engine Hood

Extend two trapezoids from the front of the cab to form the hood. Teacher's Tip: The larger, upside-down trapezoid gives the tractor its powerful 'front-heavy' look.
Step 7: Drawing the Front Tire

Draw a large circle for the front tire with two smaller circles inside for the hubcap. Teacher's Tip: Use a circular object like a bottle cap to trace if you find freehand circles tricky.
Step 8: Adding the Rear Tire
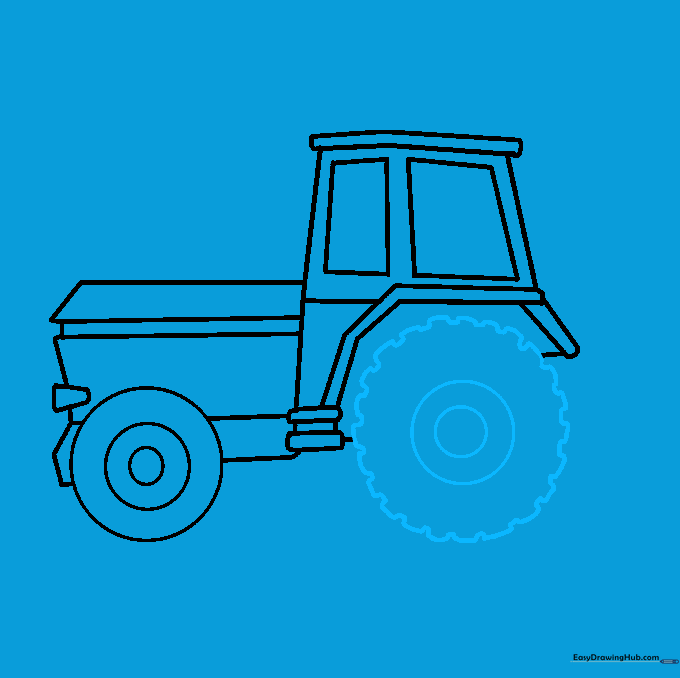
Draw the larger rear tire using a serrated pattern for the tread. Teacher's Tip: The serrated edges make the tire look like it has real grip for muddy farm work!
Step 9: Final Details
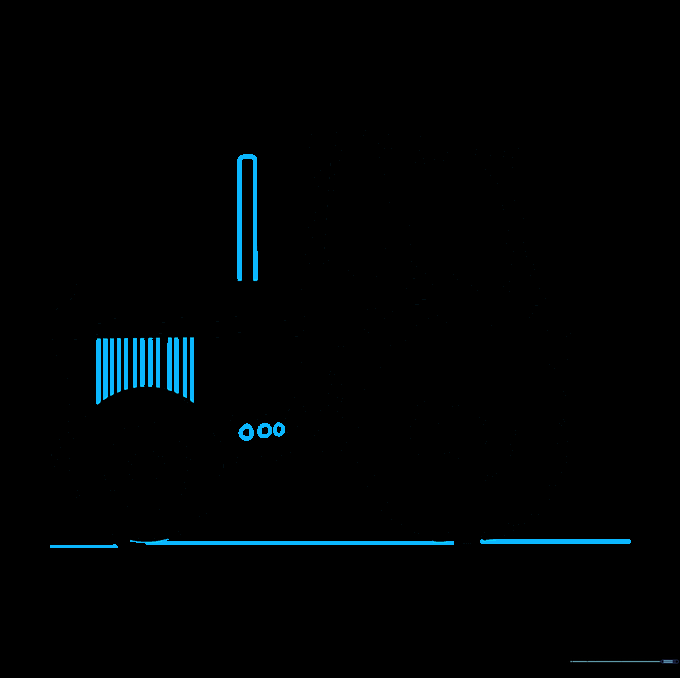
Add the exhaust pipe and a ground line. Teacher's Tip: Adding the ground line helps 'anchor' your tractor so it doesn't look like it's floating in space.
Step 10: Color Your Tractor
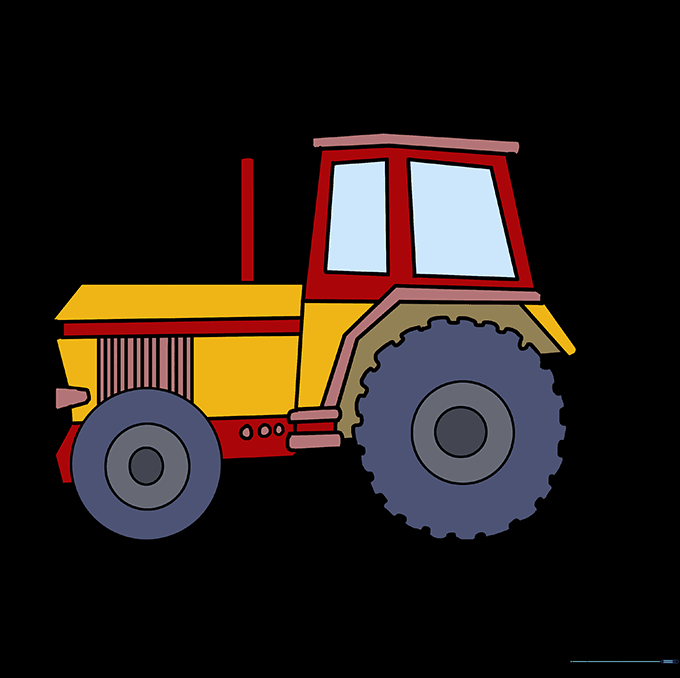
Bring your tractor to life with color! Traditional farm tractors look great in bright red or classic green. Teacher's Tip: Use light pressure with your crayons to create a smooth, even fill.
More Tutorials


