How to Draw a Tornado: Easy 10-Step Guide for Kids
Capture the power of nature with this fun, step-by-step tornado drawing guide designed for young artists ages 6+. You only need a pencil, an eraser, and a sheet of paper to get started. By focusing on simple, repeating shapes, you will learn how to create the illusion of swirling wind and motion.
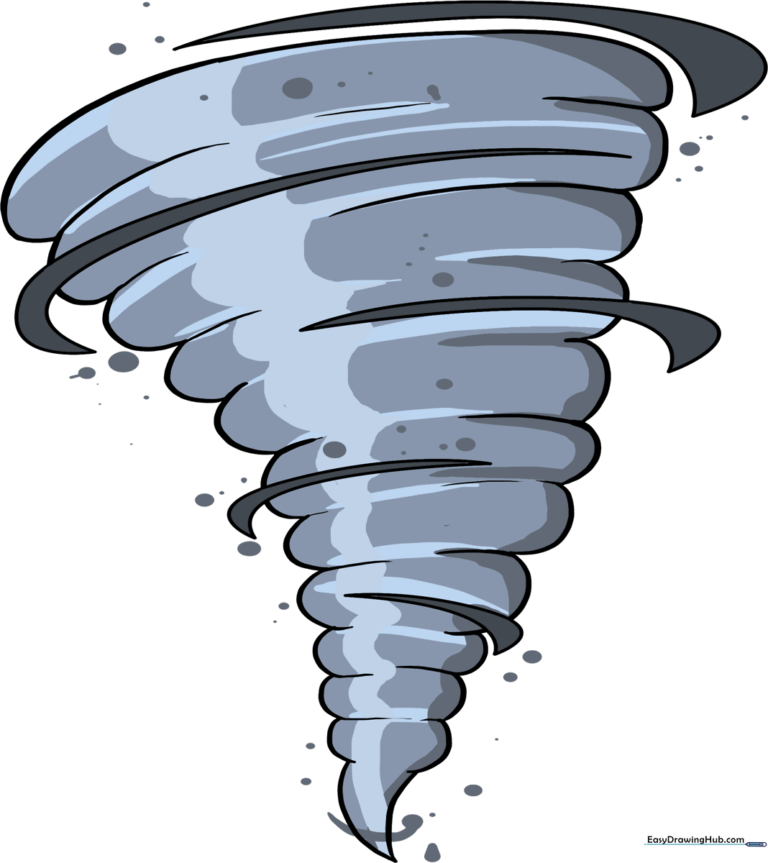
🎯 Final Result
Step-by-Step Instructions
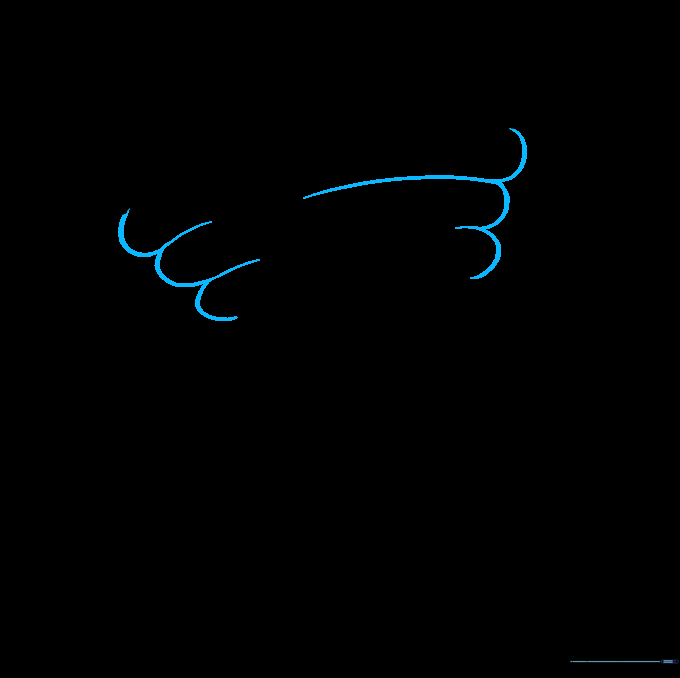
Step 1: Sketching the Top Tier

Begin by drawing a curved line to form the top edge of your tornado. Add short, parallel lines to give it a sense of depth. Teacher's Tip: Keep your pencil strokes light so you can easily adjust the shape later if needed.
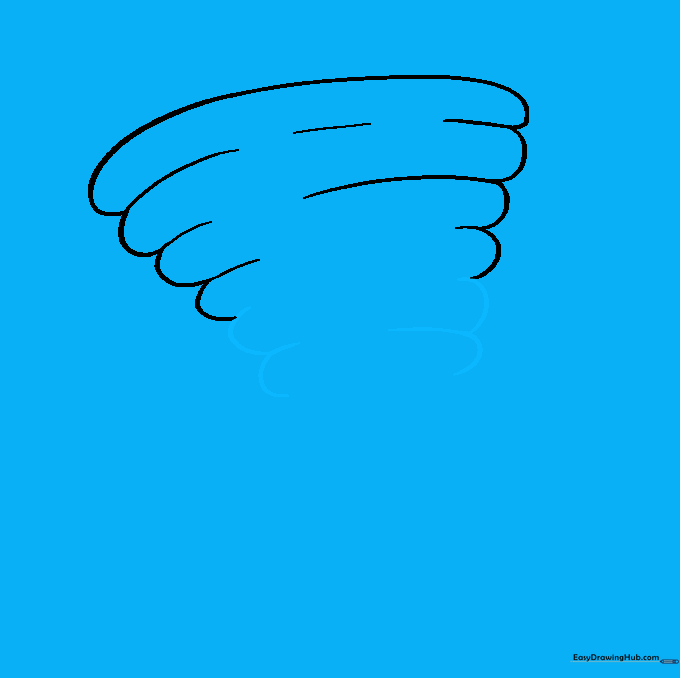
Step 2: Establishing the Conical Shape
Draw a series of 'U' shaped lines beneath the first tier. As you move downward, make these shapes slightly closer together to create the classic funnel look. Teacher's Tip: Think of these as stacked cups getting smaller toward the bottom.
Step 3: Adding More Layers
Continue adding 'U' shaped lines on both sides of the funnel. Keep the layers consistent to maintain the swirling effect. Teacher's Tip: Don't worry about perfect symmetry; tornadoes are chaotic and natural!
Step 4: Narrowing the Funnel
Continue drawing your 'U' shapes, making them progressively tighter as you work your way down the page. This creates the perspective of the tornado narrowing toward the ground.
Step 5: Approaching the Base
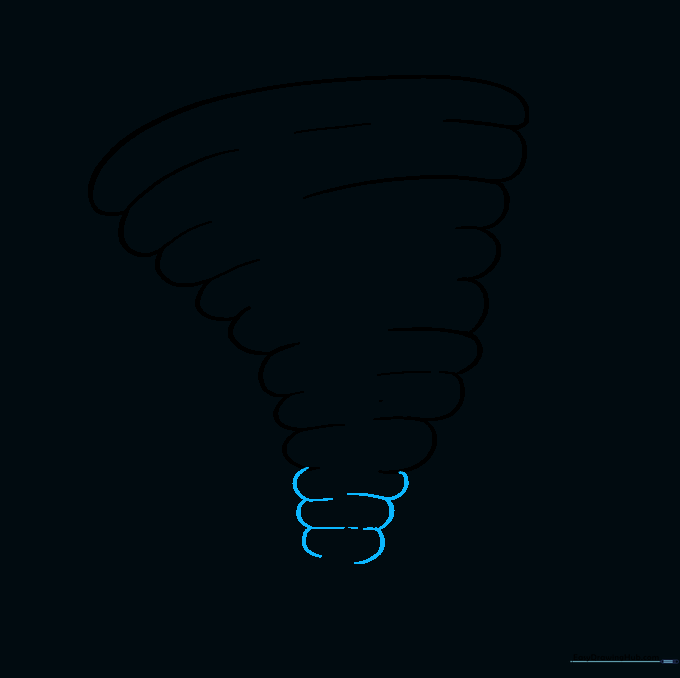
Keep adding those 'U' shapes until the sides almost touch. Teacher's Tip: Use a softer touch with your pencil here to make the bottom look wispy and light.
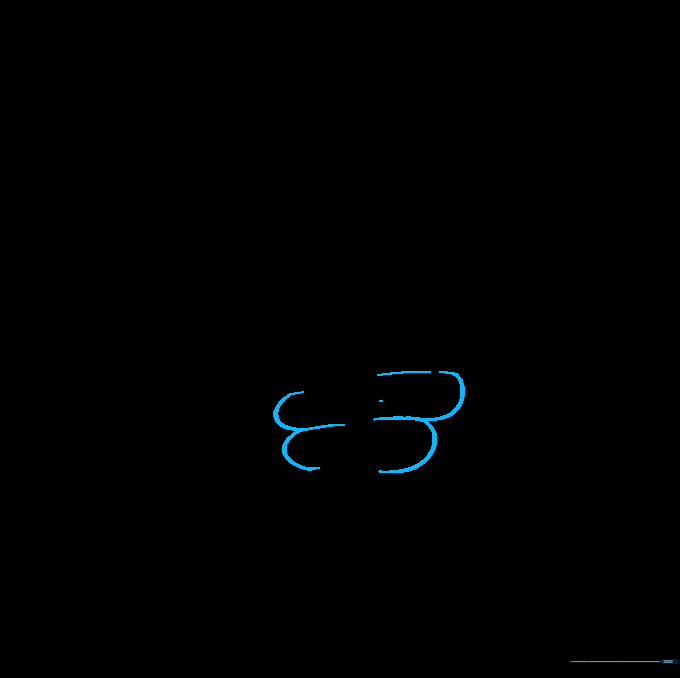
Step 6: Closing the Cone

Finish the main body by drawing two curved lines that meet at a sharp, narrow point at the bottom.
Step 7: Adding Swirling Motion
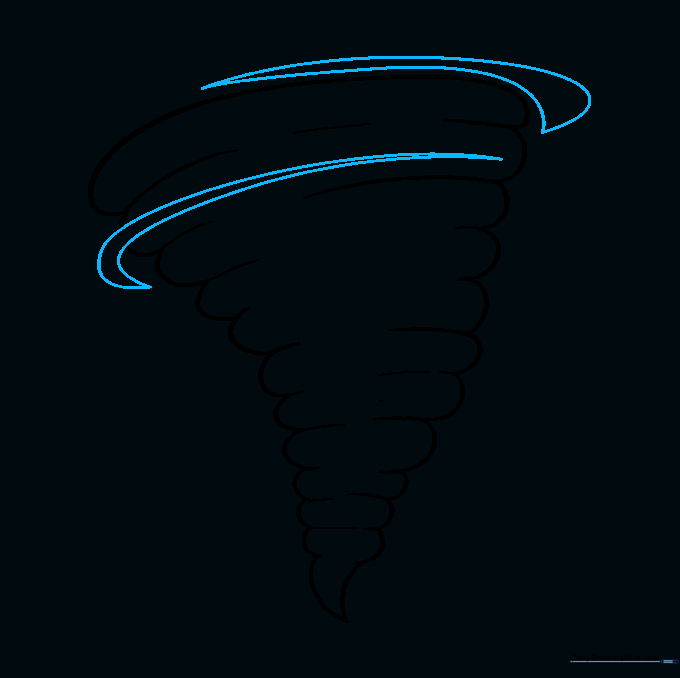
Draw curved, cloud-like shapes around the main funnel to show wind movement. Erase any overlapping guide lines to keep your drawing clean. Teacher's Tip: Vary the sizes of these clouds to make the wind look more dynamic.
Step 8: Refining the Details

Continue adding more curved shapes to the body of the tornado. This adds texture and makes the storm look more intense.
Step 9: Grounding the Tornado

Draw small, curved shapes near the base to represent debris or dust being kicked up by the wind. This adds a realistic touch to your drawing.
Step 10: Adding Color

Time to color! Use shades of grey or black for a classic storm cloud look, or brown if you want to show dust. If you draw it over water, it's called a waterspout—try using blues!
More Tutorials


