How to Draw a Top Hat: Easy 10-Step Guide for Beginners
Ready to add a touch of class to your drawings? This tutorial is perfect for young artists and beginners looking to master geometric shapes. You will only need a pencil, an eraser, and a piece of paper to create a dapper top hat that looks great on snowmen or magicians.
🎯 Final Result

Step-by-Step Instructions
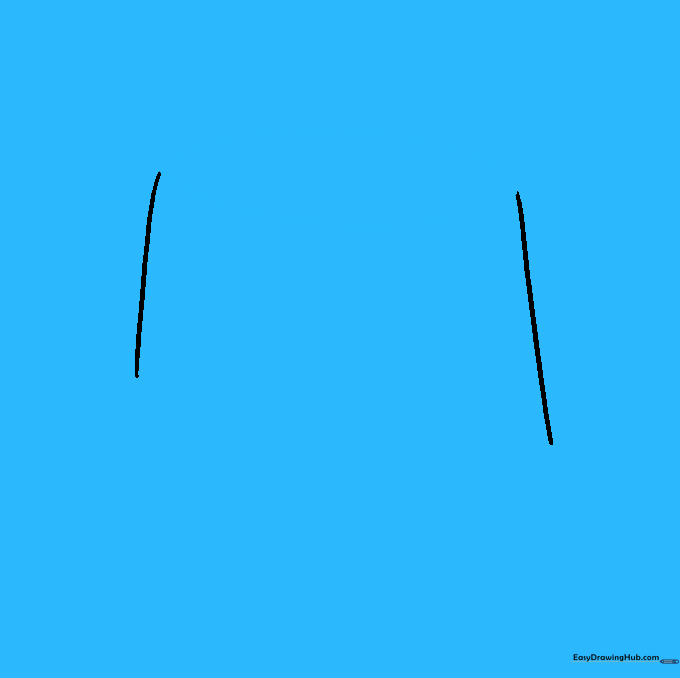
Step 1: Sketching the Crown Sides

Draw two slightly curved lines that slant toward each other. Teacher's Tip: Keep these lines light and loose; they act as the skeleton for your hat's crown.
Step 2: Capping the Crown
Draw a large horizontal oval to connect the top of your lines. Teacher's Tip: Imagine you are drawing the lid of a jar; make sure the oval is wide enough to look sturdy.
Step 3: Defining the Base

Connect the bottom of your side lines with a long, curved line. Teacher's Tip: Add a slight bulge to one side to give the hat a more realistic, three-dimensional feel.
Step 4: Adding the Hatband

Draw a curved line parallel to the base, then add a small rectangle at the back. Teacher's Tip: This band is where the ribbon goes, so keep your lines smooth and even.
Step 5: Starting the Brim
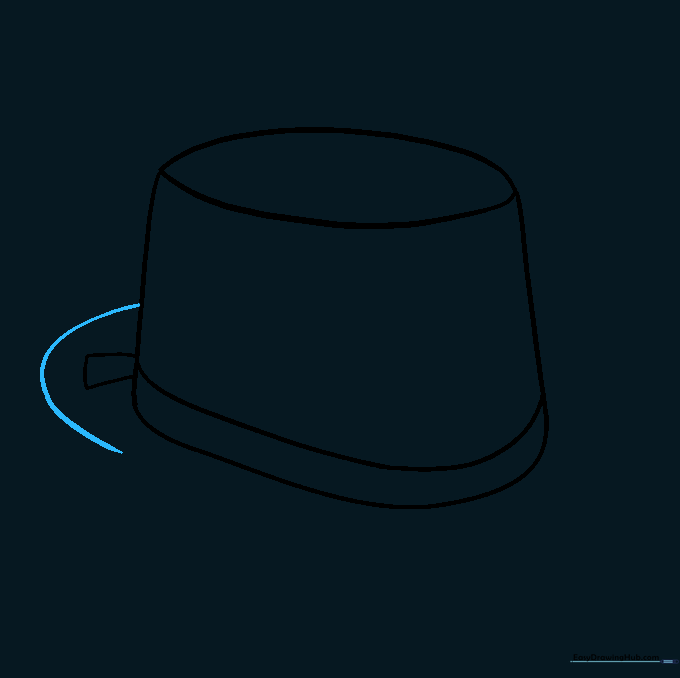
Extend a curved line from the back of the crown, just above the hatband. Teacher's Tip: Think of this as the 'wing' of the hat; start slow to keep your curve consistent.
Step 6: Extending the Brim

Continue the curved line around the front of the crown. Teacher's Tip: Use your wrist to pivot for a smoother, more natural-looking curve.
Step 7: Closing the Brim

Connect the brim line back to the front of the crown. Teacher's Tip: Ensure the brim looks symmetrical on both sides for a professional finish.
Step 8: Adding Brim Depth

Draw a parallel line just inside the brim. Teacher's Tip: This simple line adds instant depth, making the hat look like it has actual thickness.
Step 9: Adding Texture
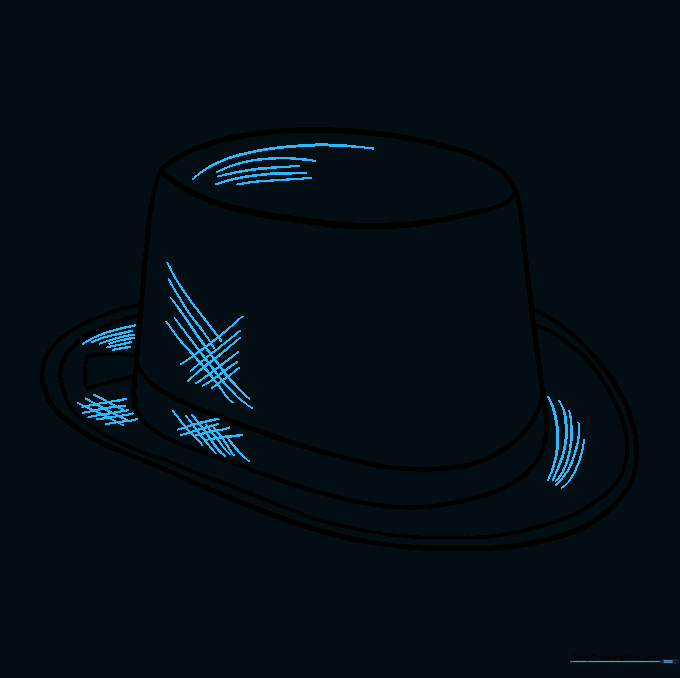
Add curved lines for shading and cross-hatching to the hatband and crown. Teacher's Tip: Cross-hatching (criss-crossing lines) is a great way to practice light and shadow control.
Step 10: Bringing it to Life with Color
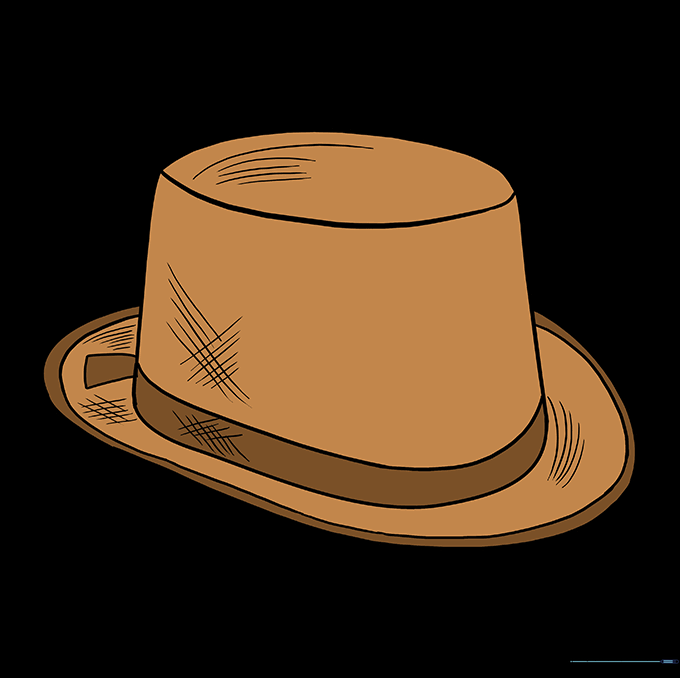
Color your hat! Use deep blacks for a classic look or bright colors for a whimsical costume. Teacher's Tip: Use a lighter shade on one side to show where the light is hitting the hat.
More Tutorials


