How to Draw a Toothbrush and Toothpaste: Easy 10-Step Guide
This drawing tutorial is perfect for kids and beginners looking to practice their line work and perspective. All you need is a pencil, an eraser, and a piece of paper to get started. Follow these simple steps to create a clean, cartoon-style illustration that celebrates healthy habits.
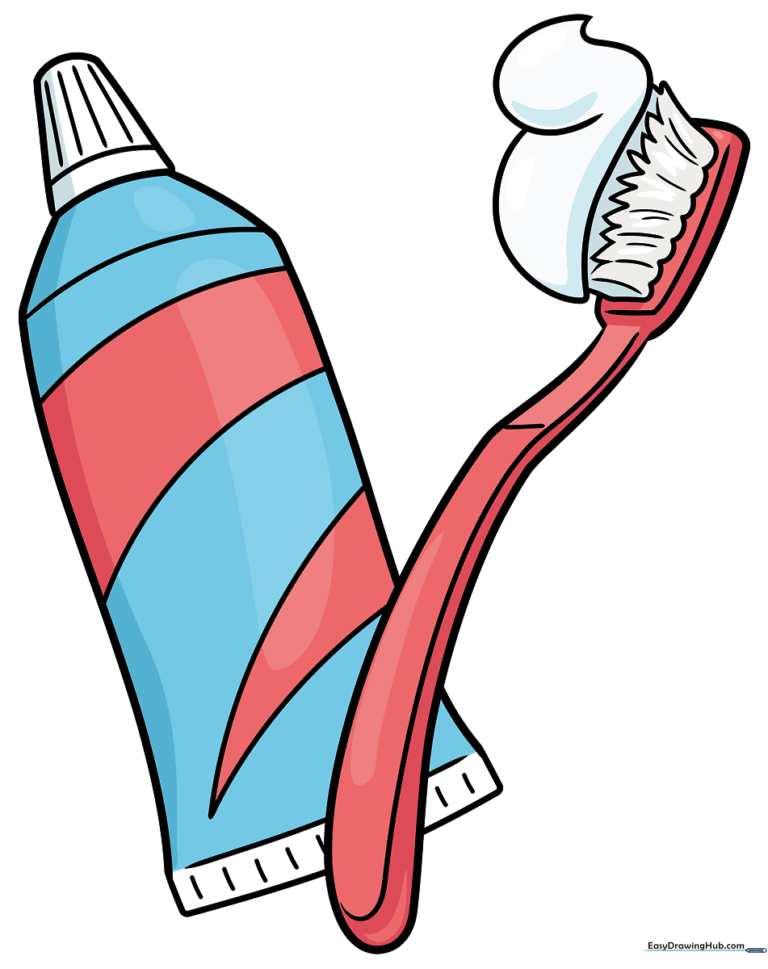
🎯 Final Result
Step-by-Step Instructions
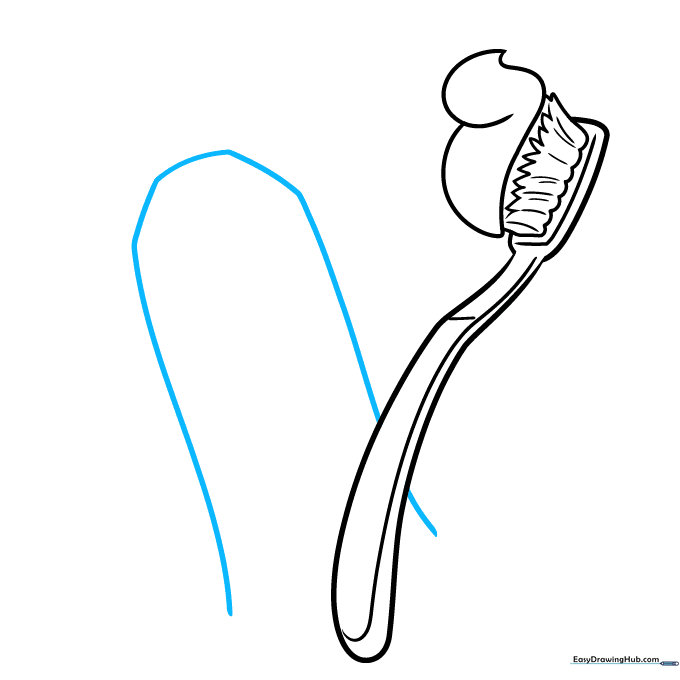
Step 1: Sketching the Handle
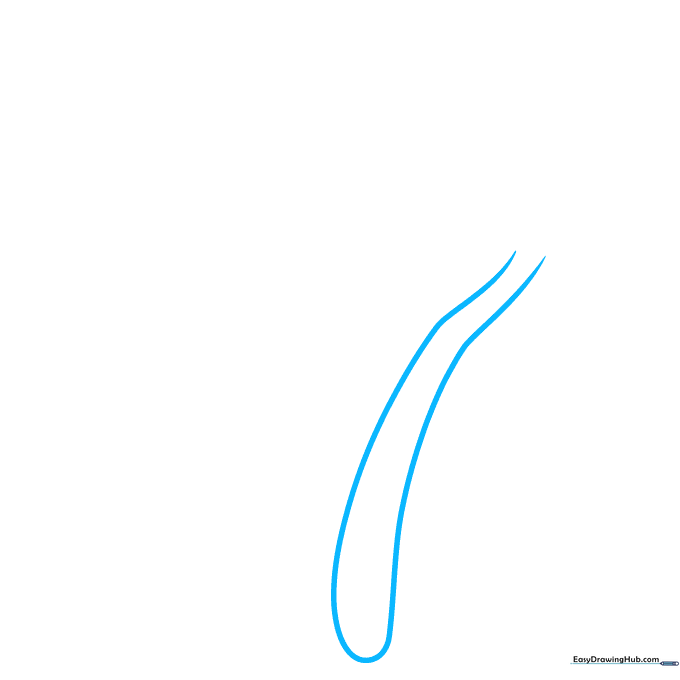
Start by drawing a long, slightly curved line that loops back on itself to form the handle. Teacher's Tip: Keep your pencil pressure light so you can easily adjust the shape if it looks a bit wobbly.
Step 2: Defining the Head
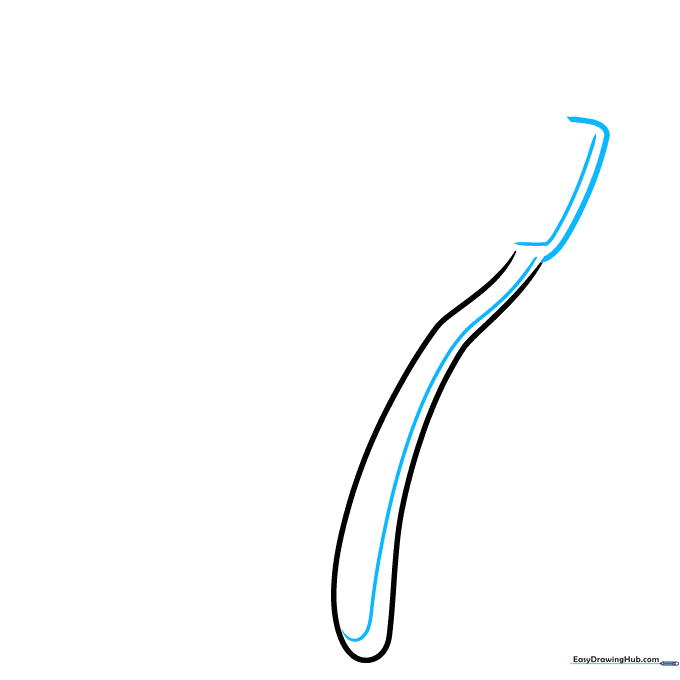
Draw a parallel line along the handle to give it thickness, then extend the top into an 'L' shape to create the base for the bristles. Tip: Imagine the head is a small rectangle sitting on top of the handle.
Step 3: Adding Bristle Depth
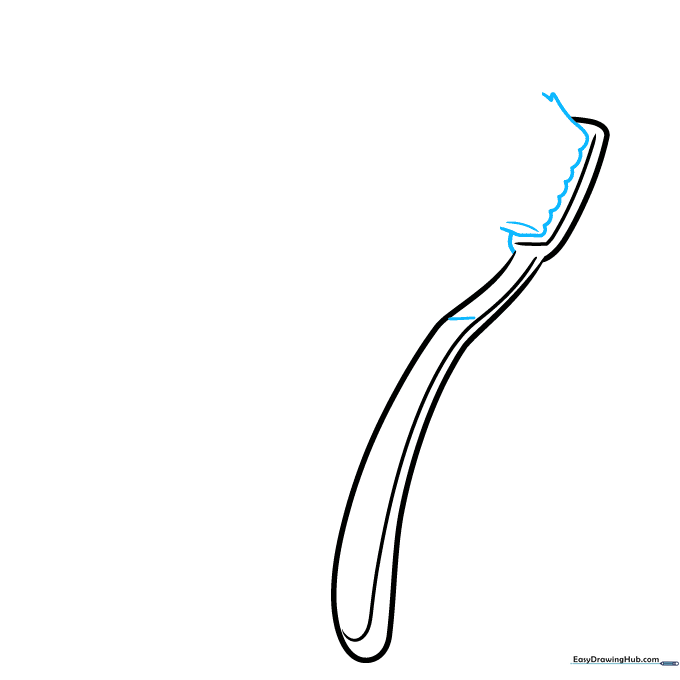
Use short, curved lines to define the volume of the bristles. Add a small horizontal line across the handle to separate the grip from the neck. Tip: Think of the bristles as a soft, rounded block.
Step 4: Texturing the Bristles

Draw jagged, pointed lines along the top of the bristle block to make them look realistic. Add a few small vertical lines on the sides for texture. Tip: Don't make the points too uniform; bristles are naturally a bit messy!
Step 5: Drawing the Toothpaste Glob

Sketch a thick, spiral-like shape resting on top of the bristles. This represents the dollop of toothpaste. Tip: Keep the lines soft and rounded to make the toothpaste look creamy.
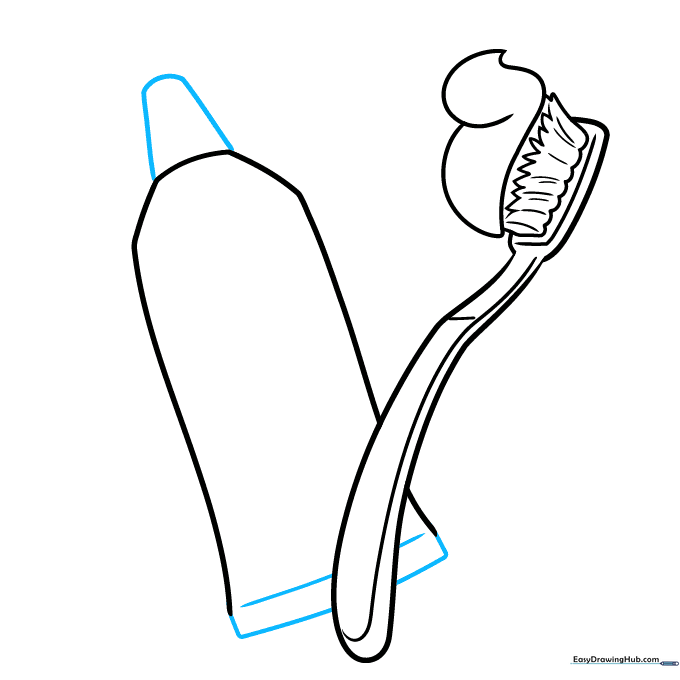
Step 6: Outlining the Tube
Draw a long, slightly flattened pentagonal shape next to your toothbrush to serve as the toothpaste tube. Tip: Make the bottom wider than the top to show it's full of paste.
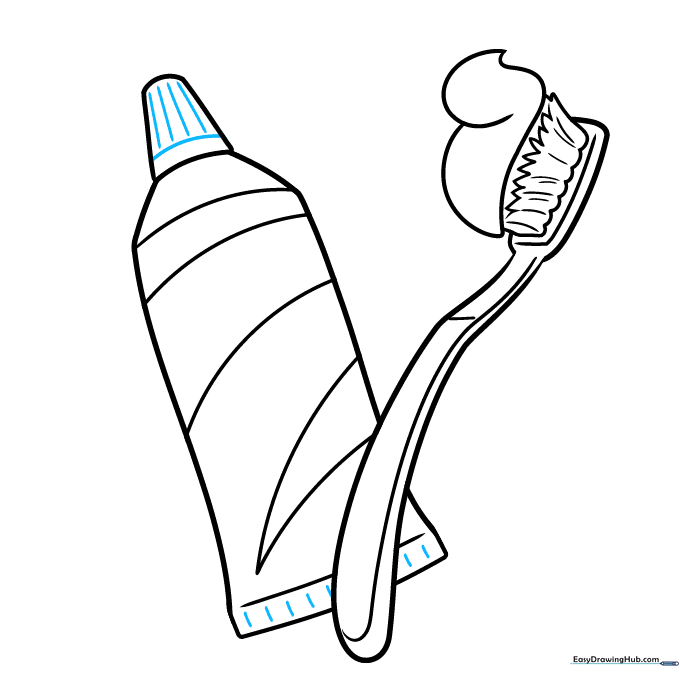
Step 7: Adding the Cap
Draw a rounded trapezoid at the top of the tube for the cap, and add two horizontal lines at the bottom to represent the crimped seal of the tube. Tip: Ensure the cap is centered for a balanced look.
Step 8: Tube Details
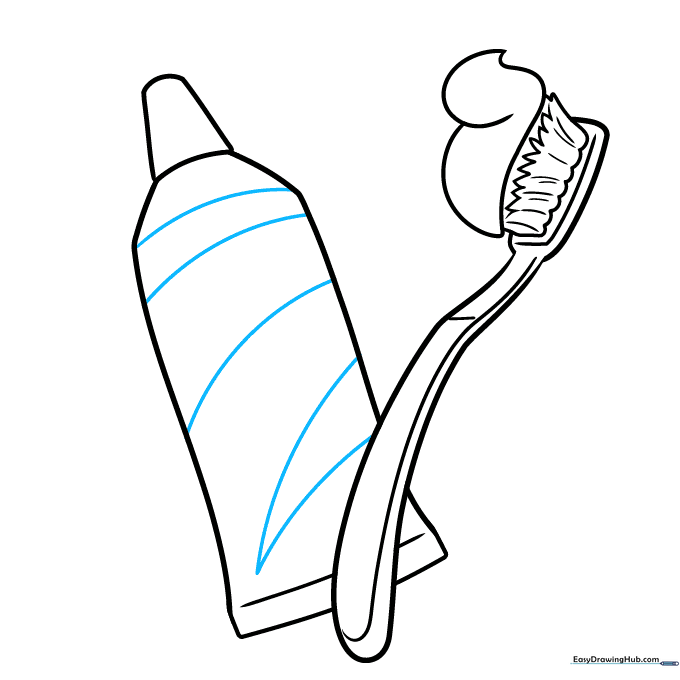
Add a few curved lines across the body of the tube to give it a sense of volume and roundness. Tip: These lines help the tube look like it's made of flexible plastic.
Step 9: Final Touches
Refine the cap by adding a curved line at the base and small vertical lines for grip texture. Do the same for the crimped bottom of the tube. Tip: Small details like these make your drawing look professional.
Step 10: Bring It to Life with Color
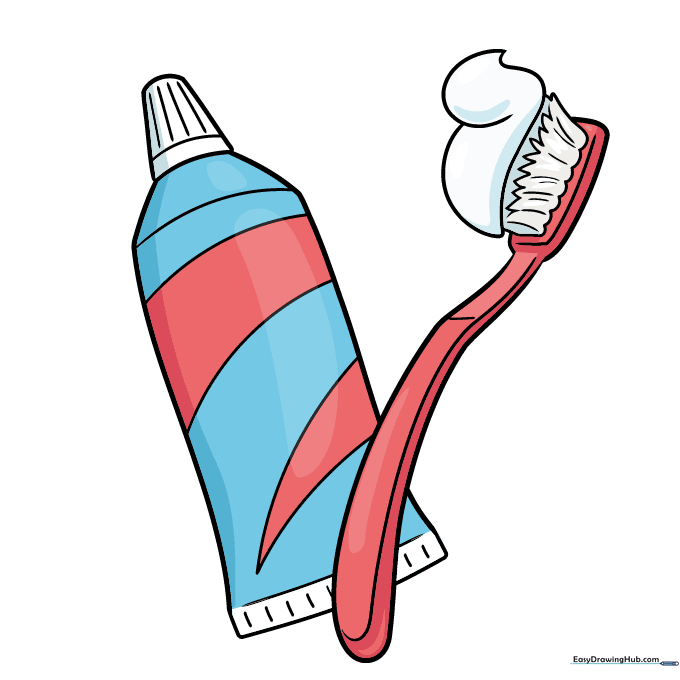
Your drawing is ready! Use your favorite colors to fill it in. Try blue or red for the toothpaste, and pick a bright color for the toothbrush handle to make it pop. Tip: Use a darker shade of your chosen color on the edges to add shading.
More Tutorials


