How to Draw a Tongue Out Emoji: Easy 6-Step Guide
This playful emoji tutorial is perfect for artists ages 5 and up looking to practice expressive character design. All you need is a pencil, an eraser, and a piece of paper to get started. Follow these steps to master facial proportions and create your own silly emoji character.
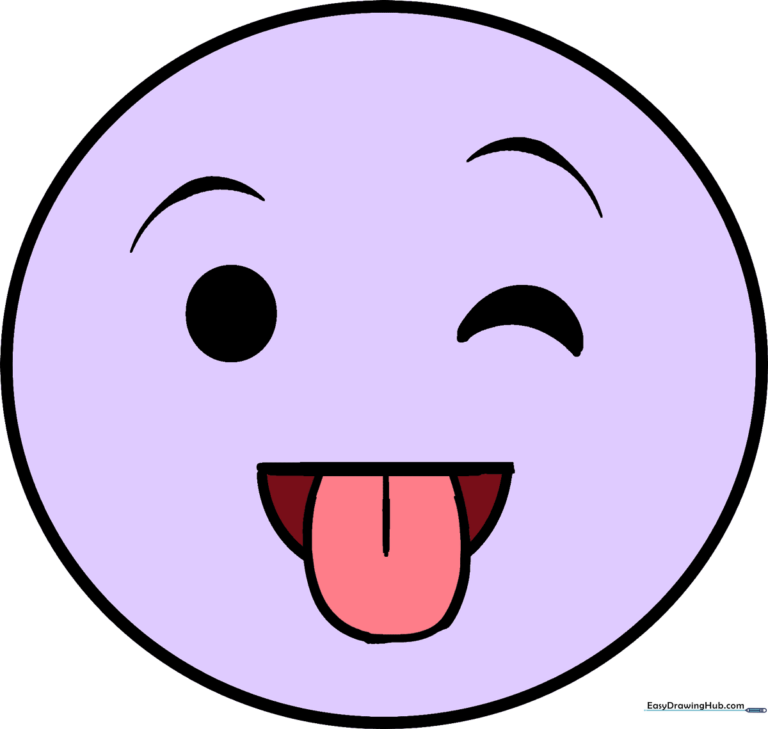
🎯 Final Result
Step-by-Step Instructions
Step 1: Sketching the Base Circle

Draw a light, circular outline for the face. Teacher's Tip: Use a light touch with your pencil so you can easily erase any overlapping lines later. If you struggle with perfect circles, try tracing a small circular object like a bottle cap.
Step 2: Adding the Eyes

Draw a small, solid circle for the open eye. For the winking eye, draw a crescent shape using two curved lines that meet at the points. Teacher's Tip: Keep the eyes aligned horizontally to ensure the face looks balanced before you add the expression.
Step 3: Drawing the Eyebrows

Add a short, curved eyebrow above each eye. Angle the brow over the winking eye slightly higher to emphasize the playful, mischievous expression. Teacher's Tip: Subtle changes in eyebrow angle drastically change the emotion of your character.
Step 4: Shaping the Mouth

Draw a wide 'U' shape for the mouth and connect the top with a straight line. Teacher's Tip: Imagine this as a half-circle; keep the curve smooth to make the emoji look friendly rather than jagged.
Step 5: Adding the Tongue
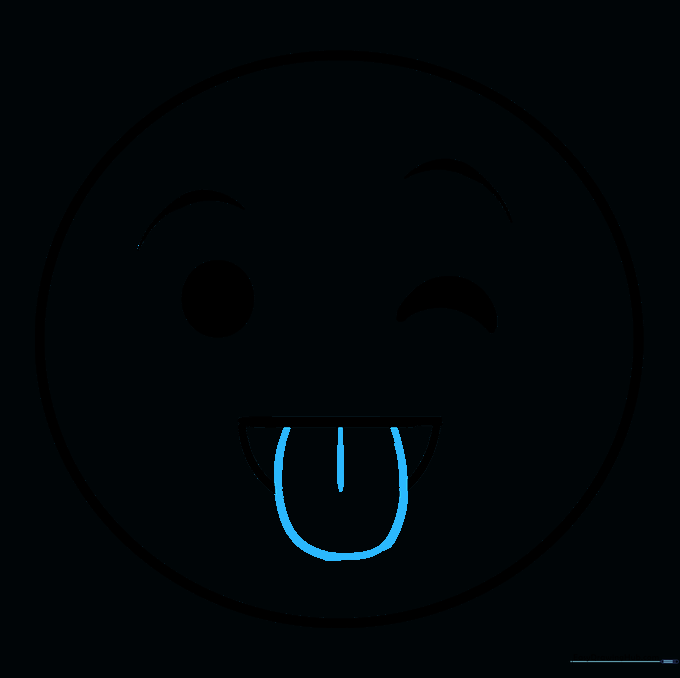
Draw a long 'U' shape extending from the center of the mouth. Erase any lines inside the tongue area to clean up the drawing, then add a vertical line down the center of the tongue for detail. Teacher's Tip: A slightly rounded tongue tip makes the character look more natural.
Step 6: Adding Color

Bring your emoji to life with color! While classic emojis are bright yellow, feel free to experiment with any colors you like. Teacher's Tip: Use light, circular motions when coloring to keep the pigment smooth and even.
More Tutorials


