How to Draw a Toilet: Easy 10-Step Guide for Kids
Looking for a fun, quirky drawing project? This step-by-step guide is perfect for young artists ages 5+ to practice basic geometric shapes and perspective. Grab your pencil, eraser, and paper, and let’s turn simple lines into a clean, cartoon-style toilet.
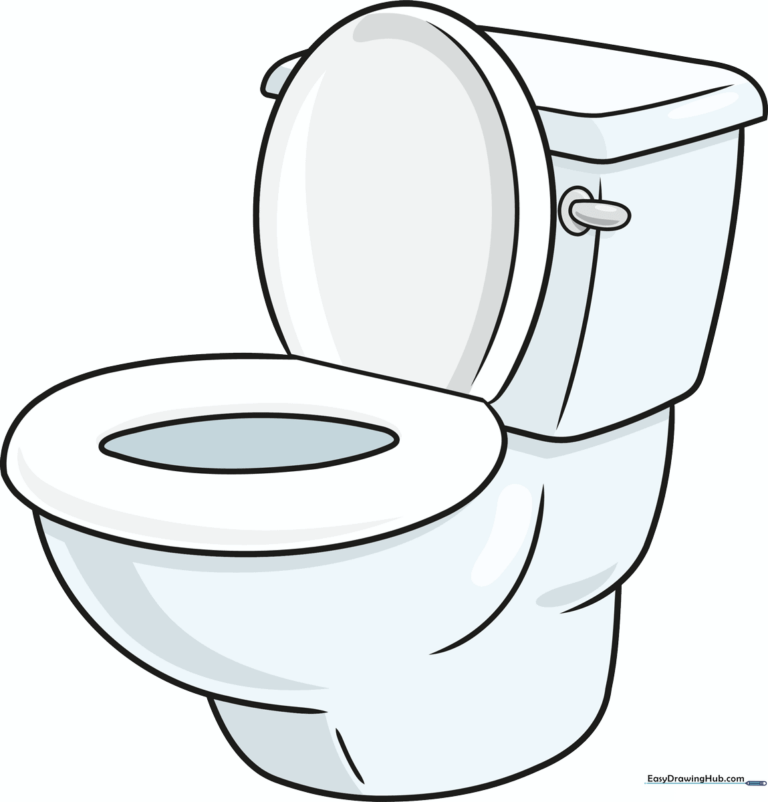
🎯 Final Result
Step-by-Step Instructions
Step 1: Sketching the Lid

Start by drawing an inverted 'U' shape for the open lid. Add a curved line parallel to one side to create depth. Teacher's Tip: Keep your pencil pressure light so you can easily adjust the shape if it looks a bit lopsided.
Step 2: Outlining the Seat
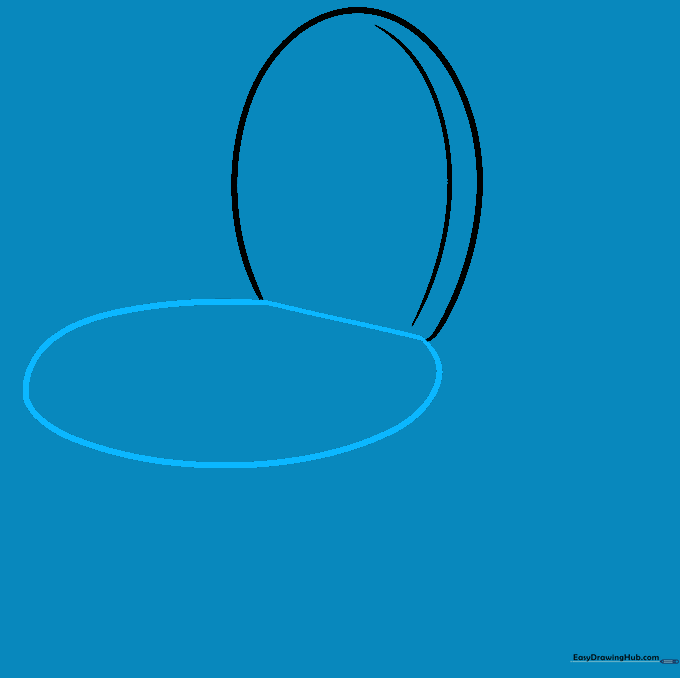
Draw a straight horizontal line across the base of the lid, then extend a long, curved line to form the seat. Teacher's Tip: Think of this as drawing a large, rounded letter 'C' that connects back to the lid.
Step 3: Creating the Inner Rim

Draw a narrow oval inside the seat to represent the opening. Teacher's Tip: Make sure the oval is centered; this helps the drawing look symmetrical and balanced.
Step 4: Sketching the Tank Lid
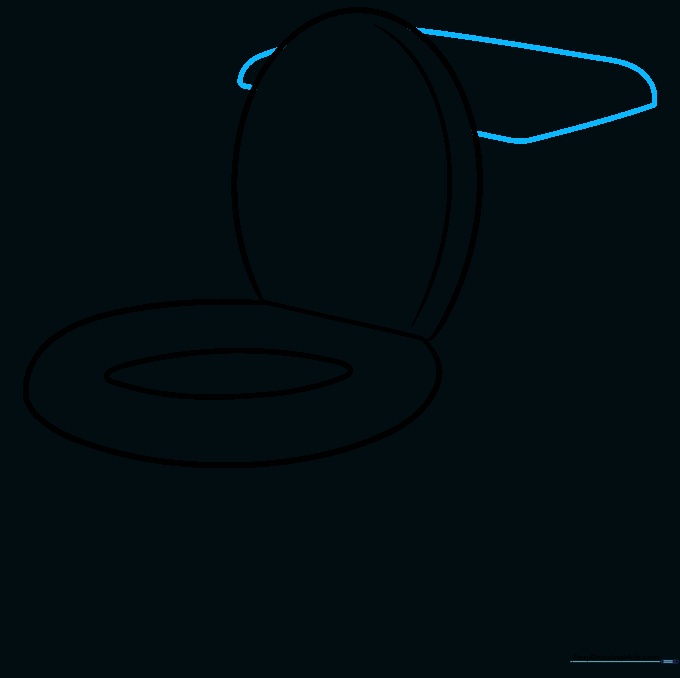
Use straight and curved lines to draw a rectangular shape behind the seat for the tank lid. Teacher's Tip: Imagine you are drawing a small box sitting just behind the seat.
Step 5: Defining the Tank

Connect the tank lid to the seat area using curved vertical lines. Teacher's Tip: Give the corners a slight roundness to make the porcelain look smooth and realistic.
Step 6: Adding the Handle
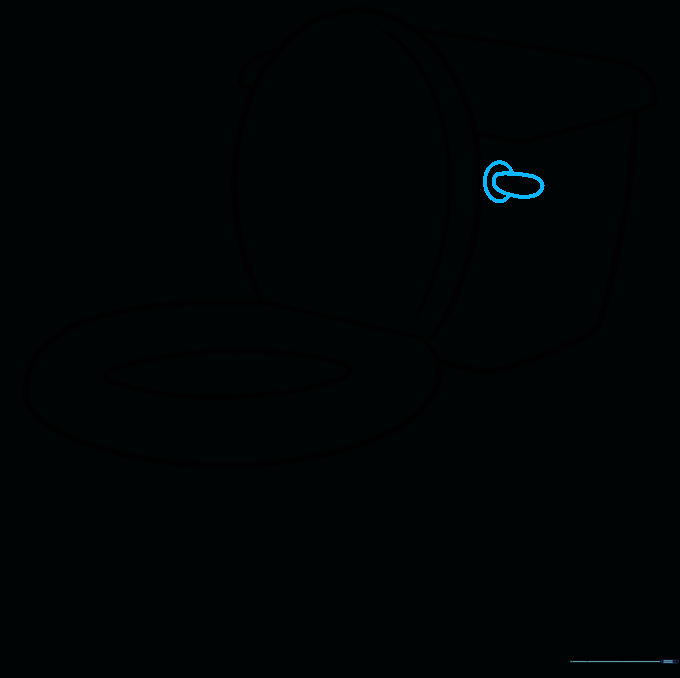
Draw a small irregular oval on the side of the tank, then add a smaller oval inside it for the handle. Teacher's Tip: Keep this detail small so it doesn't distract from the main shape of the toilet.
Step 7: Drawing the Bowl
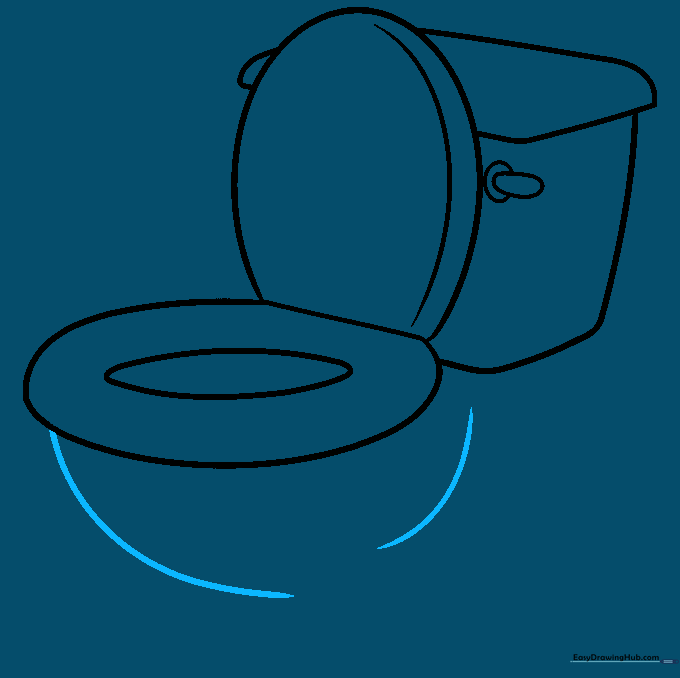
Use two curved lines to form the base of the bowl. Teacher's Tip: One line connects to the seat, while the other creates the outer curve of the bowl, giving it a 3D look.
Step 8: Adding the Base
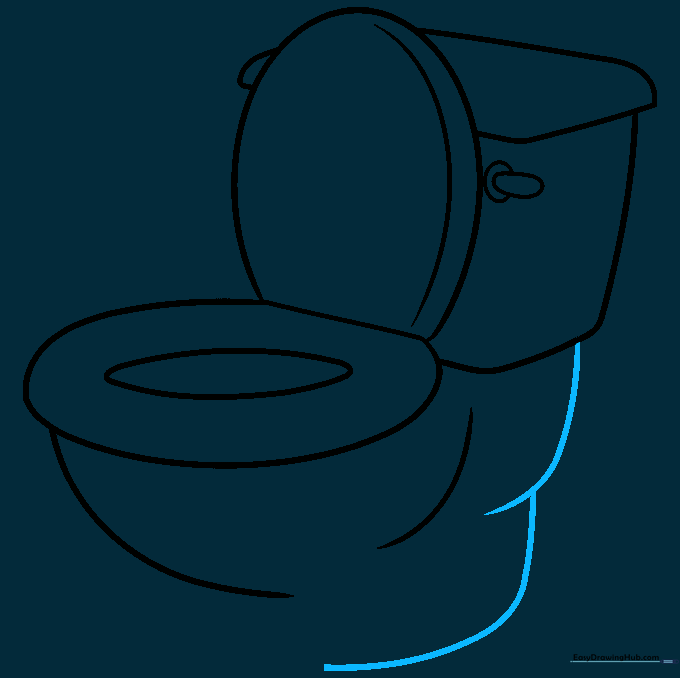
Draw two overlapping curved lines at the very bottom to create the pedestal base. Teacher's Tip: This provides a sturdy foundation for your drawing.
Step 9: Finalizing the Outline
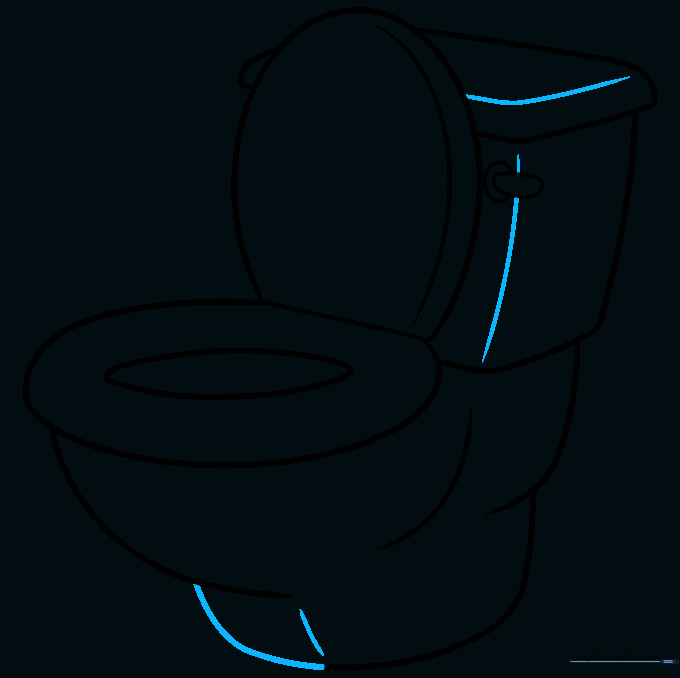
Go over your lines to ensure they are clean and bold. Add subtle contour lines to the tank and base to emphasize the 3D shape. Teacher's Tip: Use a darker pencil or fine-liner for this step to make your drawing pop.
Step 10: Adding Color
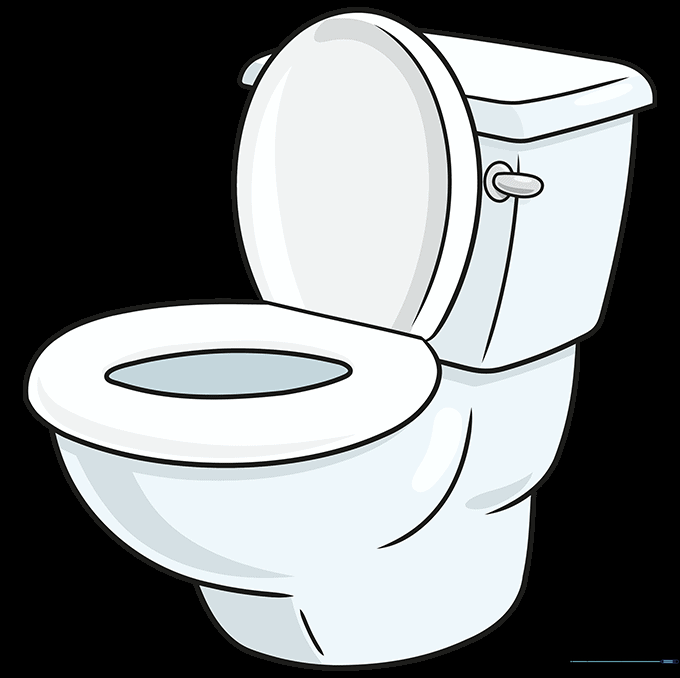
Color your toilet using soft whites, creams, or light blues for a clean look. Teacher's Tip: Use a light grey pencil to add a small shadow on one side to give it a realistic, grounded appearance.
More Tutorials


