How to Draw a Tiger Shark: Easy 10-Step Guide for Kids
Ready to dive into the deep blue? This tiger shark tutorial is perfect for young artists ages 6 and up. Grab your pencil, eraser, and paper to master the iconic stripes and sleek fins of this ocean predator in just a few simple steps.
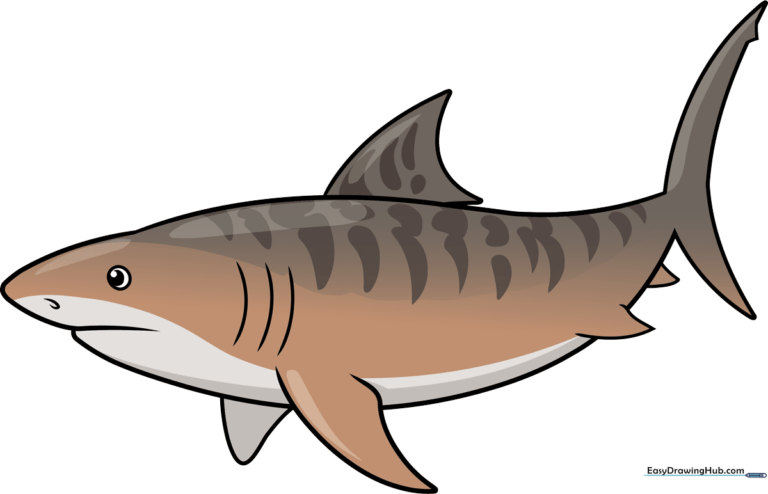
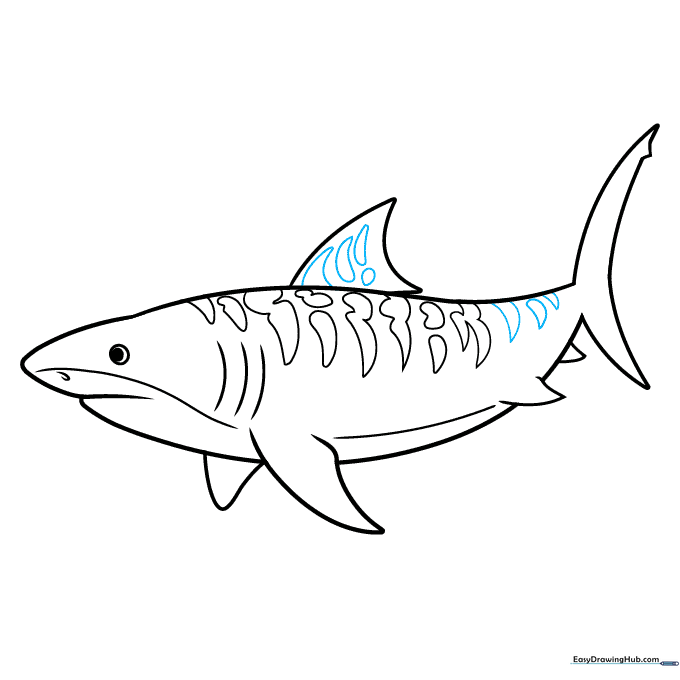
🎯 Final Result
Step-by-Step Instructions
Step 1: Sketching the Head and Eye
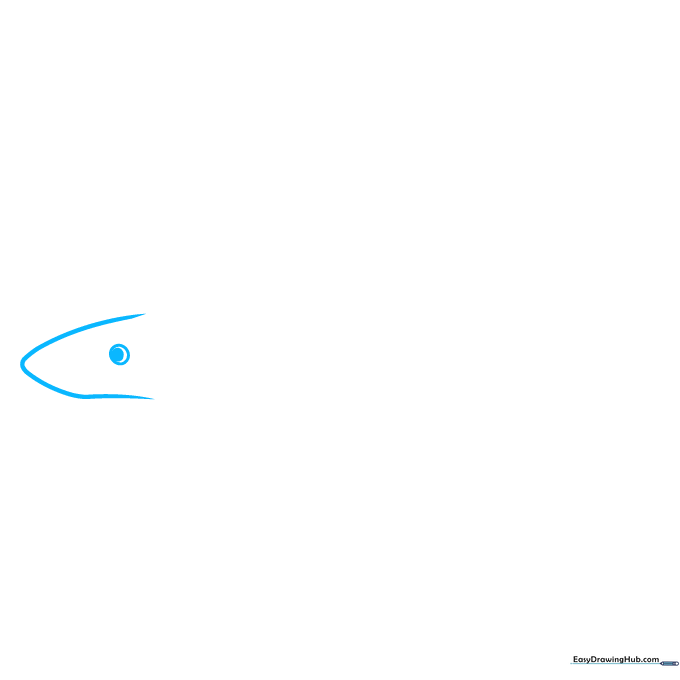
Draw a narrow, uneven arrow shape pointing left to form the snout. Add a circle with a smaller circle inside for the eye. Teacher's Tip: Keep the eye circle small to give your shark a focused, predatory look.
Step 2: Defining the Profile
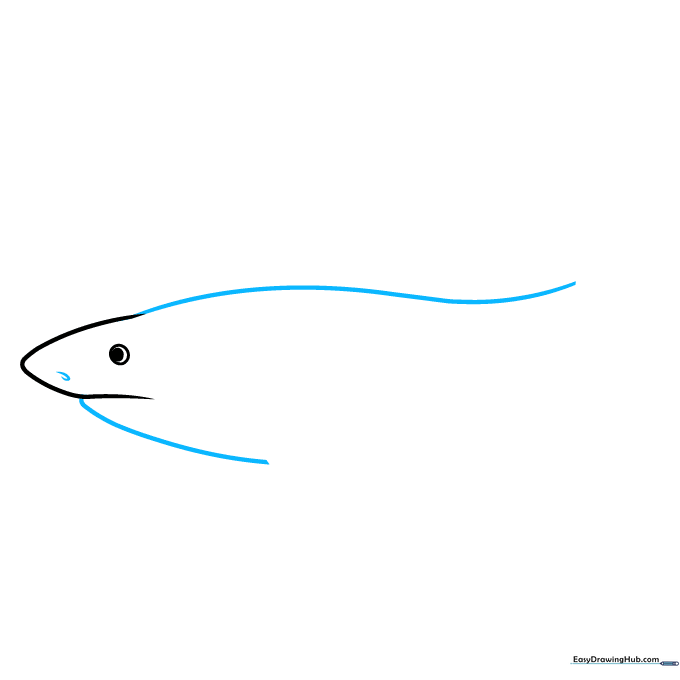
Outline the top of the body using a smooth, flat wave-like curve. Add a small loop for the nostril and a gentle curve for the jaw line. Teacher's Tip: Use a light touch; these curves define the shark's sleek movement.
Step 3: Adding the Pectoral Fin
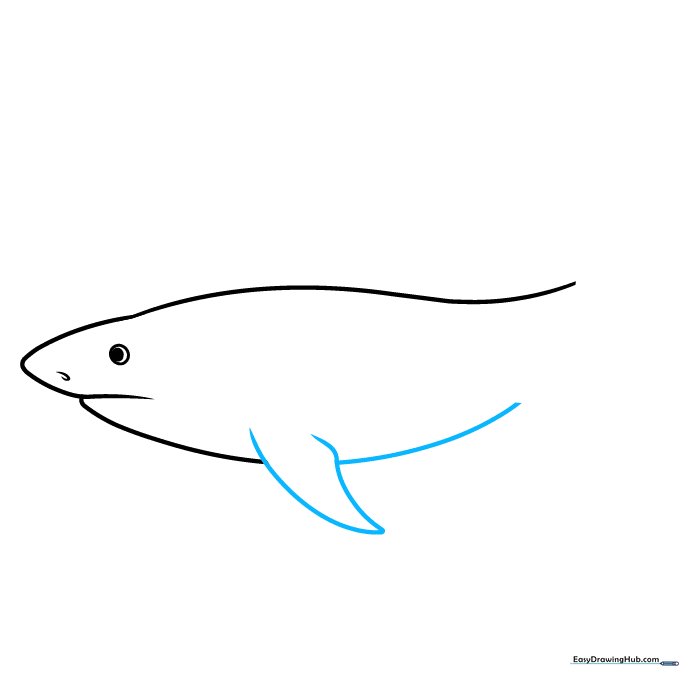
Draw a narrow triangle with a slight bump on the right side for the pectoral fin. Connect it to the body with a horizontal curve. Teacher's Tip: Think of this fin as the shark's 'wing' for steering through the water.
Step 4: Sketching Secondary Fins
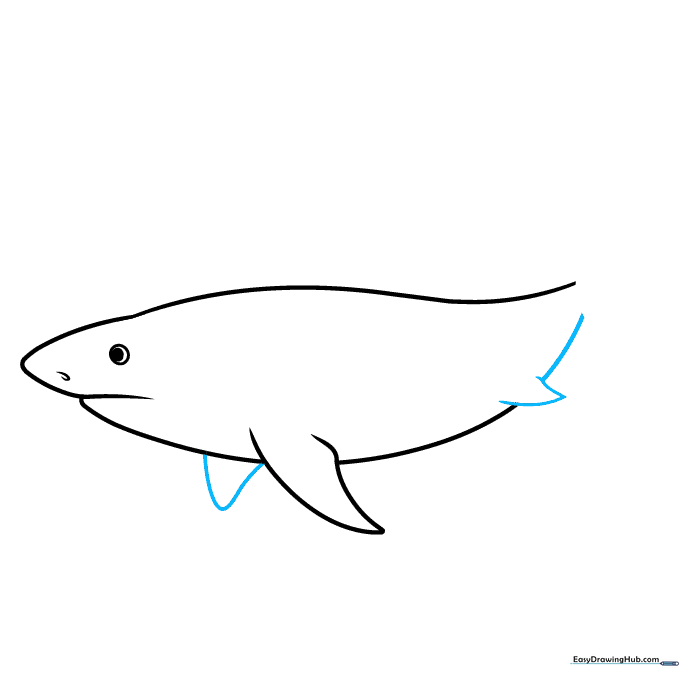
Add two smaller triangles for the pelvic and back fins. Draw a curved line leading toward the tail area. Teacher's Tip: Keep these triangles sharp to emphasize the shark's speed.
Step 5: The Dorsal Fin and Tail Base

Sketch a large triangle with a deep curve on the right for the top dorsal fin. Draw a tall line with two triangles at the end to start the tail. Teacher's Tip: The dorsal fin is the most recognizable shark feature—make it bold!
Step 6: Refining the Tail and Gills
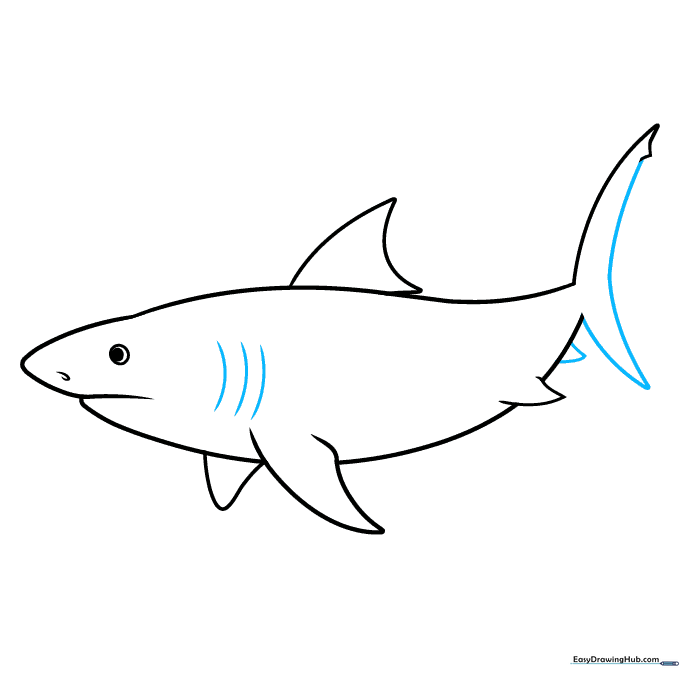
Create a long vertical curve that ends in a narrow triangle for the tail. Add small dashes near the head to represent the gills. Teacher's Tip: Gills are essential for breathing underwater—don't forget these small details!
Step 7: Adding Texture and Markings
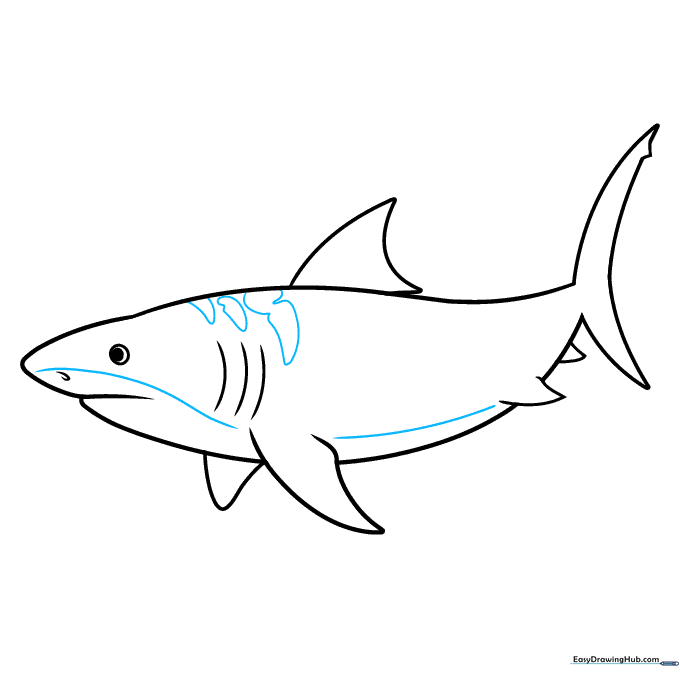
Sketch curved lines on the face and belly to add dimension. Use rounded triangles and ovals for the signature tiger shark stripes. Teacher's Tip: Vary the size of your ovals to make the pattern look natural.
Step 8: Finalizing the Stripes
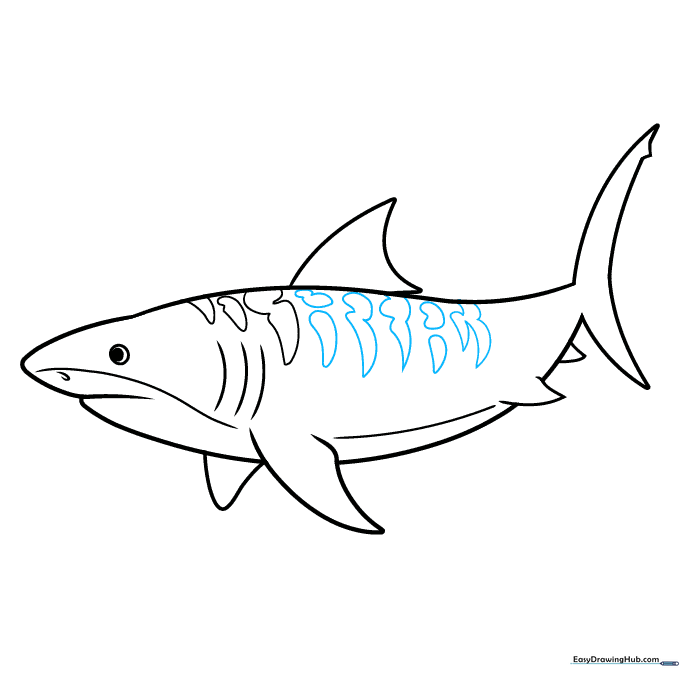
Add more uneven shapes for the spots. Include teardrop shapes along the back to give the shark a dynamic, moving appearance. Teacher's Tip: Don't worry about making them perfect; tiger shark patterns are irregular in nature.
Step 9: Final Touches
Add a few final shapes on the dorsal fin and near the tail to complete the pattern. Review your lines and darken the ones you want to keep. Teacher's Tip: Use your eraser to clean up any stray pencil marks before you start coloring.
Step 10: Coloring Your Shark

Outline with black ink. Color the body in muted browns and reddish-browns, blending with pencils for realism. Use gray for the belly and white for the eye. Teacher's Tip: Add a light blue wash in the background to make your shark look like it's swimming!
More Tutorials


