How to Draw a Roaring Tiger: Easy 9-Step Art Guide
Ready to bring a powerful tiger to life? This tutorial is perfect for young artists ages 7+ looking to practice dynamic expressions. Grab your favorite pencil, an eraser, and a piece of paper to start building your tiger's fierce roar, one simple shape at a time.
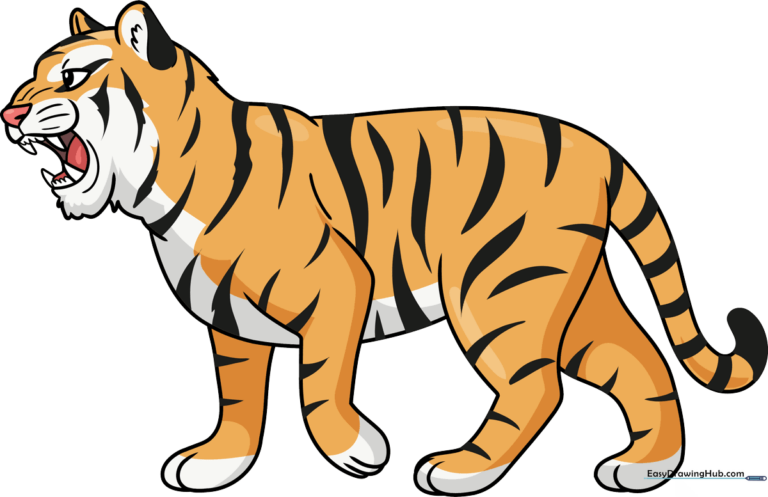
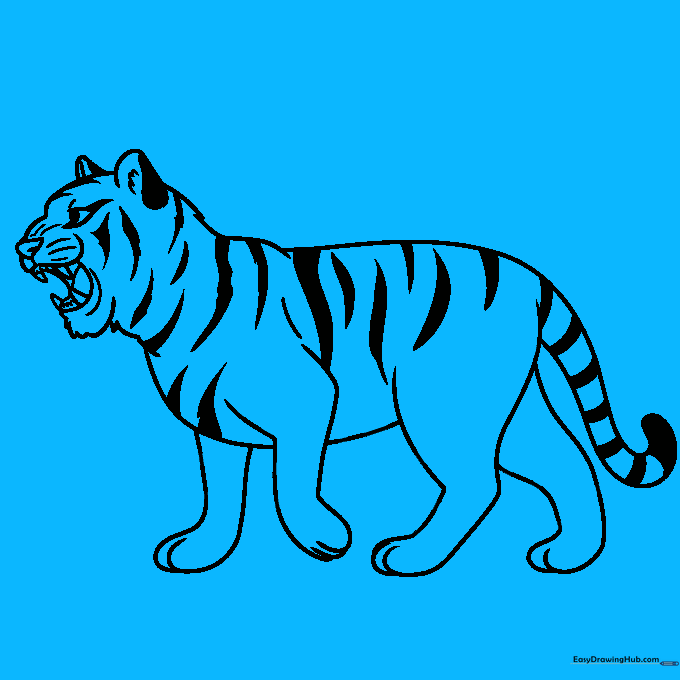
🎯 Final Result
Step-by-Step Instructions
Step 1: Sketching the Tiger's Brow and Nose

Start by sketching the tiger's brow and the top of the nose using curved lines. Add the triangular nose and eye shapes. Teacher's Tip: Keep your pencil pressure light here so you can easily adjust the shape of the eyes if they look a bit lopsided.
Step 2: Defining the Open Mouth
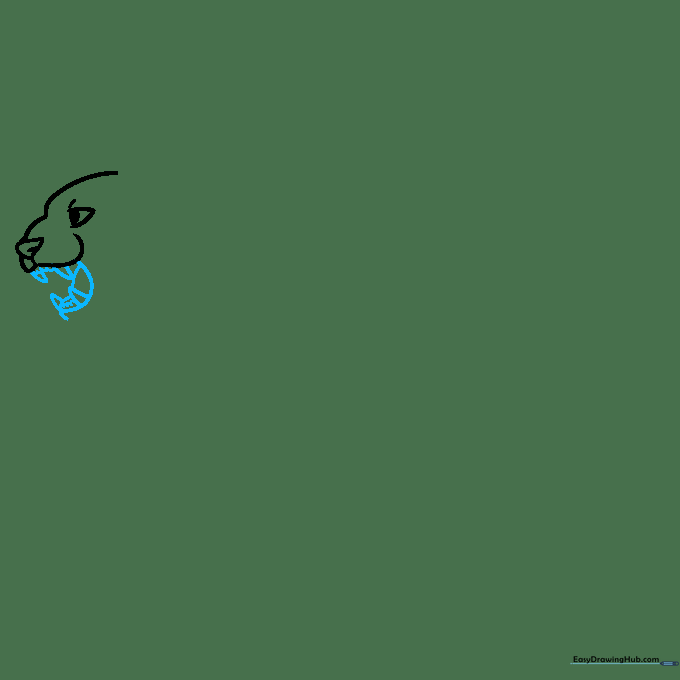
Draw a wide, curved line to form the open mouth. Add sharp, triangular teeth inside and a curved line for the tongue. Teacher's Tip: Make the teeth different sizes to give your tiger a more natural, wild look.
Step 3: Shaping the Head and Ears

Connect the jaws with a curved line and add the ears on top. Use short, jagged strokes around the chin to suggest fur. Teacher's Tip: Use 'furry' strokes—short, quick flicks of the pencil—to make the chin look soft and realistic.
Step 4: Sketching the Neck and Shoulders
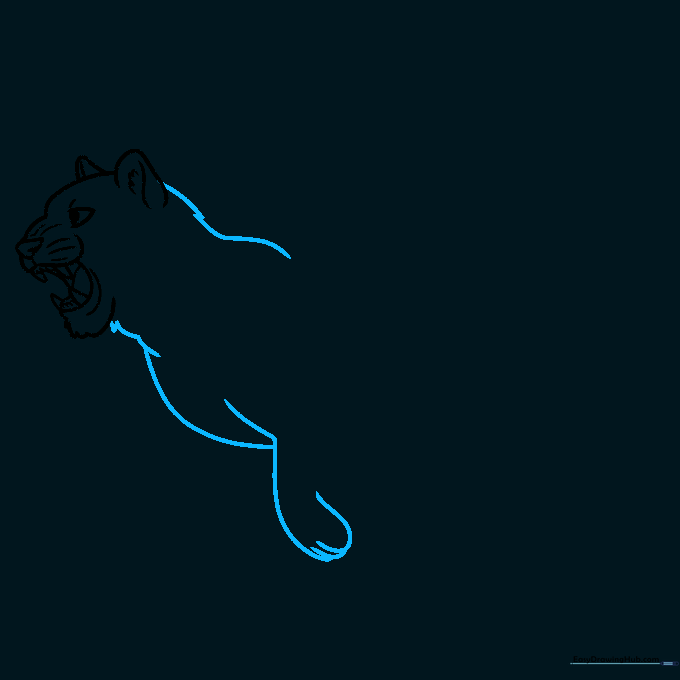
Use overlapping curved lines to draw the back of the head, neck, and chest. This creates the tiger's powerful silhouette. Teacher's Tip: Don't worry about perfect lines; tigers are muscular, so slightly uneven lines actually look more natural.
Step 5: Drawing the Legs and Belly
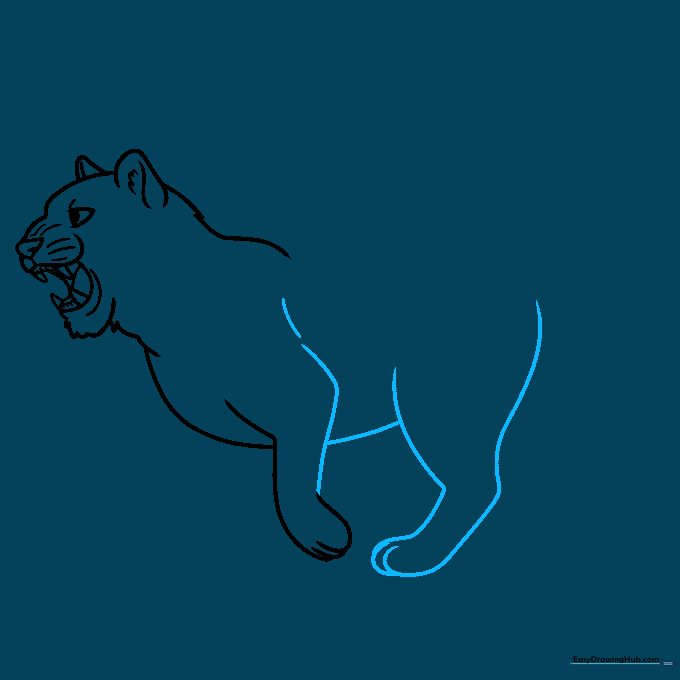
Complete the foreleg and sketch the rear leg with a long, curved line. Connect them with a line for the belly. Teacher's Tip: When drawing the paws, use small overlapping curves to define the toes.
Step 6: Adding the Tail and Remaining Legs

Extend a long, curved line for the tail and sketch the remaining legs. Teacher's Tip: A long, sweeping tail adds movement to your drawing—try to make it look like it's swishing!
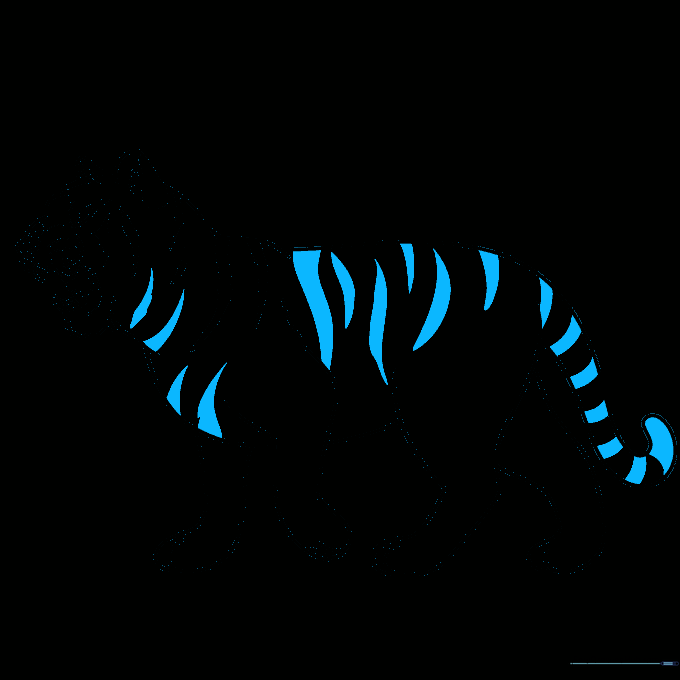
Step 7: Adding Iconic Stripes
Finish the rear leg and add triangular stripes to the face, forehead, and shoulders. Teacher's Tip: Vary the size of your triangles to make the stripes look authentic.
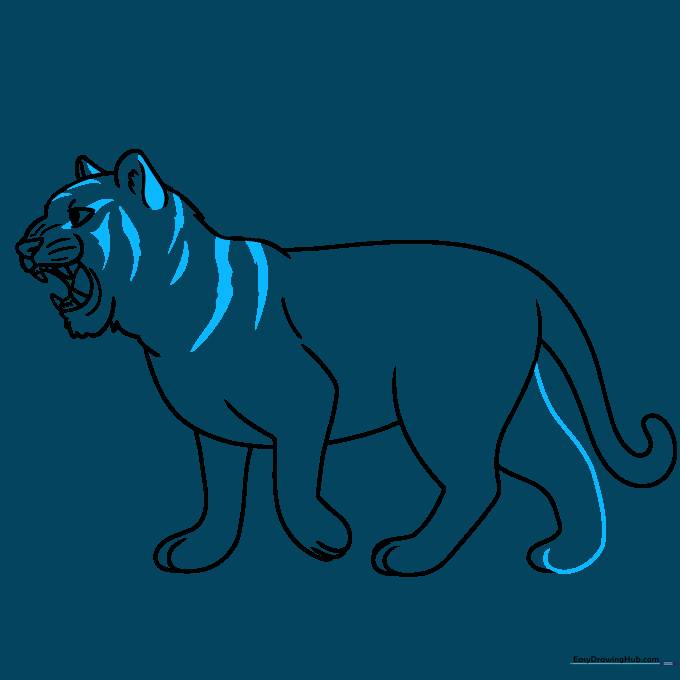
Step 8: Detailing the Body
Continue adding stripes along the neck, chest, back, and tail. Don't forget the tip of the tail! Teacher's Tip: Stripes should follow the curve of the body to make the tiger look 3D.
Step 9: Final Touches
Complete your drawing by adding final stripes along the belly and legs. Teacher's Tip: Once you're happy with your lines, use a black marker to trace over them for a bold, finished look.
Step 10: Bring Your Tiger to Life with Color

Time to color! Use bright orange for the fur and black for the stripes. For a unique twist, try a white tiger with blue eyes. Teacher's Tip: Use light pressure with your orange crayon to create a soft, furry texture.
More Tutorials


