How to Draw a Thunderstorm: Easy 10-Step Guide for Kids
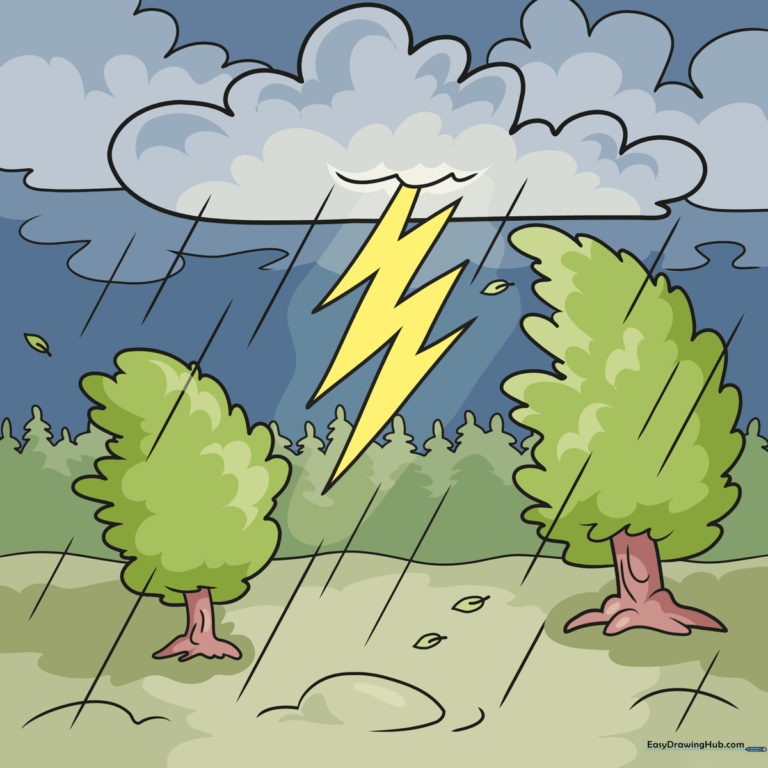
Capture the energy of a storm with this engaging landscape drawing project, perfect for young artists ages 6 and up. You will only need a pencil, eraser, and some colored pencils to bring this weather scene to life. Follow these steps to master drawing fluffy clouds, jagged lightning, and wind-swept trees.
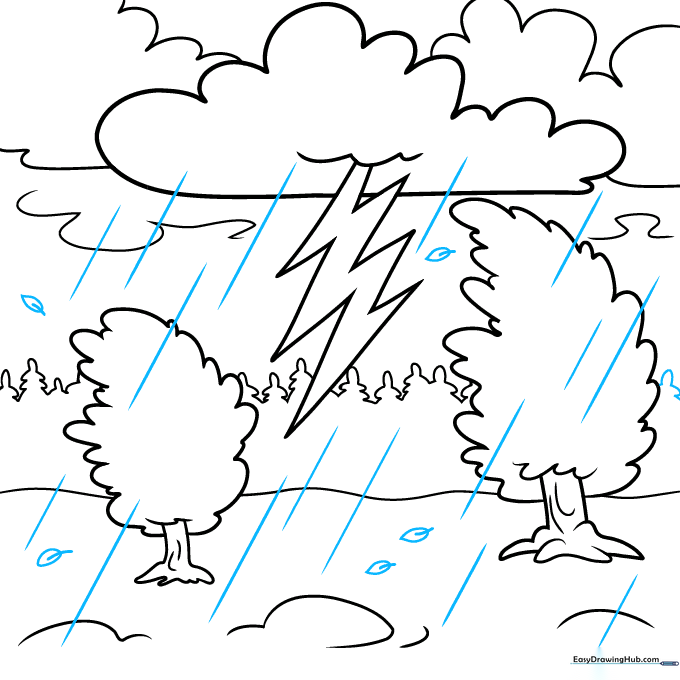
🎯 Final Result
Step-by-Step Instructions
Step 1: Sketching the Storm Cloud

Draw a series of loose, uneven loops to create a fluffy cloud shape. Tip: Don't worry about perfection; clouds are naturally irregular, so let your hand move freely.
Step 2: Adding the Lightning Bolt
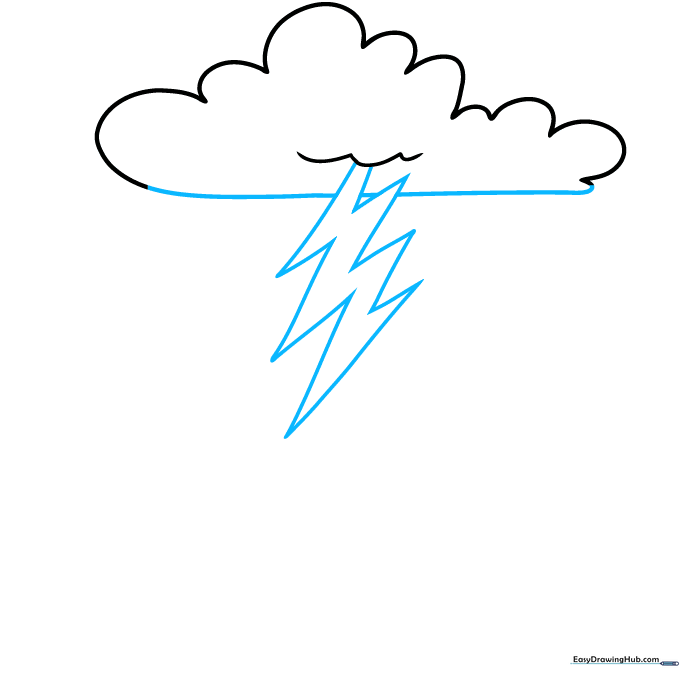
Use jagged, diagonal lines to form a lightning bolt striking down from the cloud. Tip: Draw two parallel jagged lines to give your bolt thickness and weight.
Step 3: Starting the First Tree
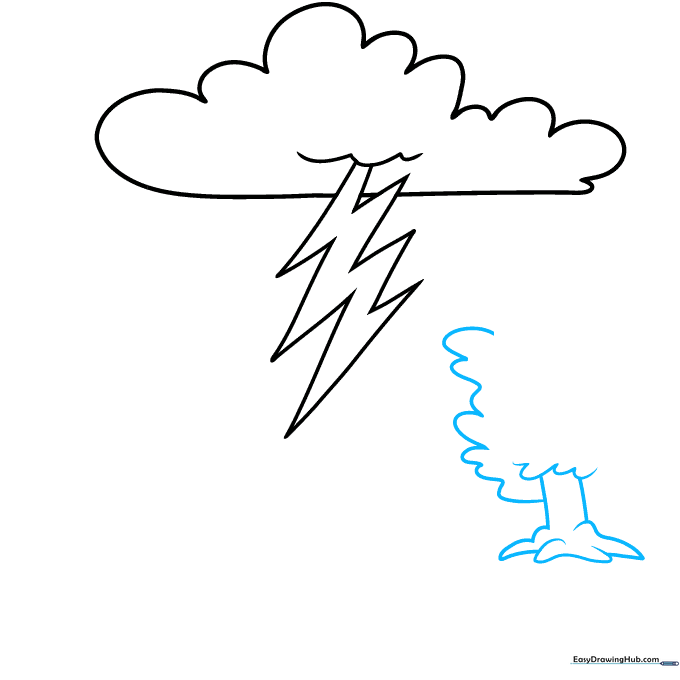
Sketch a cluster of loops on the right side to represent the tree canopy. Add two vertical lines for the trunk and small curves at the base for roots. Tip: Keep the roots wide to make the tree look sturdy.
Step 4: Defining the Tree Canopy
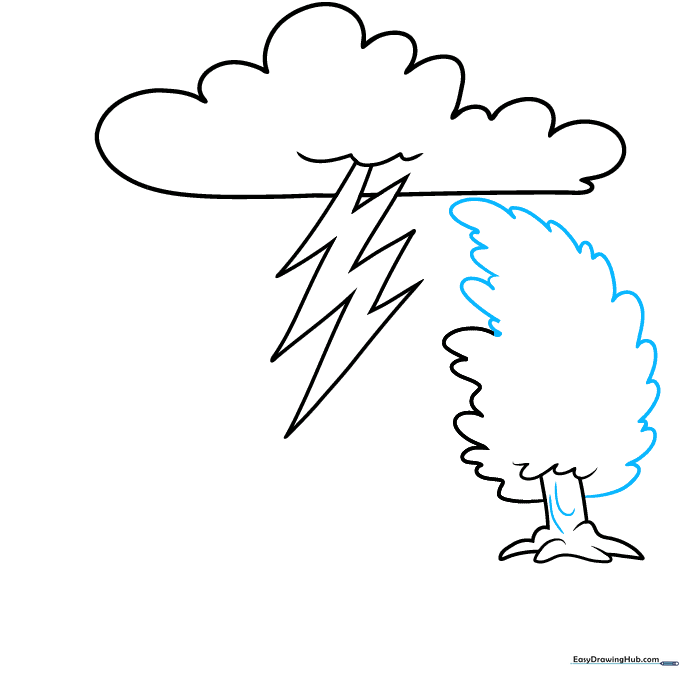
Outline the tree with more fluffy loops, similar to your cloud, to create a full, leafy look. Add two curves inside the trunk to show texture. Tip: Vary the size of your loops to make the tree look more natural.
Step 5: Adding a Second Tree
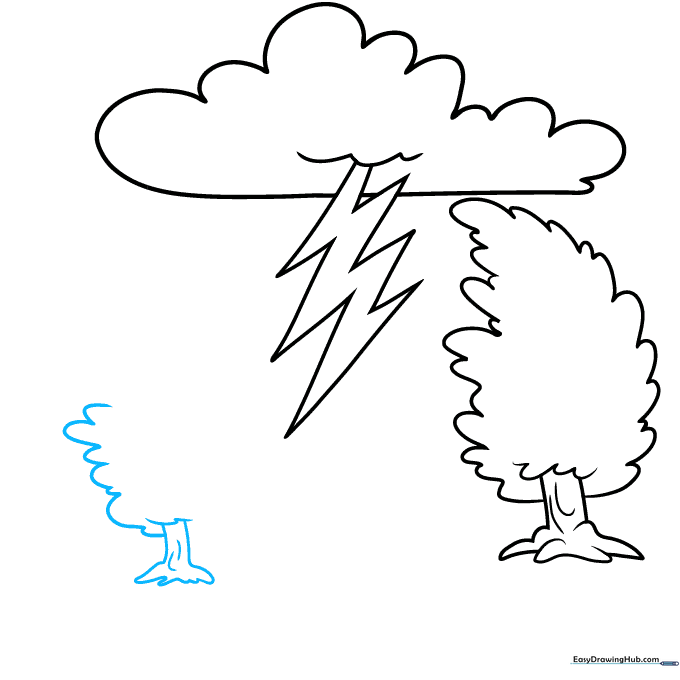
Repeat the process from steps 3 and 4 to draw a smaller tree on the left. Tip: Making this tree smaller creates a sense of depth in your drawing.
Step 6: Creating Wind Effects
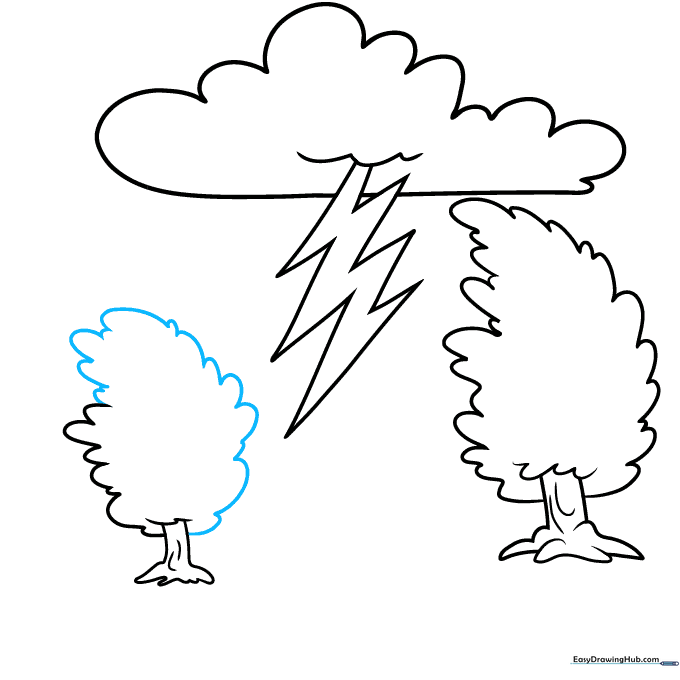
Add extra loops to the tree tops to make them look like they are swaying in a strong wind. Tip: Lean your loops in one direction to show the wind's movement.
Step 7: Drawing the Horizon
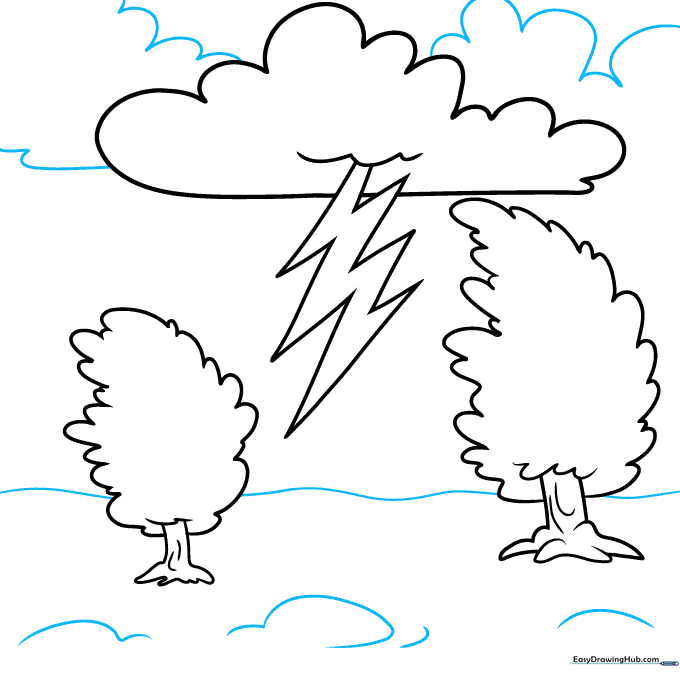
Draw a wavy horizontal line to separate the sky from the ground. Add more loops behind your first cloud to create a dense, layered sky. Tip: Use a lighter touch for the background clouds to keep the focus on the main storm.
Step 8: Adding Background Details
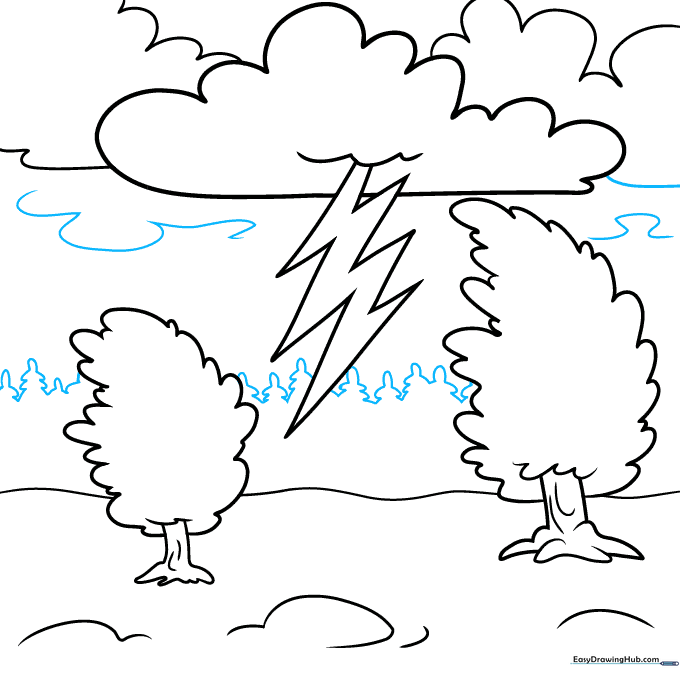
Use tiny loops to sketch a row of distant trees along the horizon. Add a few more wavy lines in the sky to represent turbulent air. Tip: Keep these details small to emphasize distance.
Step 9: Adding Rain and Leaves
Draw small teardrop shapes for falling leaves and straight, vertical lines for rain. Tip: Vary the length of your rain lines to make the downpour look more realistic.
Step 10: Adding Color

Outline your drawing with a dark marker. Use shades of grey for the clouds, bluish-grey for the sky, and earthy browns and greens for the trees and ground. Tip: Use light pressure with your blue pencil to create a soft, rainy atmosphere.
More Tutorials


