How to Draw a Thumbs Up Sign: Easy 10-Step Guide
Mastering the human hand is a milestone for any young artist. This tutorial is perfect for ages 6+ and requires only a pencil, eraser, and paper. By breaking the hand down into simple shapes, you will build the confidence to draw expressive gestures in your own character designs.
🎯 Final Result

Step-by-Step Instructions
Step 1: Sketching the Thumb and Wrist

Draw a long, curved line that looks like a small mountain. This creates the top of the thumb and the wrist area. Teacher's Tip: Keep your pencil pressure very light here so you can easily adjust the shape later if needed.
Step 2: Adding the Pointer Finger

Draw a horizontal oval next to the thumb to represent the curled pointer finger. Teacher's Tip: Imagine you are drawing a small bean shape; keep it rounded to make the finger look natural.
Step 3: Drawing the Middle Finger
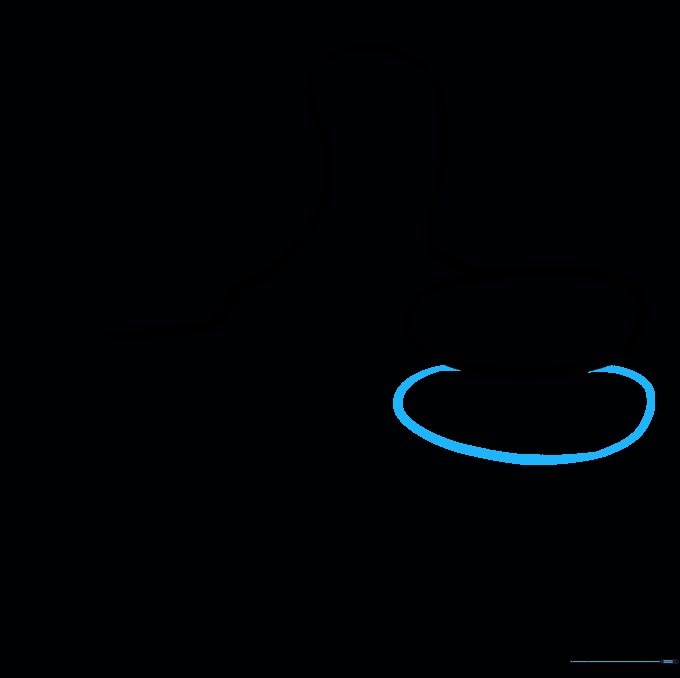
Place another horizontal oval directly beneath the first one for the middle finger. Teacher's Tip: Try to keep the size consistent with the first oval so the hand looks proportional.
Step 4: Adding the Ring Finger

Draw a third horizontal oval beneath the middle finger. Notice how they overlap slightly. Teacher's Tip: Overlapping shapes is a secret trick to make your drawings look 3D instead of flat!
Step 5: Sketching the Pinky Finger

Draw a smaller horizontal oval at the bottom for the pinky finger. Teacher's Tip: Since the pinky is the smallest finger, make this oval slightly shorter than the others.
Step 6: Defining the Palm Edge

Draw a curved line starting from the pinky, moving down toward the wrist. Teacher's Tip: Keep this line smooth to show the natural curve of the side of the hand.
Step 7: Adding Palm Detail

Add small curved lines in a 'Y' shape on the palm area. Teacher's Tip: These lines represent skin creases. Don't press too hard; subtle lines look more realistic.
Step 8: Drawing the Sleeve Cuff

Draw a curved rectangle at the base of the wrist to form a sleeve cuff. Teacher's Tip: Add a small curved line connecting the cuff to the wrist to create depth.
Step 9: Adding Fingernails

Draw small, irregular rounded shapes at the tips of the fingers for nails. Teacher's Tip: Keep these very small so they don't overpower the fingers.
Step 10: Final Touches and Coloring

Erase any extra guidelines and color your hand! Teacher's Tip: Use a light peach or brown for the skin, and try adding a little shading on the side of the thumb to make it pop.
More Tutorials


