How to Draw a Throne: Easy 10-Step Guide for Kids
Ready to design your own royal seat? This tutorial is perfect for young artists ages 6+ who want to practice symmetry and structural drawing. All you need is a pencil, an eraser, and a piece of paper to bring this regal throne to life.
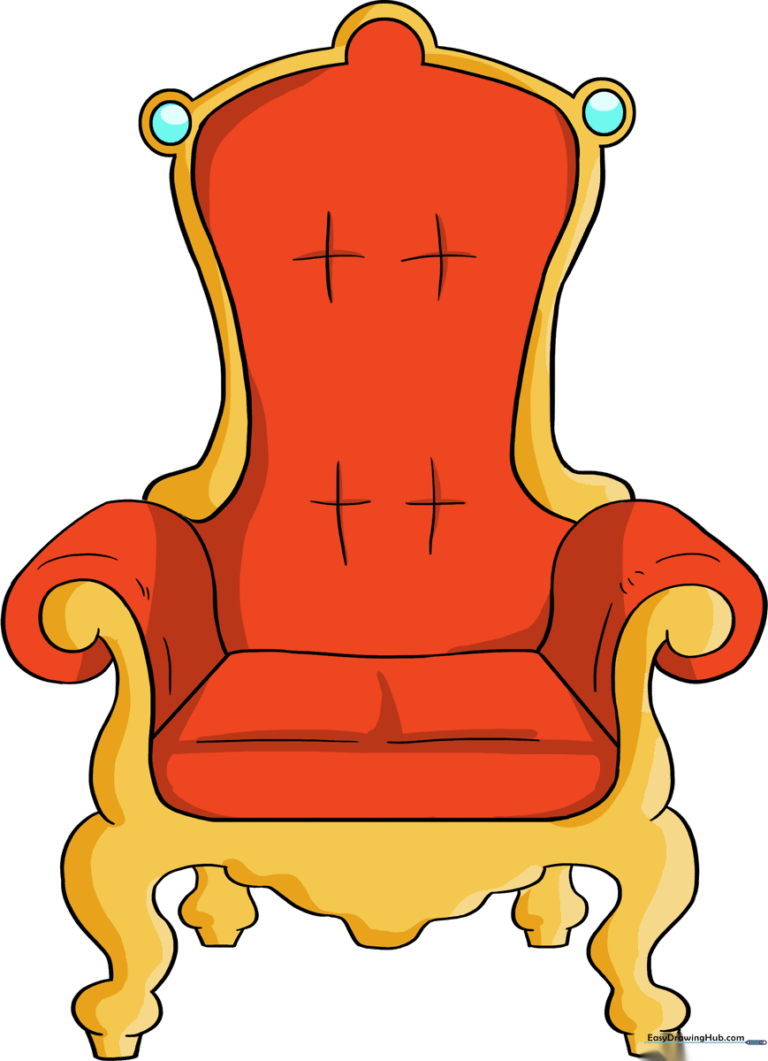
🎯 Final Result
Step-by-Step Instructions
Step 1: Sketching the First Leg
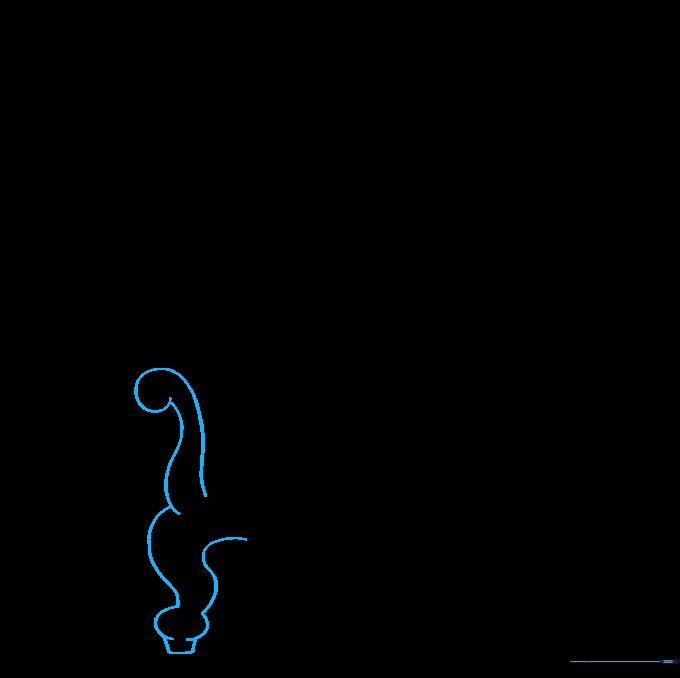
Start by drawing the front leg and arm of the throne. Create a long, curved line that loops back to form a small circle at the end. Tip: Keep your hand loose—this doesn't need to be perfectly straight, as it represents the ornate woodwork of a chair.
Step 2: Creating Symmetry

Now, draw a mirror image of the first leg and arm on the right side. Tip: If you find symmetry tricky, try drawing a very light vertical line down the center of your paper to act as a guide.
Step 3: Connecting the Base

Connect the front arms with a gentle curve and the legs with a scalloped line. Add the rear legs using small 't' shapes. Tip: The scalloped line gives the chair a fancy, antique look.
Step 4: Drawing the Seat

Draw the cushioned seat using a rounded trapezoid shape. Tip: Imagine the cushion is soft and puffy, so use slightly rounded corners instead of sharp ones.
Step 5: Adding Armrest Padding
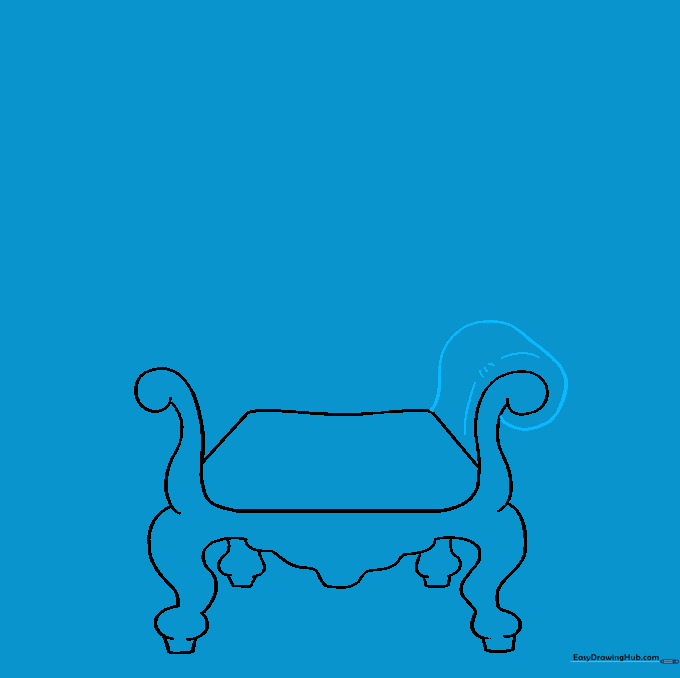
Add detail to the armrests by drawing a spiral shape. This makes the throne look upholstered. Tip: Keep the spiral tight to show where the fabric rolls over the wood.
Step 6: Balancing the Armrests

Repeat the spiral detail on the other armrest. Tip: Check that both spirals are at the same height to keep your throne looking balanced.
Step 7: Sketching the Backrest
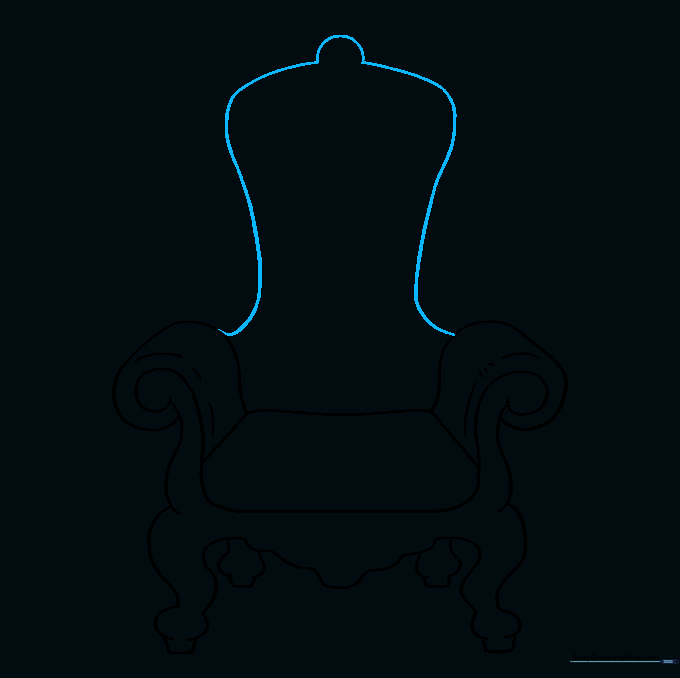
Draw the tall back of the throne with a large, curved line. Include a semi-circular bulge at the very top. Tip: This is the 'crown' of the chair, so make it nice and tall!
Step 8: Adding Decorative Knobs
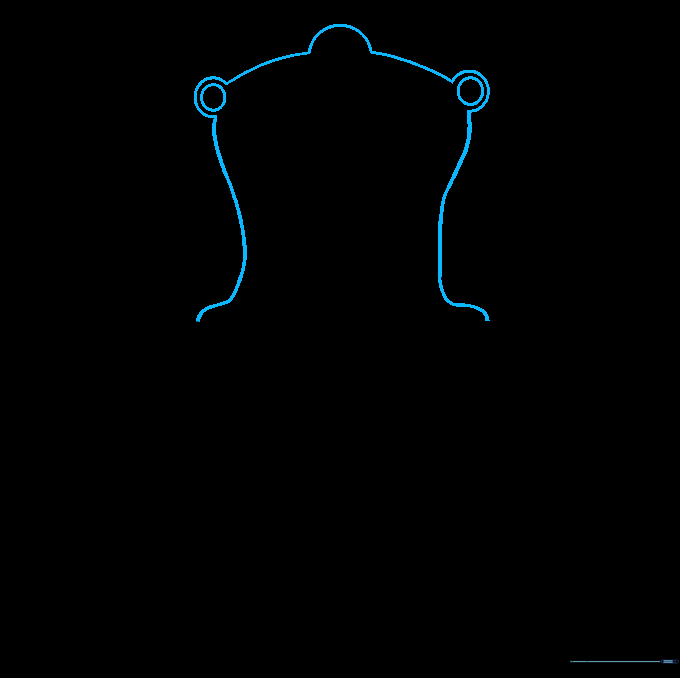
Draw a small circle at each top corner of the backrest. Connect the backrest to the arms with smooth, flowing lines. Tip: These circles look like decorative wooden finials.
Step 9: Adding Texture
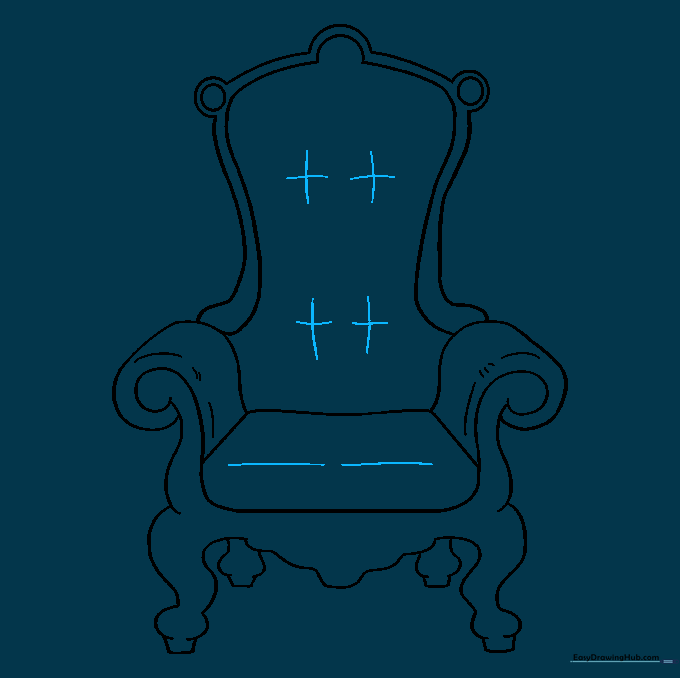
Add 't' shaped lines on the backrest to show where the fabric is tucked or buttoned. Add a few curved lines on the seat to show depth. Tip: These small lines add a professional, 3D look to your drawing.
Step 10: Bringing it to Life with Color
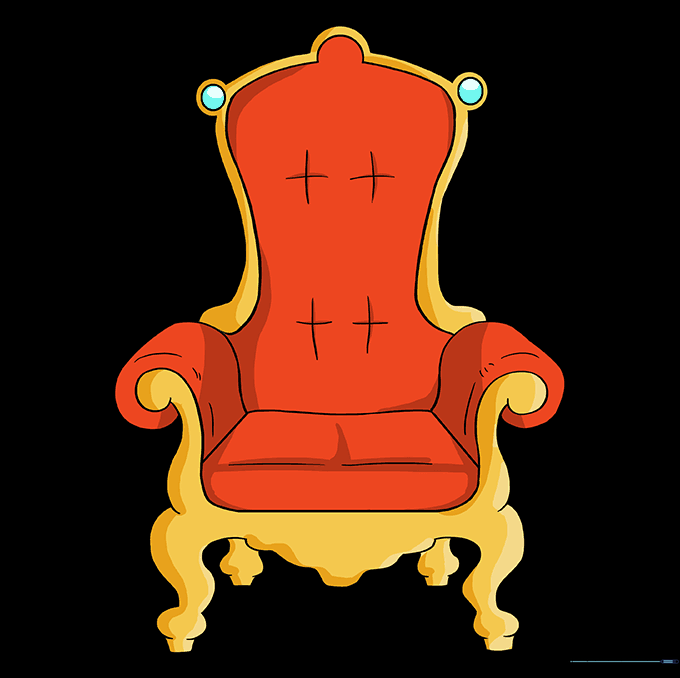
Time to color! Use gold for the wooden frame and deep red or purple for the cushions to give it a royal feel. Tip: Use a darker shade of your color in the corners to create shadows and make the throne look more realistic.
More Tutorials


