How to Draw a Thermometer: Easy 10-Step Guide for Kids
Looking for a fun way to combine art and science? This tutorial is perfect for young learners to practice steady hand control while illustrating a classic scientific tool. All you need is a pencil, an eraser, and your favorite markers to bring this thermometer to life.
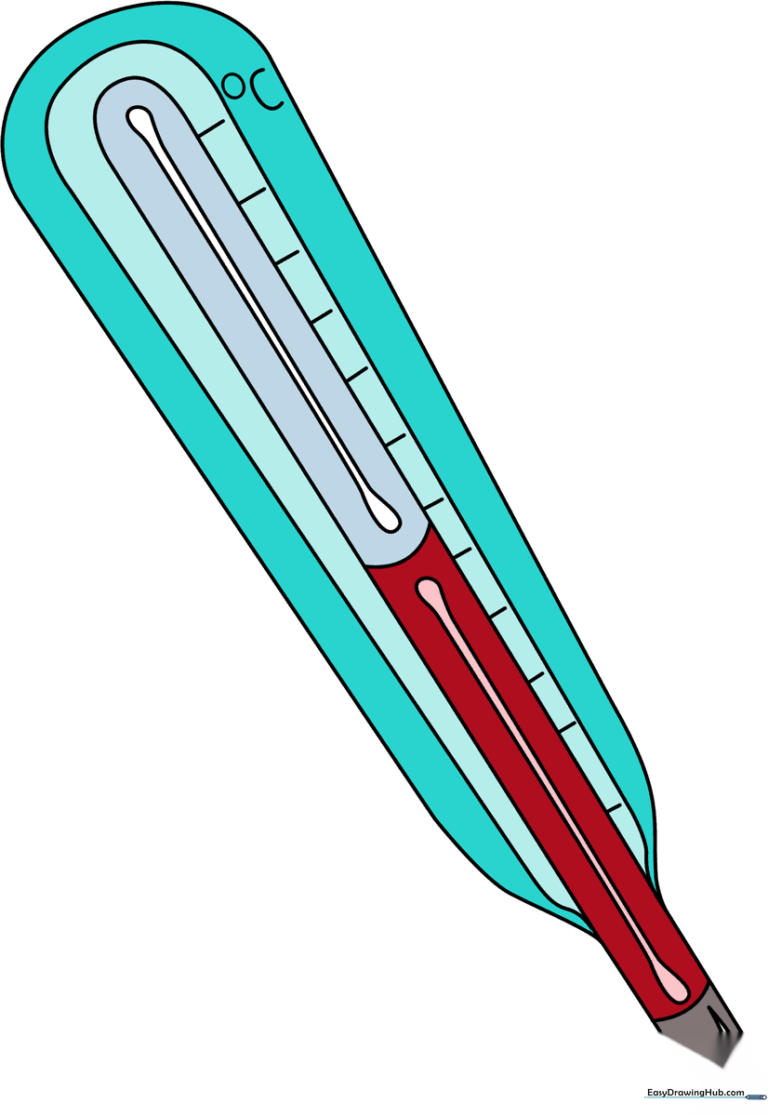
🎯 Final Result
Step-by-Step Instructions
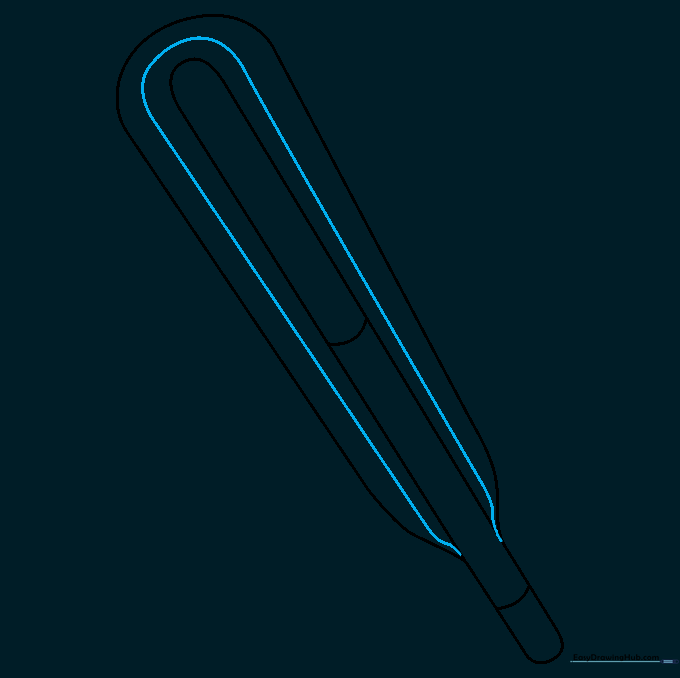
Step 1: Sketching the Main Body

Draw a long, slightly curved vertical shape that is wider at the top and tapers down. Teacher's Tip: Keep your pencil pressure light so you can easily adjust the symmetry before moving on to the details.
Step 2: Adding the Bulb

Add a rounded, spherical shape at the very bottom of your vertical line. This is the bulb that holds the liquid. Tip: Think of it like drawing a small circle attached to the base of your stem.
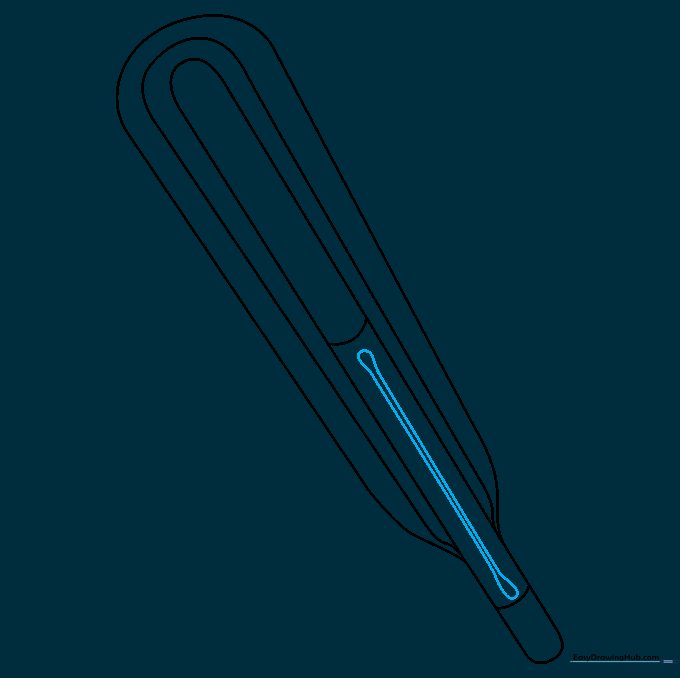
Step 3: Creating the Capillary Tube

Draw a thin, inner channel running up the center of your thermometer. This is where the liquid rises. Tip: Use a ruler if you want perfectly straight edges, or keep it freehand for a more organic, cartoon look.
Step 4: Marking the Temperature Level

Draw a horizontal line across the capillary tube to show the current temperature reading. Tip: Decide if your thermometer is showing a 'hot' or 'cold' day by placing this line higher or lower.
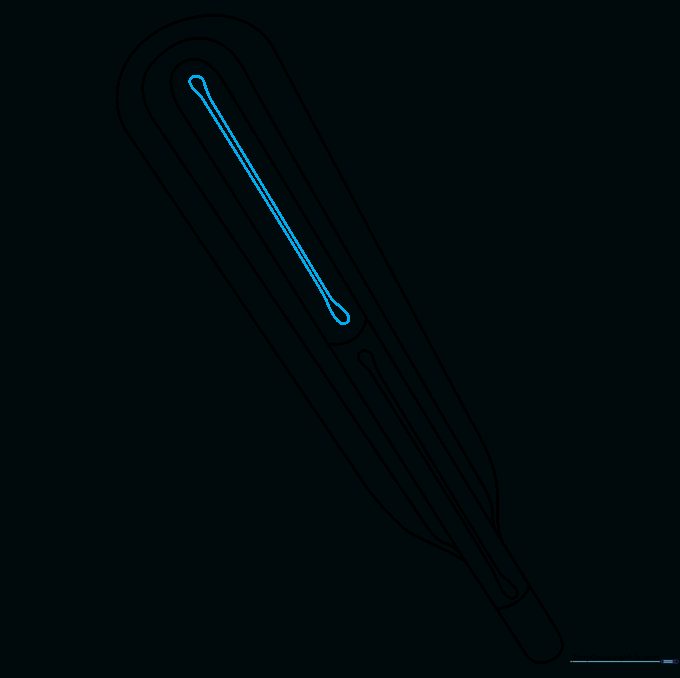
Step 5: Defining the Scale Area
Draw a curved border around the capillary tube to create the space for your numbers. Tip: Keep this border parallel to the outer edge of the thermometer for a professional, clean finish.
Step 6: Adding Glass Highlights
Draw small, parallel lines on the lower half of the tube to represent glass reflections. Tip: These little 'shine' marks make your drawing look 3D and realistic!
Step 7: Adding Upper Highlights
Repeat the reflection lines on the upper portion of the tube. Tip: Try to keep these lines consistent in length so the glass looks uniform.
Step 8: Drawing Scale Marks

Add short, evenly spaced lines along the side of the tube. These are your temperature markers. Tip: Take your time here—the more even your spacing, the more accurate your thermometer will look.
Step 9: Final Touches and Labels

Draw a small loop at the top for hanging and add a 'C' or 'F' label to show the unit of measurement. Tip: Use a fine-tip pen for the letters to keep them neat and legible.
Step 10: Bring It to Life with Color
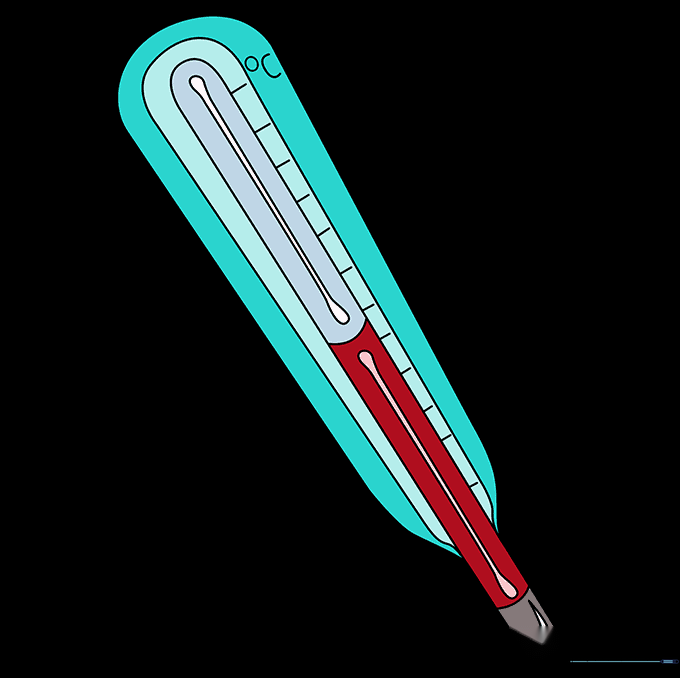
Color the liquid inside red for a classic look, or silver for a realistic mercury effect. Tip: Use a light blue or gray for the glass areas to make the red liquid pop!
More Tutorials


