How to Draw a Thanksgiving Card: Easy Step-by-Step Guide
Create a beautiful, hand-drawn Thanksgiving card perfect for sharing with family and friends. This project is ideal for artists ages 5 and up, requiring only a pencil, eraser, and paper. Follow these steps to build a festive scene that develops your spatial awareness and line control.
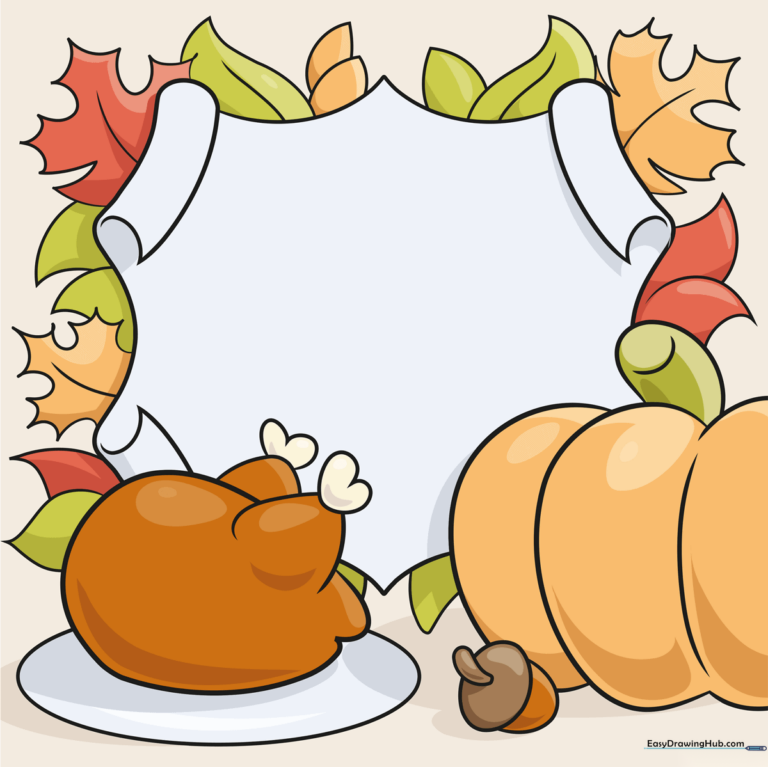
🎯 Final Result
Step-by-Step Instructions
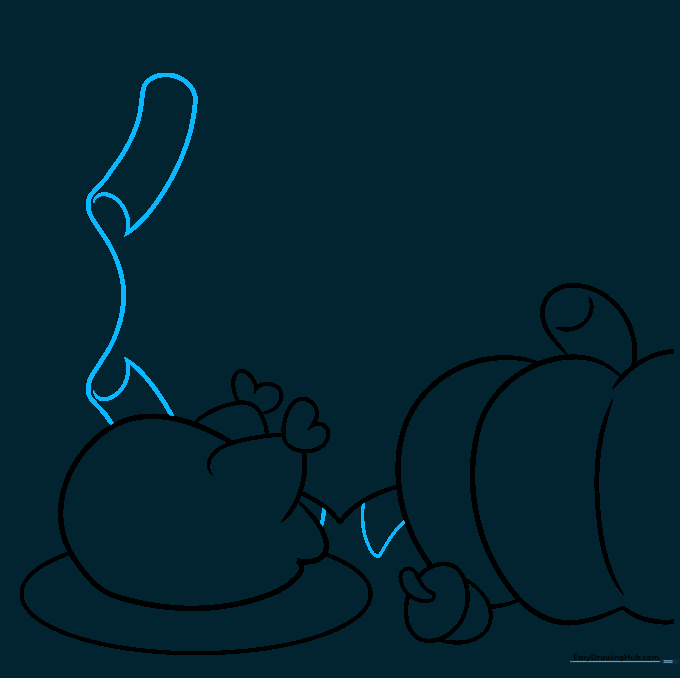
Step 1: Sketching the Pumpkin Base

Start by drawing the pumpkin using a series of overlapping curved lines to create the bulging ribs. Add a small oval on top for the stem, and finish it with a 'C' shaped line to give it a 3D look. Teacher's Tip: Keep your pencil pressure light here so you can easily adjust the shape if needed.
Step 2: Drawing the Turkey Body

Draw the turkey's body using a long, continuous curved line that loops back on itself. In the open space, add two drumsticks using simple curved lines. Teacher's Tip: Focus on the overlapping lines to create depth, making the turkey look like it's sitting in the foreground.
Step 3: Adding the Acorn

Add a small heart shape to the end of each drumstick. Next, draw an acorn next to the pumpkin by sketching an irregular cap and a semicircular nut. Teacher's Tip: If your lines overlap the pumpkin, use your eraser to clean up the intersection for a professional look.
Step 4: Creating the Scroll Background
Extend a long curved line from the turkey to start the scroll border. Use 'C' shaped lines at the ends to create the appearance of rolled paper. Teacher's Tip: Imagine the paper is curling toward you; this helps you place the 'C' curves correctly.
Step 5: Completing the Scroll
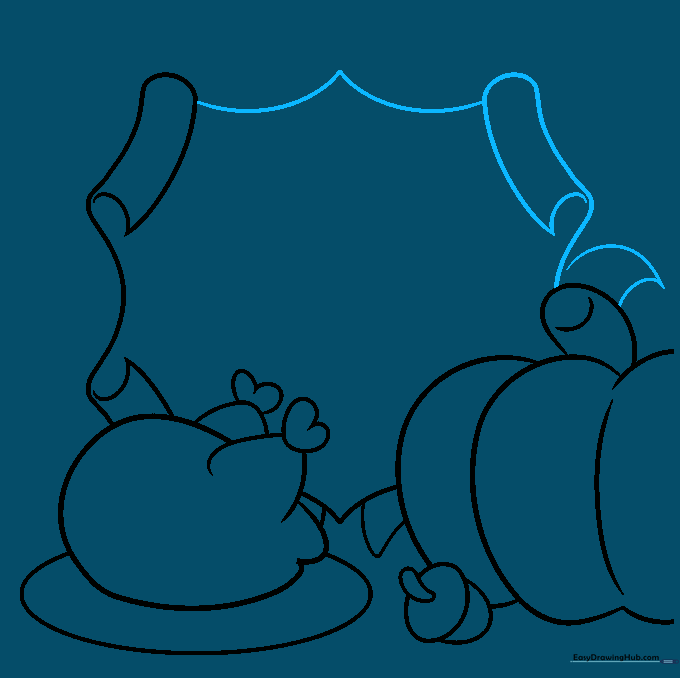
Extend the scroll line from the pumpkin, mirroring the 'C' curve technique. Add a leaf above the pumpkin stem and a wide 'W' shape between the top scroll edges. Teacher's Tip: The 'W' shape acts as a decorative header for your card message.
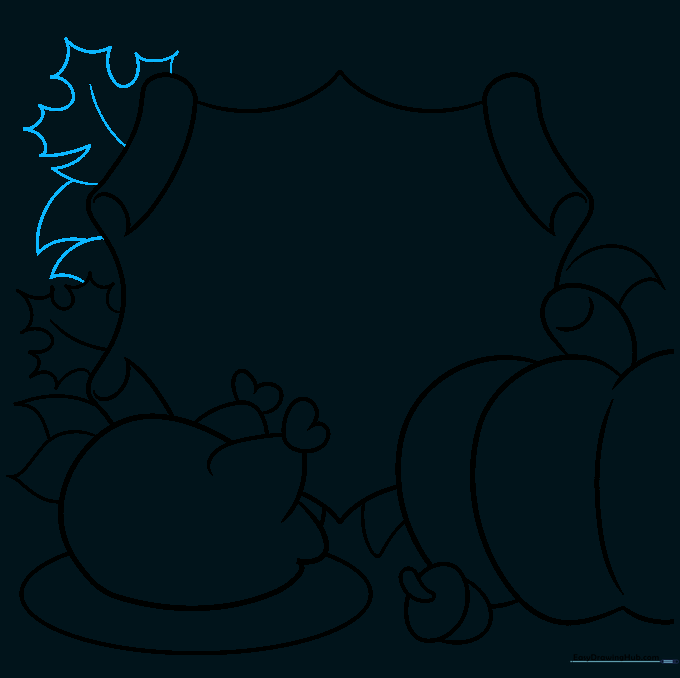
Step 6: Adding Fall Foliage
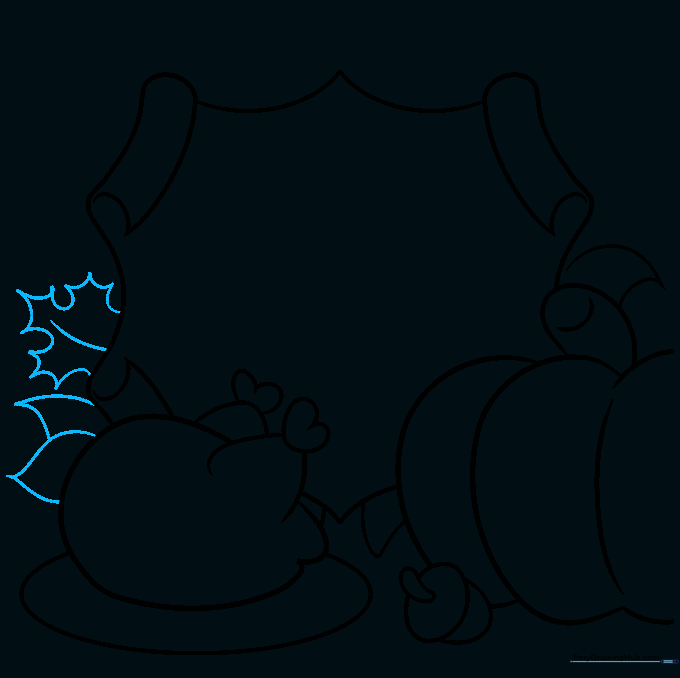
Draw various leaves around the turkey using sharp, pointed lines. Include an oak leaf with distinct lobes and a center vein. Teacher's Tip: Vary the size of your leaves to make the arrangement look natural and organic.
Step 7: Filling the Space
Add more leaves to fill the empty areas around your main subjects. Ensure they overlap slightly to create a sense of depth. Teacher's Tip: Don't worry about making them perfect; leaves in nature are all unique shapes!
Step 8: Final Leaf Details
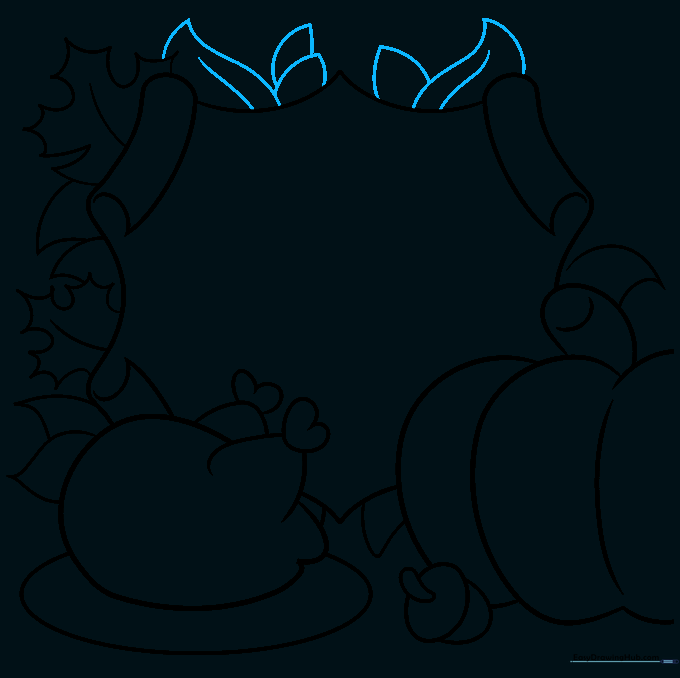
Add final leaves to the top of the scroll and draw veins in the center of the larger leaves. Teacher's Tip: Use a slightly darker pencil stroke for the veins to make them stand out.
Step 9: Finalizing the Outline
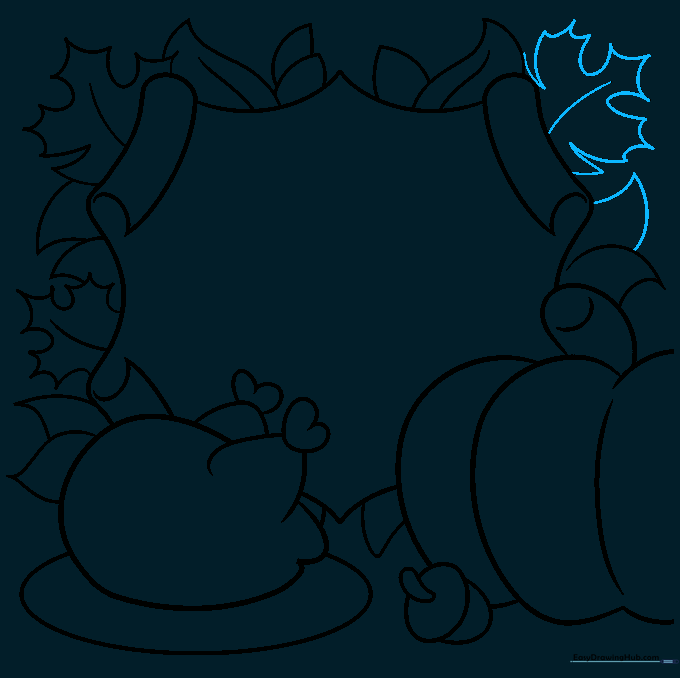
Add one final oak leaf at the scroll corner and a few smaller leaves beneath it to balance the composition. Teacher's Tip: Take a step back and look at your drawing to see if any areas need more balance.
Step 10: Adding Color
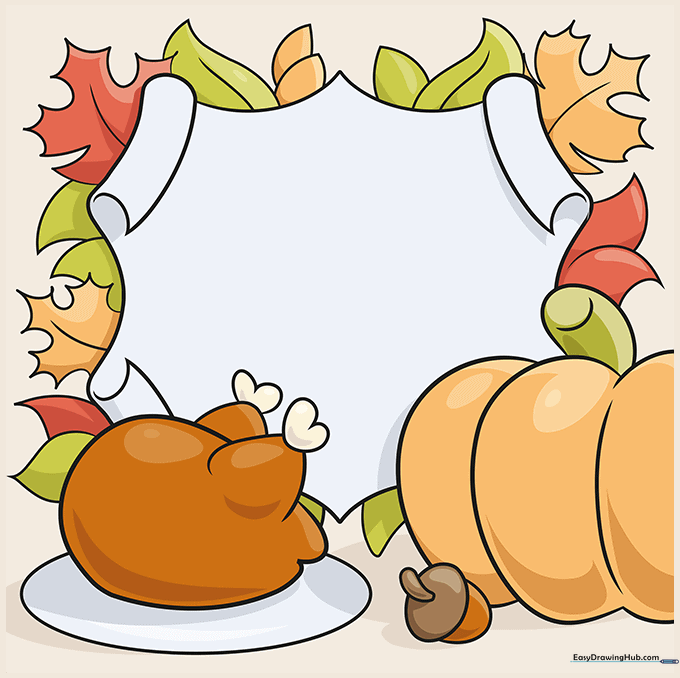
Bring your card to life with color! Use warm oranges for the pumpkin, and vibrant reds, yellows, and browns for the fall leaves. Teacher's Tip: Try blending two colors on the leaves to mimic the natural changing colors of autumn.
More Tutorials


