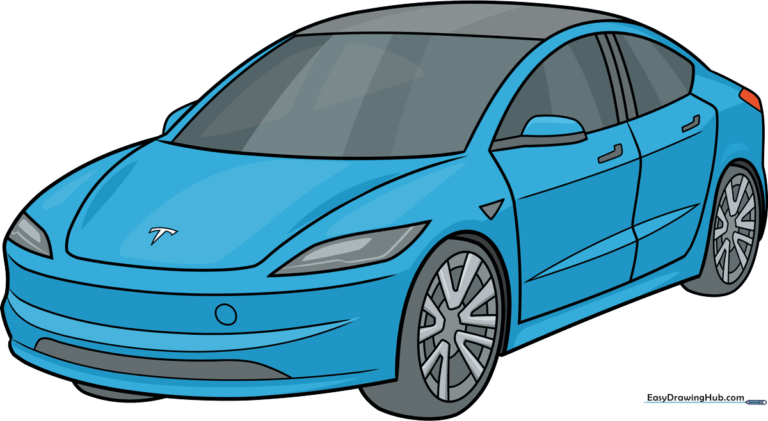
How to Draw a Tesla: Easy 10-Step Guide for Kids
Ready to design your own electric vehicle? This tutorial is perfect for young artists ages 6+ who love cars. You will need a pencil, eraser, and paper to follow along as we break down the sleek curves of a Tesla into simple, manageable shapes.
🎯 Final Result
Step-by-Step Instructions
Step 1: Sketching the Base
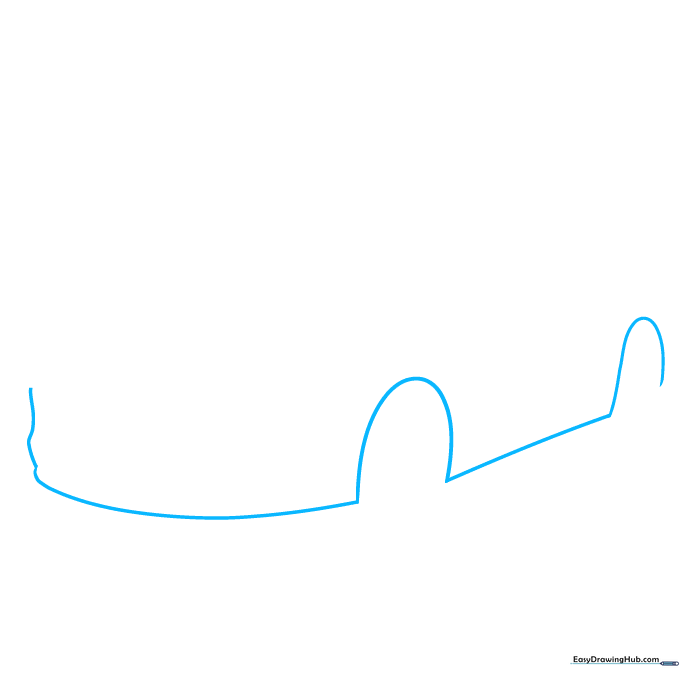
Start by drawing a series of soft, curved lines to create the front bumper and wheel wells. Teacher's Tip: Keep your pencil pressure light; these are just guidelines to help you find the car's shape.
Step 2: Defining the Body
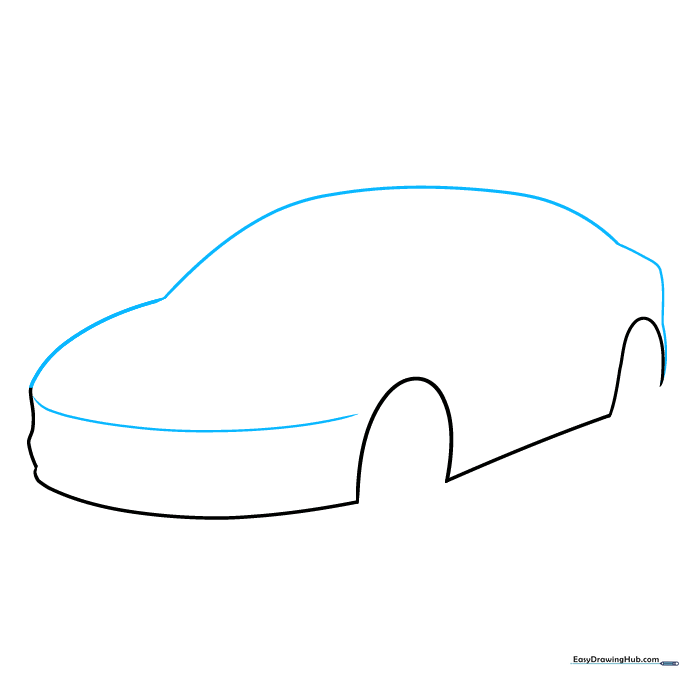
Extend your lines upward to form the hood, cabin, and trunk. Connect them to enclose the car's body. Tip: Aim for a smooth, continuous flow to give the car that signature aerodynamic look.
Step 3: Adding Windows and Hood

Draw the rectangular shapes for the windshield and side windows. Add a small curve for the headlight area. Tip: Use a ruler if you want perfectly straight lines, but freehand adds a nice, organic feel.
Step 4: Refining Headlights and Doors
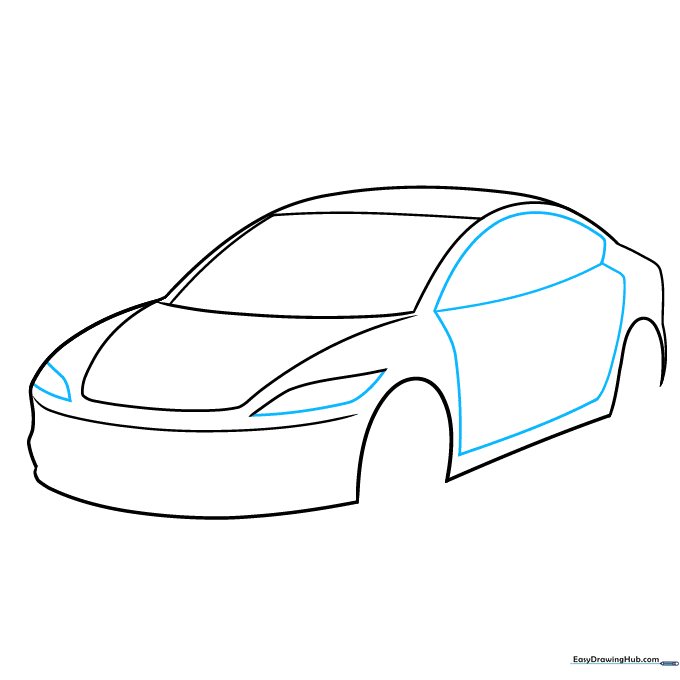
Detail the headlights with double-pointed shapes and sketch the door frame. Tip: Notice how the door line follows the curve of the car—keep it parallel to the bottom edge.
Step 5: Mirrors and Trim
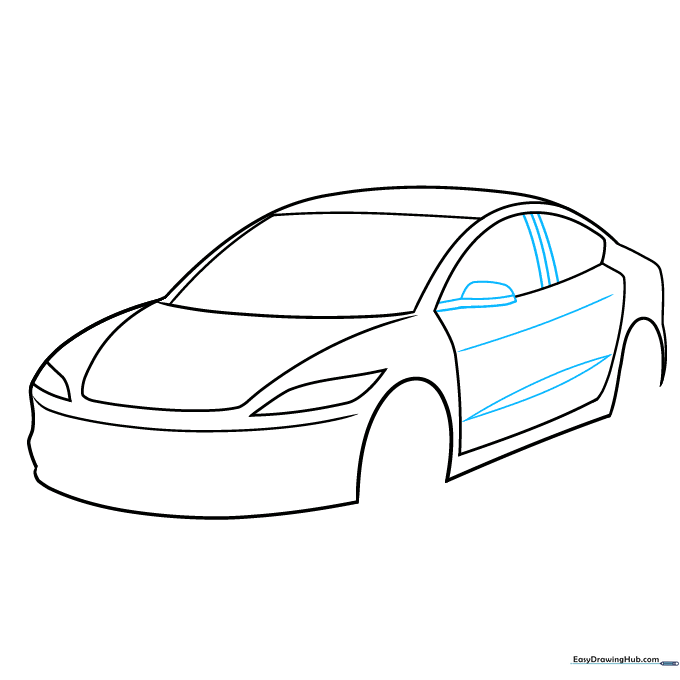
Add the side mirror using a small rounded shape and draw the window trim. Tip: A side mirror is just a small 'U' shape attached to the door—don't overcomplicate it!
Step 6: Drawing the Wheels
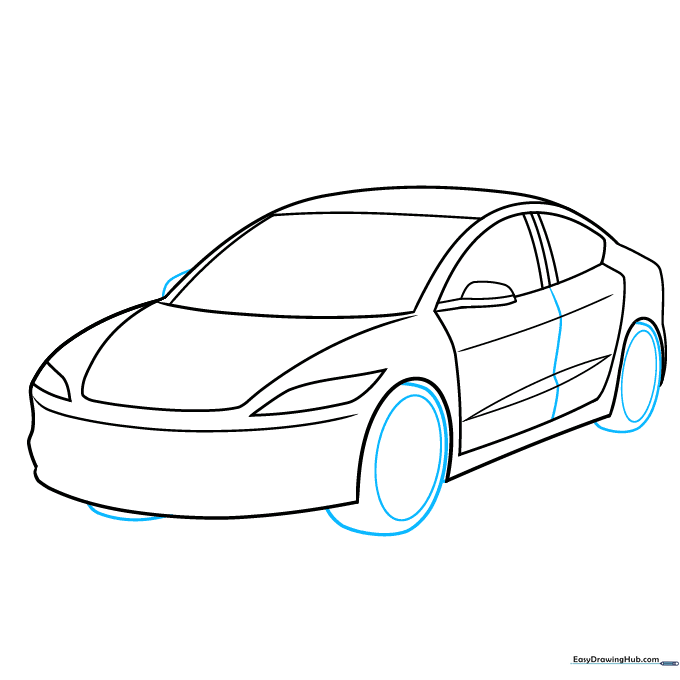
Draw ovals inside the wheel wells and add curved lines around them for the tires. Tip: Make sure the tires look sturdy by drawing the outer circle slightly thicker than the inner one.
Step 7: Bumper and Grill Details
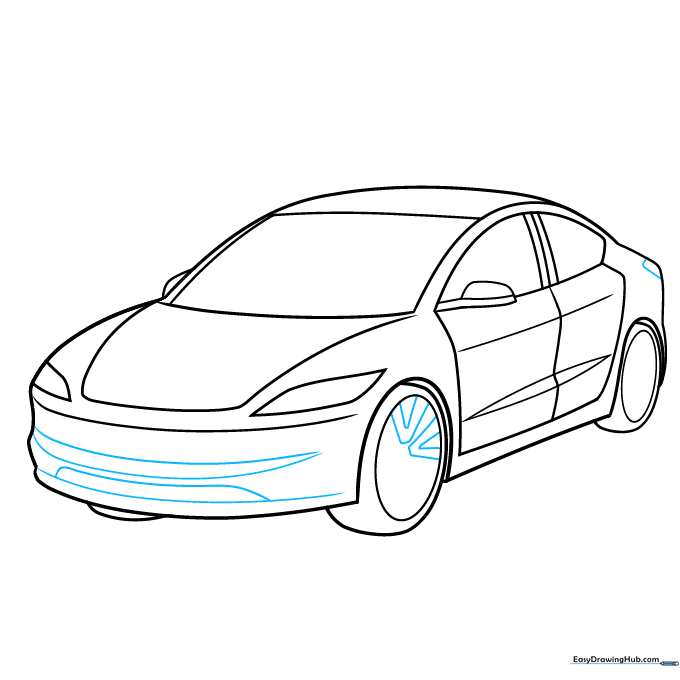
Add the front bumper and grill using long, smooth curves. Start the 'V' patterns on the wheels for the rims. Tip: The 'V' pattern creates the illusion of spokes on the wheels.
Step 8: Rim Patterns
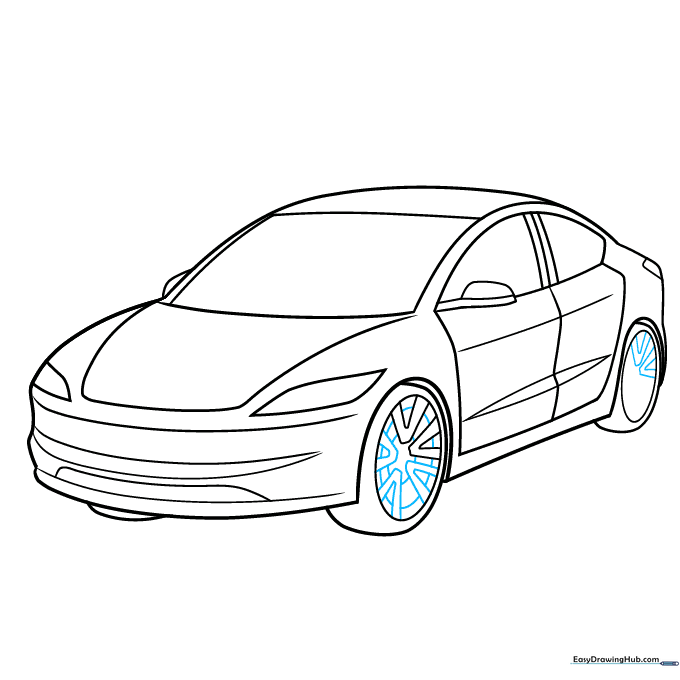
Continue the 'V' patterns on the wheels and add inner circles for the hubcaps. Tip: Keep your spacing even between the 'V' shapes for a professional, balanced look.
Step 9: Final Touches
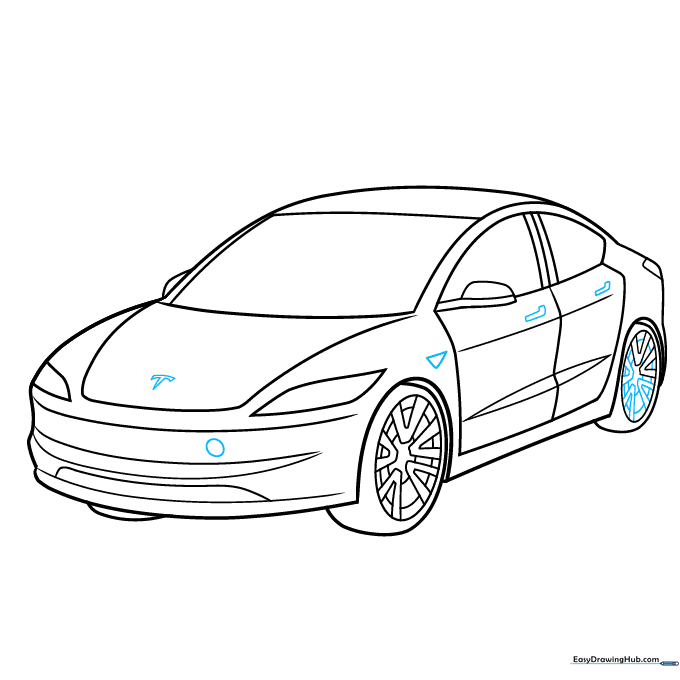
Finish the wheels, add door handles, and draw the iconic 'T' logo on the hood. Tip: The logo is just a 'T' with a slight curve—take your time to center it!
Step 10: Color Your Creation
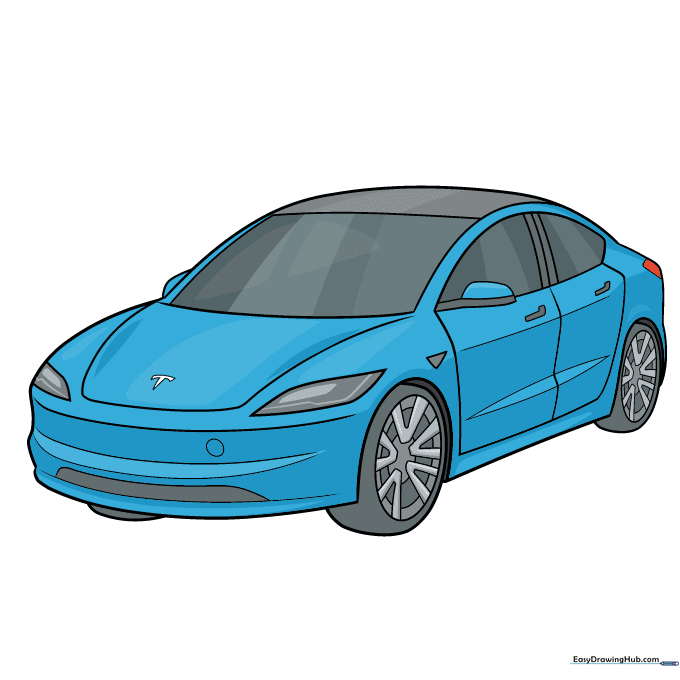
Now for the fun part! Use your favorite colors to bring your Tesla to life. Tip: Try using metallic silver or deep blue for a realistic electric car look.
More Tutorials


