How to Draw a Terracotta Warrior: Easy 10-Step Guide
Bring ancient history to life with this simple drawing guide, perfect for young artists and history buffs ages 7+. You will need a pencil, an eraser, and a piece of paper to recreate this legendary guardian. Follow these steps to master the unique armor details and facial features of a Qin Dynasty soldier.
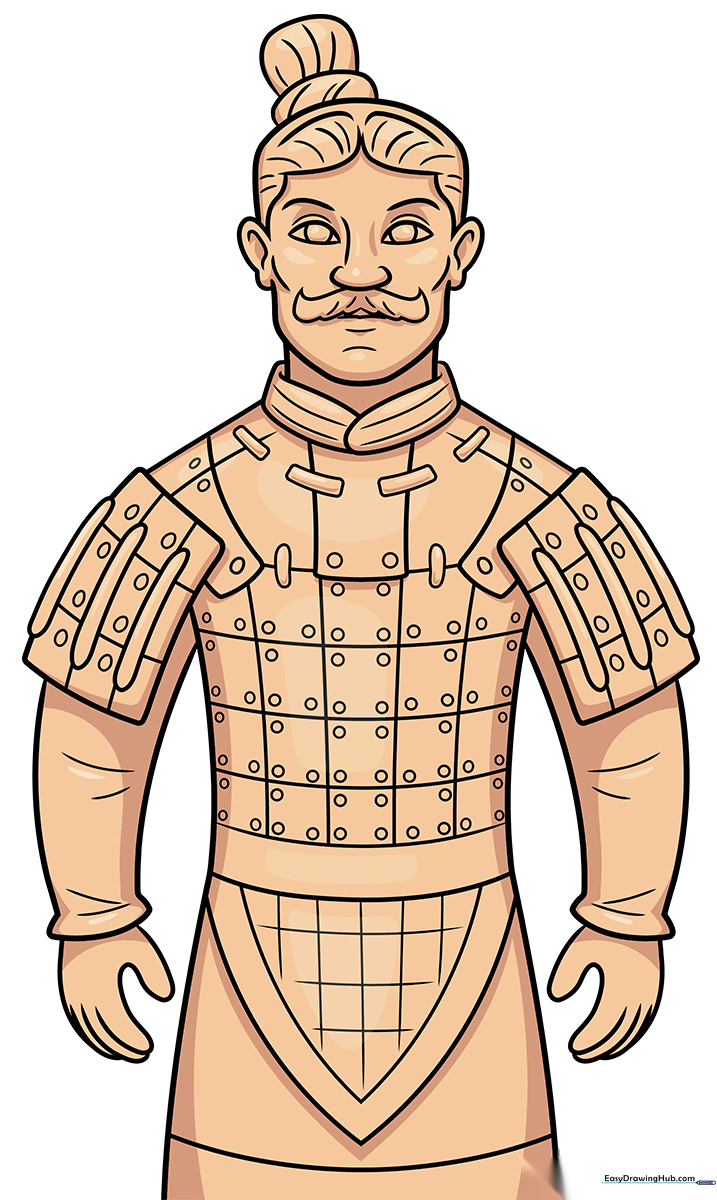
🎯 Final Result
Step-by-Step Instructions
Step 1: Sketching the Face

Start by sketching the statue's face using curved lines for the almond-shaped eyes, eyebrows, and a classic mustache. Tip: Keep your pencil pressure light so you can easily adjust the symmetry of the eyes later.
Step 2: Defining the Head and Hair

Draw short lines for the lips and chin, then outline the cheeks and ears. Sketch the hair pulled back into a bun. Tip: Use quick, confident strokes for the hair to give it a textured, realistic look.
Step 3: Adding the Armor Collar
Add a larger bun on top and extend two lines for the neck. Draw the curved collar and rectangular armor plates. Tip: Ensure the armor plates are spaced evenly to make the warrior look organized and strong.
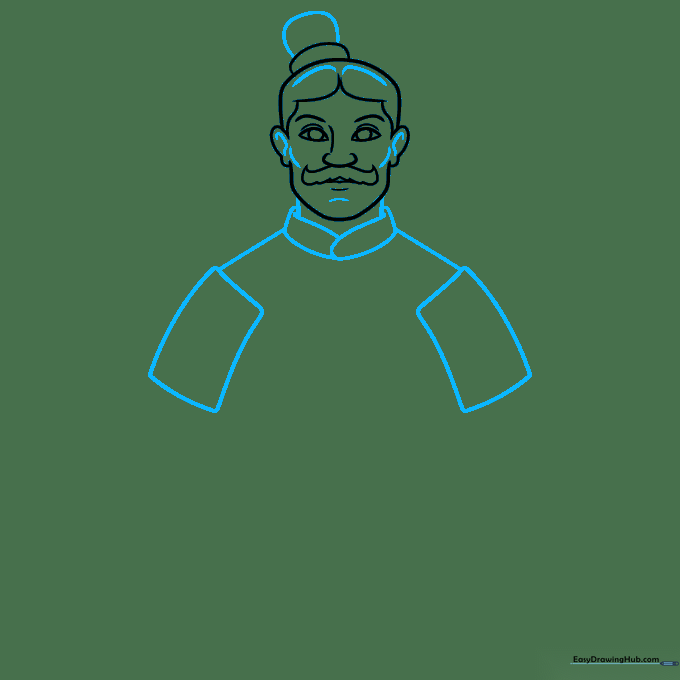
Step 4: Sleeves and Hands
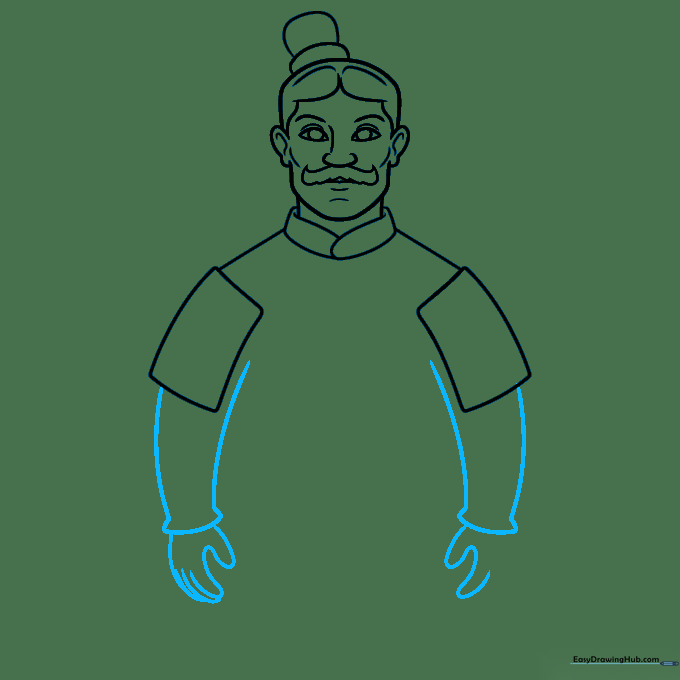
Use long, curved lines to form the wide sleeves, then sketch the hands. Tip: If the hands look tricky, draw them as simple mittens first, then add the finger details once you are happy with the placement.
Step 5: The Torso and Belt
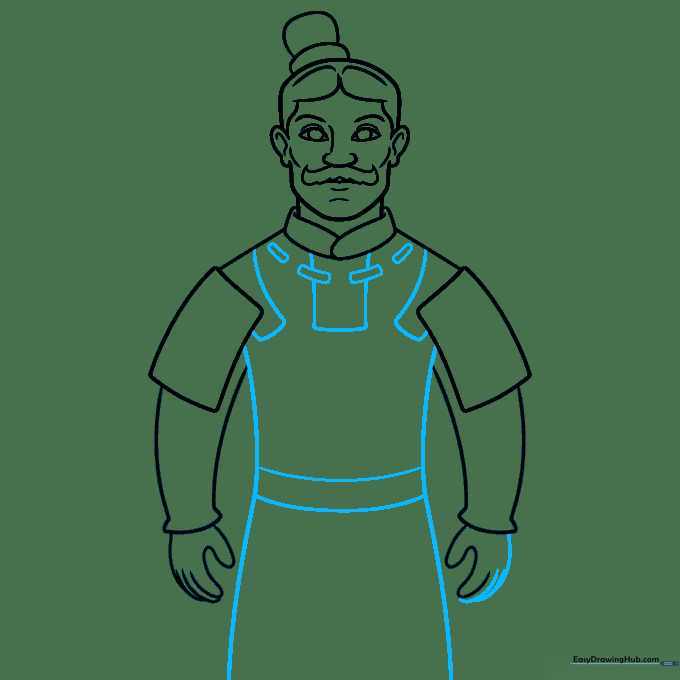
Draw the torso with two long, slightly curved lines and add a belt at the waist. Add more rectangular plates to the shoulders. Tip: Keep your lines parallel to maintain the rigid, structured look of ancient armor.
Step 6: Chest Armor Detail
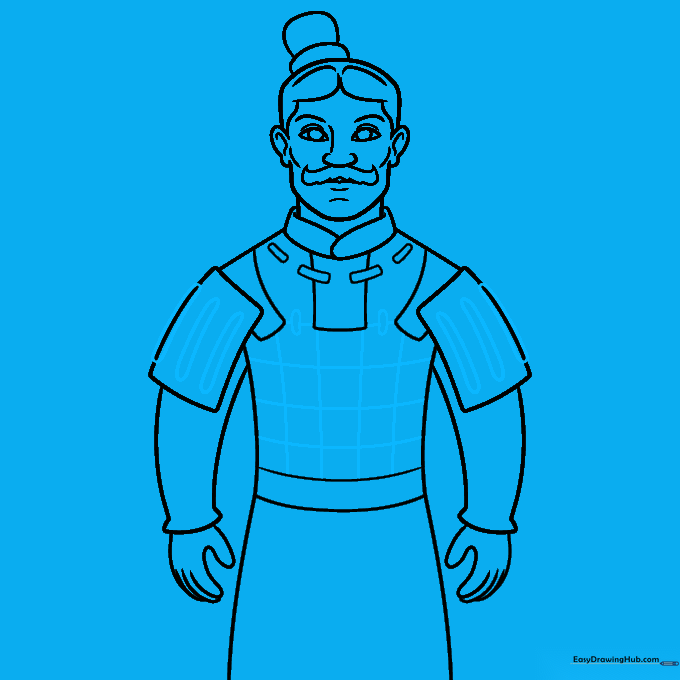
Create a checkerboard pattern across the chest. Tip: Use a ruler if you want the lines to be perfectly straight, or keep them freehand for a more organic, hand-carved clay appearance.
Step 7: Refining the Armor
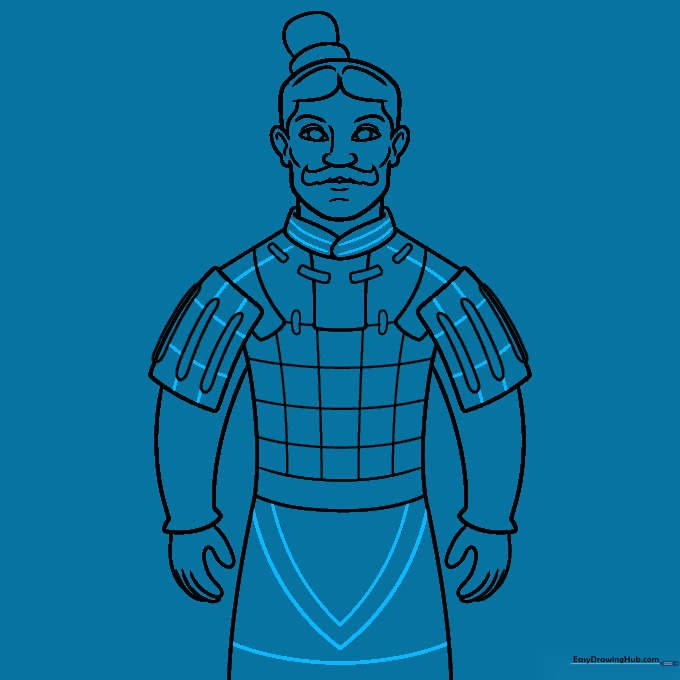
Add 'V' shaped lines below the belt and band the collar. Tip: These lines add depth, making the armor look like it is layered over the warrior's tunic.
Step 8: Adding Rivets
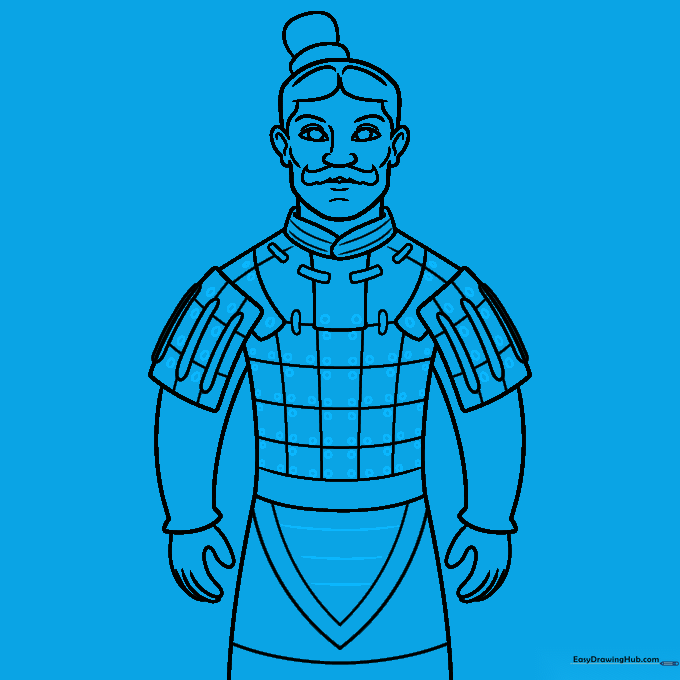
Draw small circles in the corners of the checkerboard pattern to represent armor rivets. Tip: Vary the size of the circles slightly to make the drawing look more authentic and less like a computer printout.
Step 9: Final Texturing
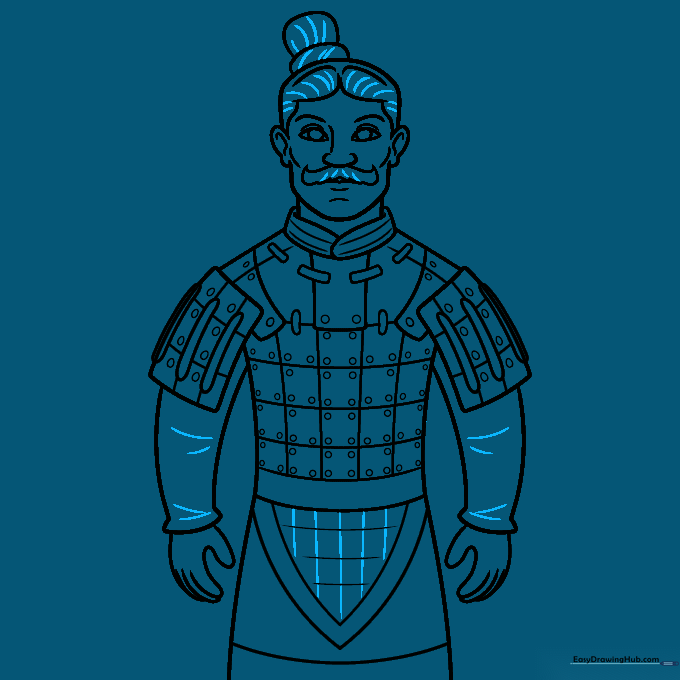
Add final texture lines to the sleeves, hair, and mustache. Tip: Use short, flicking motions with your pencil to create the appearance of hair strands.
Step 10: Coloring Your Warrior
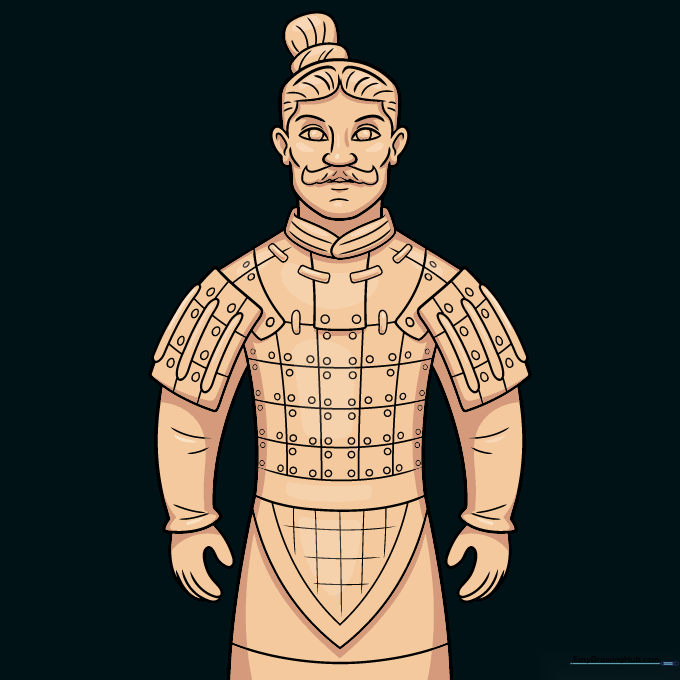
Time to color! Use earthy tones like terracotta, brown, and tan to keep it historically accurate, or get creative with bright colors to imagine how they might have looked when they were first painted thousands of years ago.
More Tutorials


