How to Draw a Tent: Easy 10-Step Guide for Kids
Ready for a backyard adventure? This tutorial is perfect for young artists ages 5 and up who want to sketch their own campsite. All you need is a pencil, an eraser, and some paper to bring this cozy shelter to life.
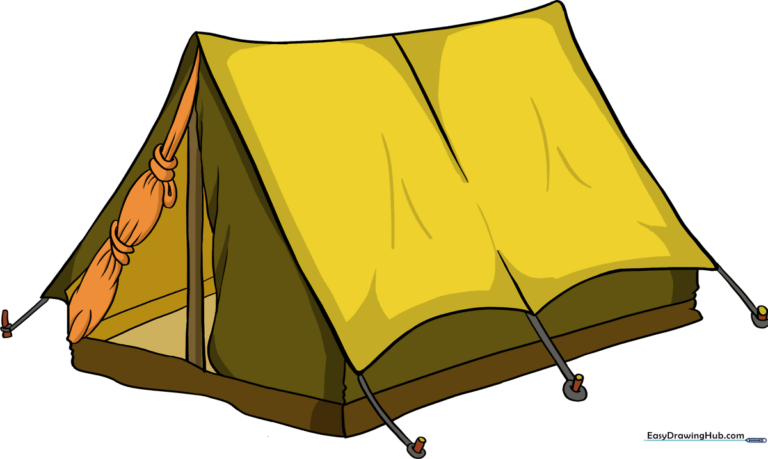
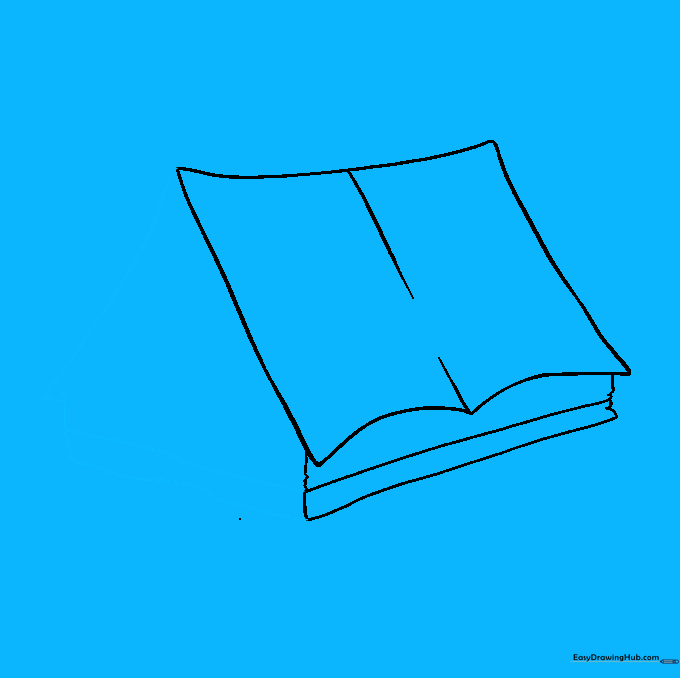
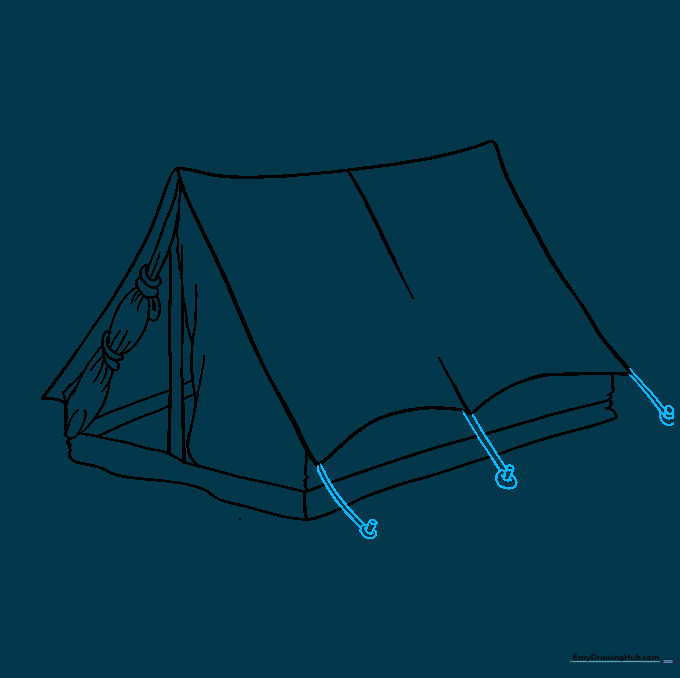
🎯 Final Result
Step-by-Step Instructions
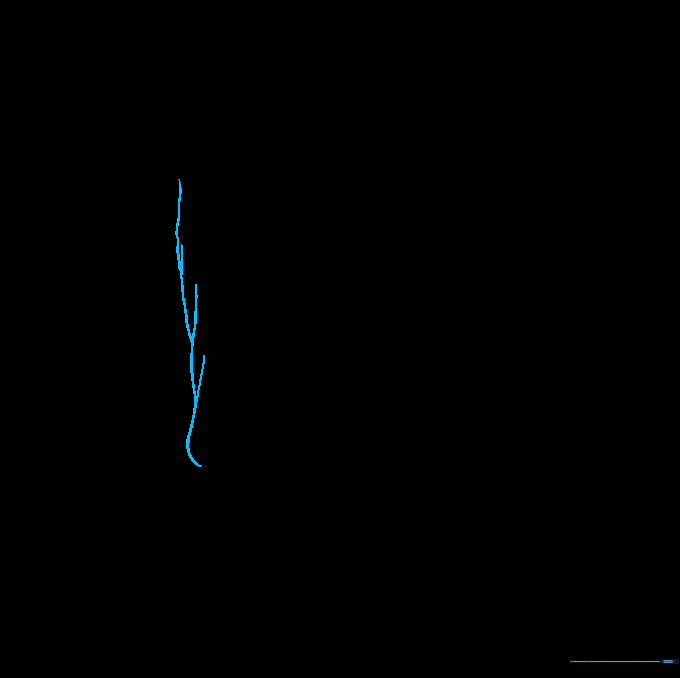
Sketching the Main Structure
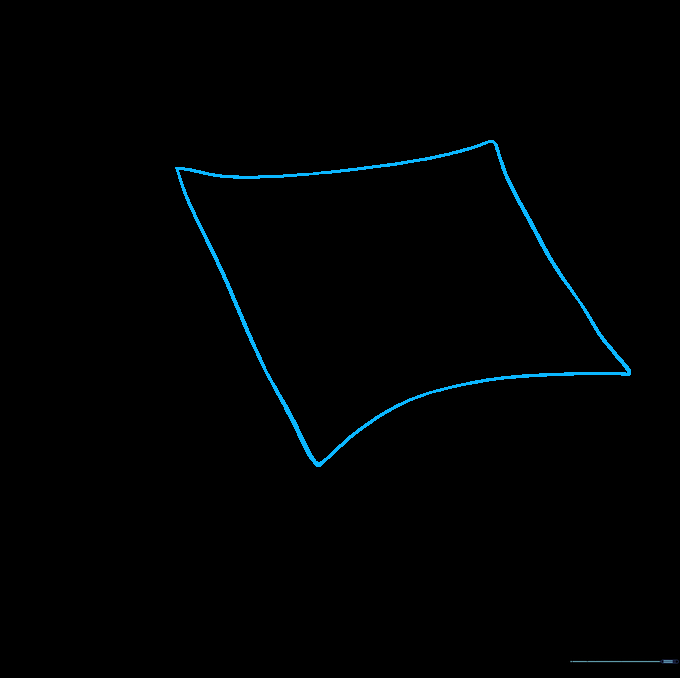
Use four curved lines to create a soft, rectangular shape for the side of the tent. Teacher's Tip: Keep your pencil pressure light so you can easily adjust the shape if it looks a bit wobbly!
Defining the Base
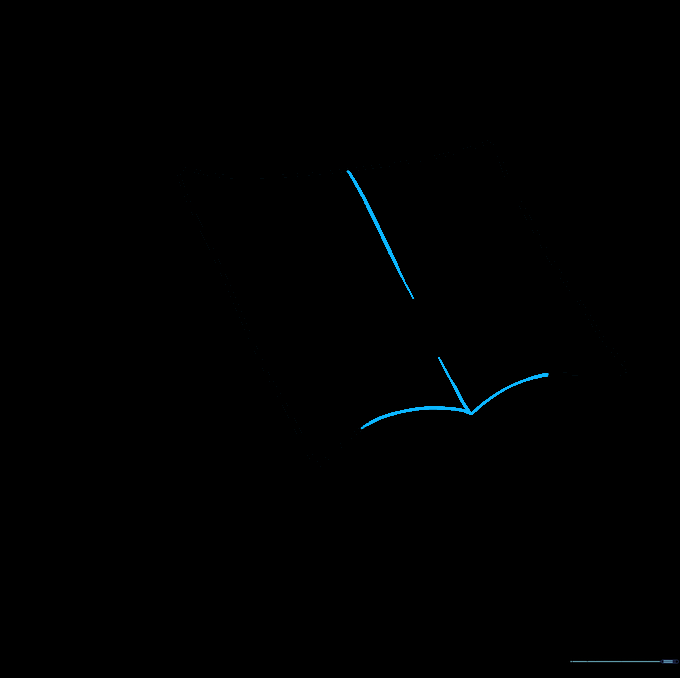
Erase the bottom line of your rectangle and replace it with two gentle curves. Add vertical lines down the center to represent the fabric tension. Teacher's Tip: Think of these lines as the 'seams' where the fabric pulls tight.
Adding the Ground Layer
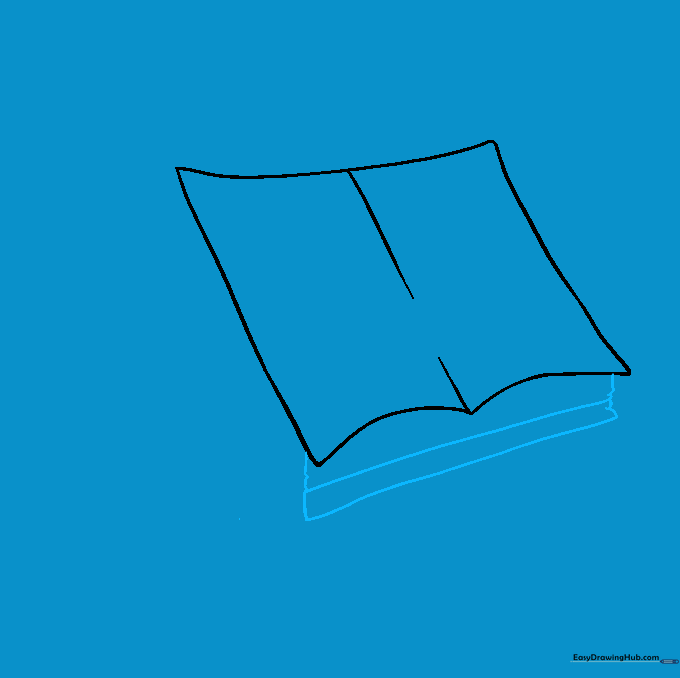
Draw a rectangle beneath the tent side to create the base. Add a parallel line inside to show the thickness of the floor. Teacher's Tip: Use a ruler if you want perfectly straight lines, or keep it freehand for a more organic, 'outdoorsy' look.
Sketching the Front Entrance
Sketch the front of the tent using four curved lines to form a house-like shape. Add a curved line near the bottom for the door frame. Teacher's Tip: Imagine a small triangle sitting on top of a rectangle to get the proportions right.
Drawing the Open Flap
Use overlapping curved lines to connect the peak of the front to the bottom, creating the look of an open door. Teacher's Tip: The overlapping lines help create the illusion of fabric folding over itself.
Adding Fabric Details
Draw a series of 'C' shapes and ovals along the side of the entrance to show the fabric tied back. Teacher's Tip: Keep these shapes small and clustered together to make them look like bunched-up material.
Adding Interior Poles
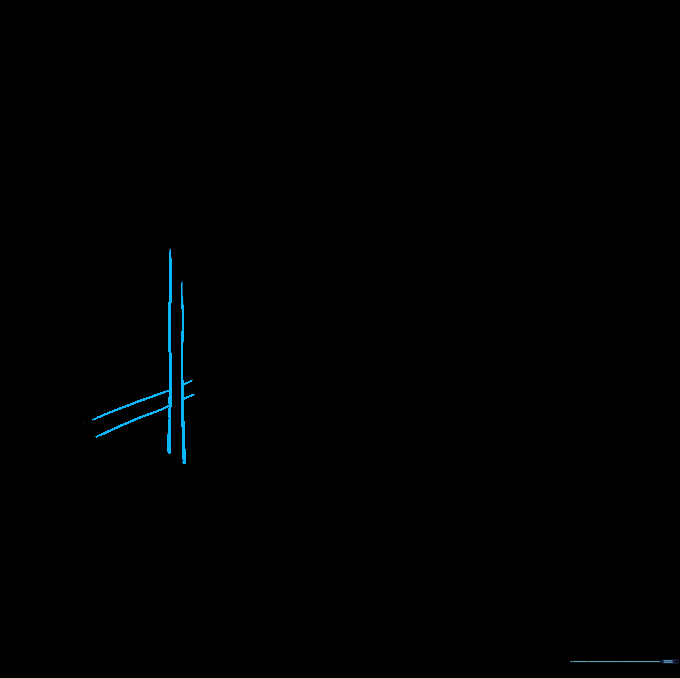
Draw vertical and diagonal parallel lines inside the tent to represent the support poles. Teacher's Tip: Use a steady hand to keep these lines straight, as they provide the 'skeleton' for your tent.
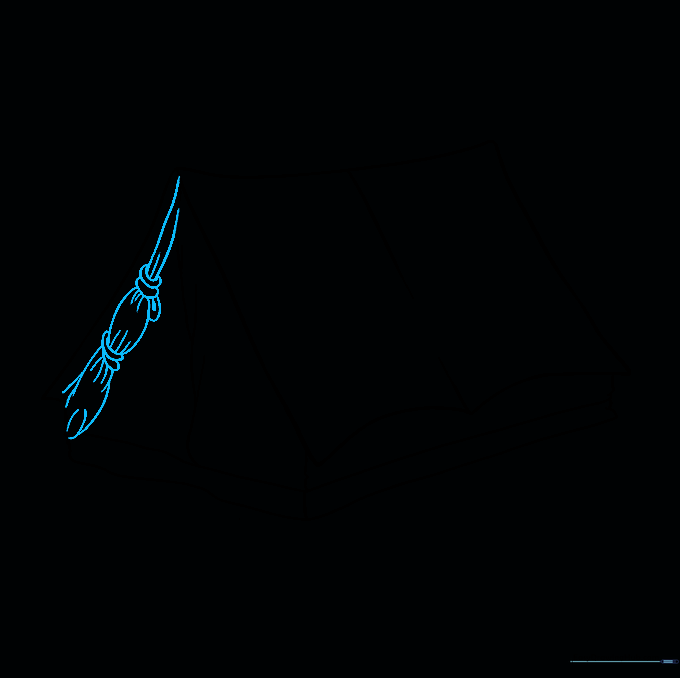
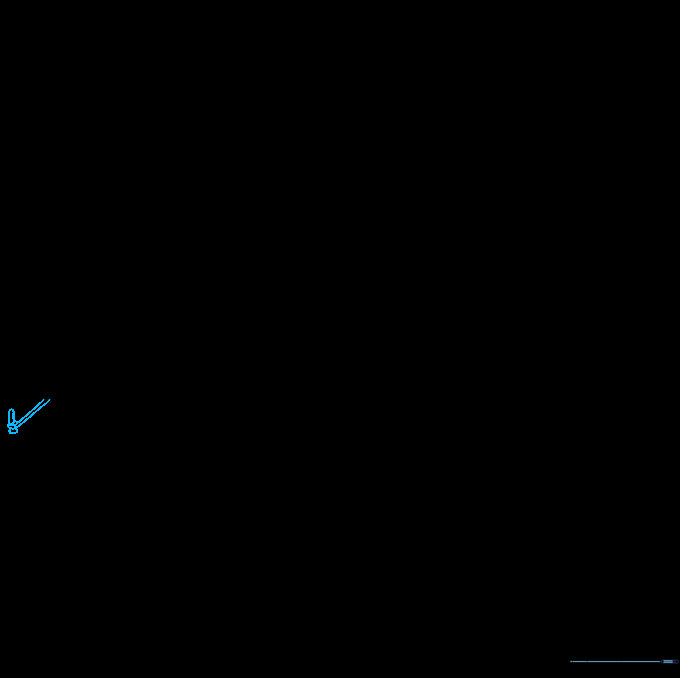
Securing the Tent
Add cords extending from the tent corners, ending in small cylinders (the pins). Teacher's Tip: These details make your drawing look realistic—don't forget the little circles at the base of the pins!
Finalizing the Outline
Add the final tent pin on the opposite side to balance your drawing. Teacher's Tip: Check your lines one last time and darken the ones you want to keep before you start coloring.
Adding Color
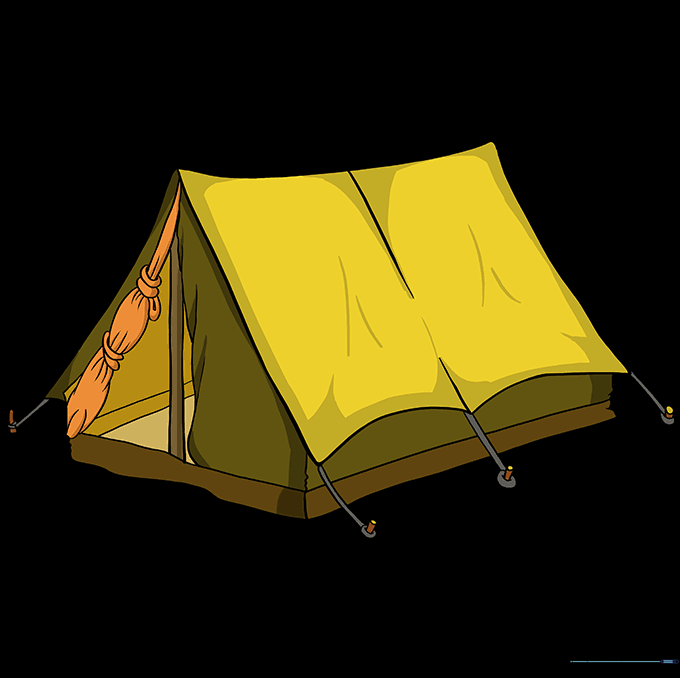
Bring your tent to life with your favorite colors! Whether you choose classic olive green or bright neon orange, make it your own. Teacher's Tip: Use darker shades near the folds to create a sense of shadow and depth.
More Tutorials


