How to Draw a Tennis Player: Easy 9-Step Guide for Kids
Ready to hit the court? This tutorial is perfect for young athletes and artists ages 6+ who want to draw their own tennis player. You only need a pencil, an eraser, and a piece of paper to get started. Follow these simple steps to master the proportions of a character in motion.
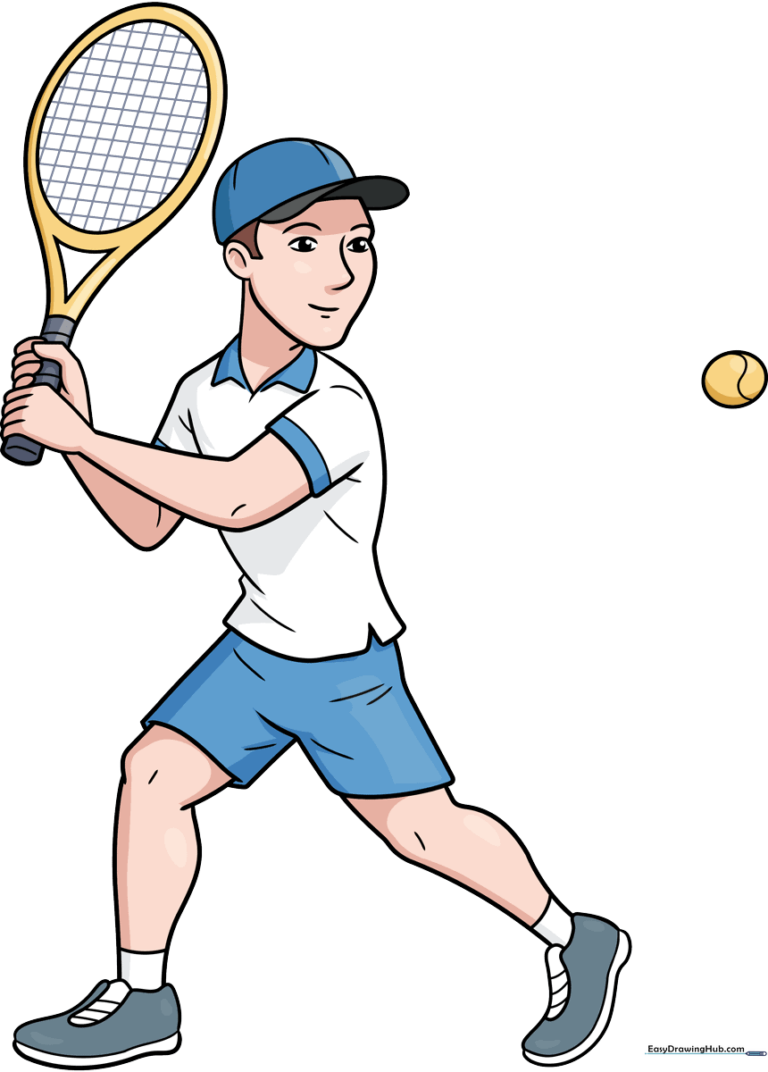
🎯 Final Result
Step-by-Step Instructions
Step 1: Sketching the Facial Features
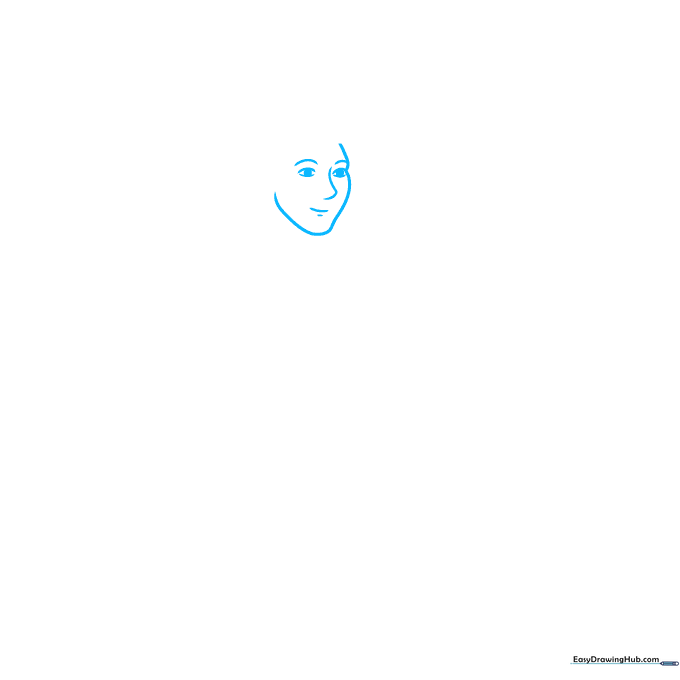
Outline the eyes using two lemon-shaped ovals with circles inside for pupils. Add the nose with a small, backward L-shape, then draw curves above the eyes for brows and below for the mouth. Tip: Keep your pencil lines light so you can easily adjust the expression later.
Step 2: Defining the Head and Cap
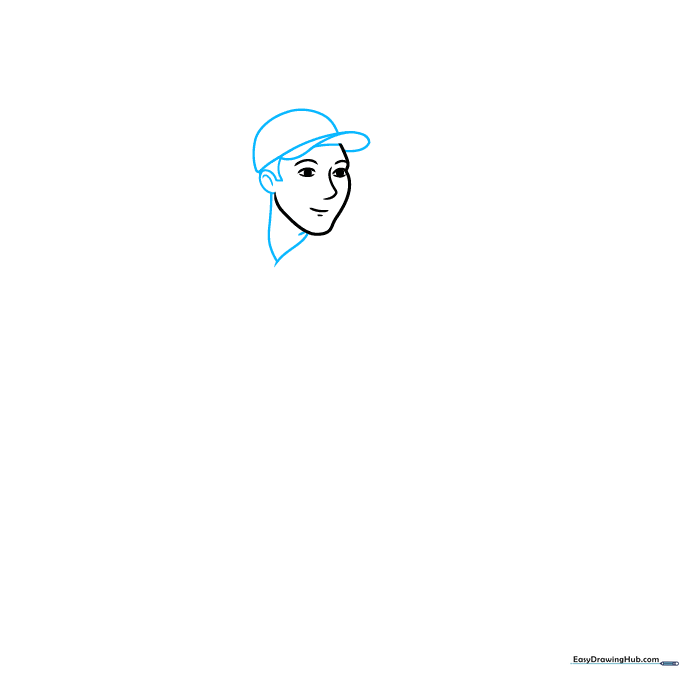
Sketch a loose triangle below the head to form the chin. Add an oval with a curve inside for the ear, then place a semi-circle on top of the head for the cap. Tip: Use a wavy line for the cap brim to give it a natural, sporty look.
Step 3: Building the Shoulders and Arms
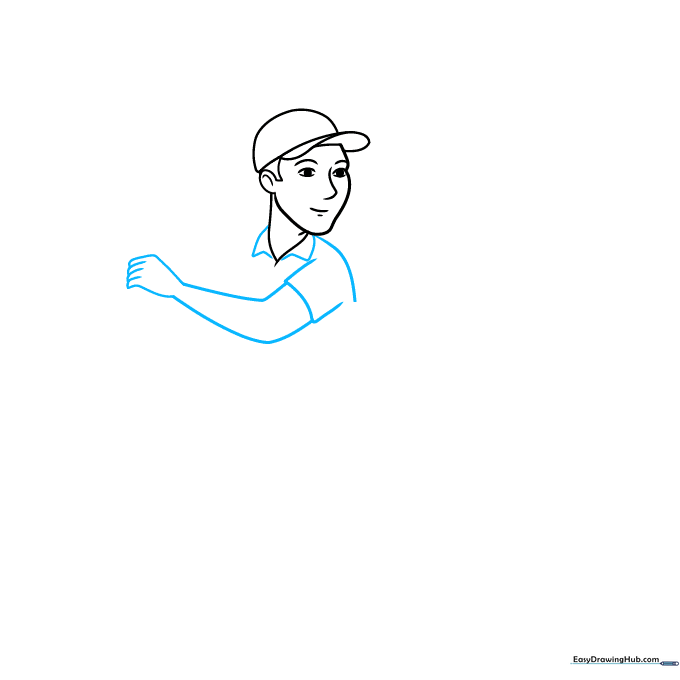
Add a triangle on each side of the neck. Draw the shoulder with a soft curve, then sketch a semi-rectangle for the sleeve. Outline the arm with two V-shapes. Tip: For the hand, sketch two diagonal lines and four small cylinders to represent fingers gripping the racket.
Step 4: Creating the Racket Grip
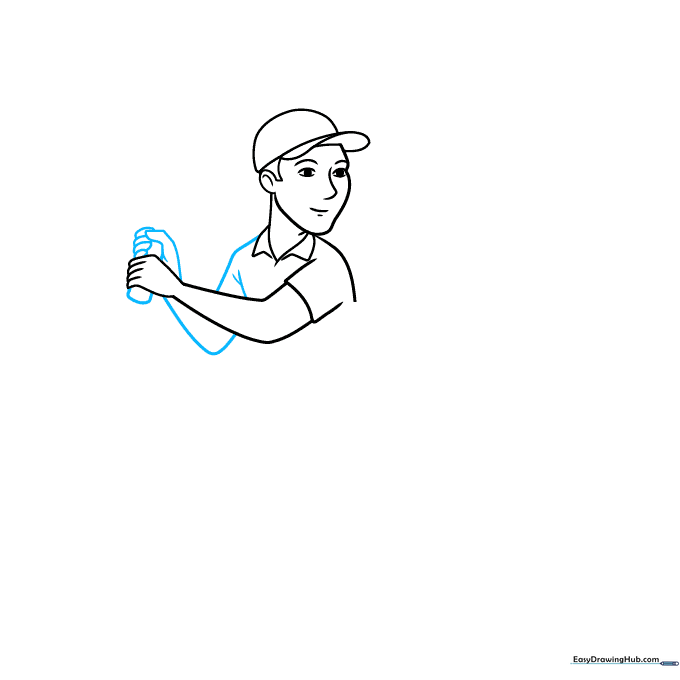
Use two diagonal lines for the left shoulder and a Y-shape underneath for the torso. Sketch the left arm with a triangle. Draw five cylinders for the fingers, then sketch a large cylinder between the hands to form the racket handle. Tip: Make sure the cylinders overlap slightly to look like real fingers.
Step 5: Forming the Racket Head
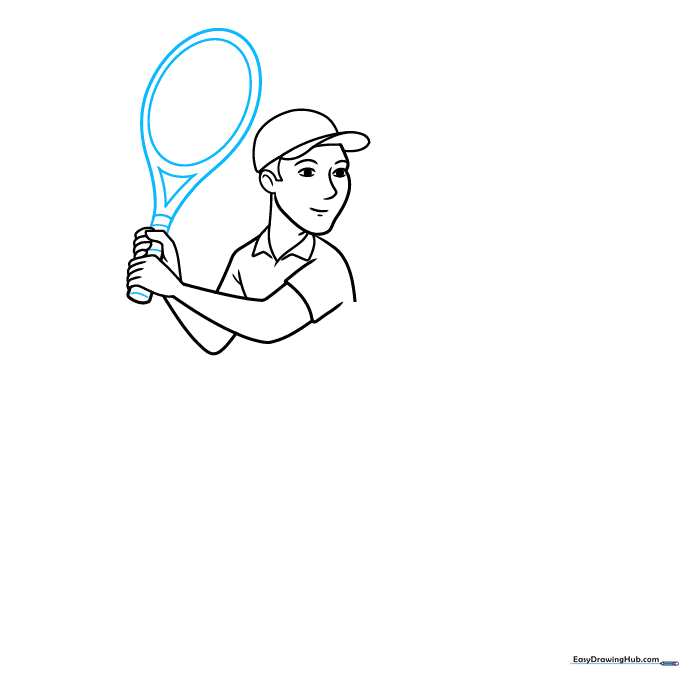
Draw a large oval and a small triangle next to the head. Sketch an outline around these shapes to define the frame, and draw lines inside the handle. Tip: Keep the oval symmetrical to ensure the racket looks balanced.
Step 6: Adding Racket Strings and Details
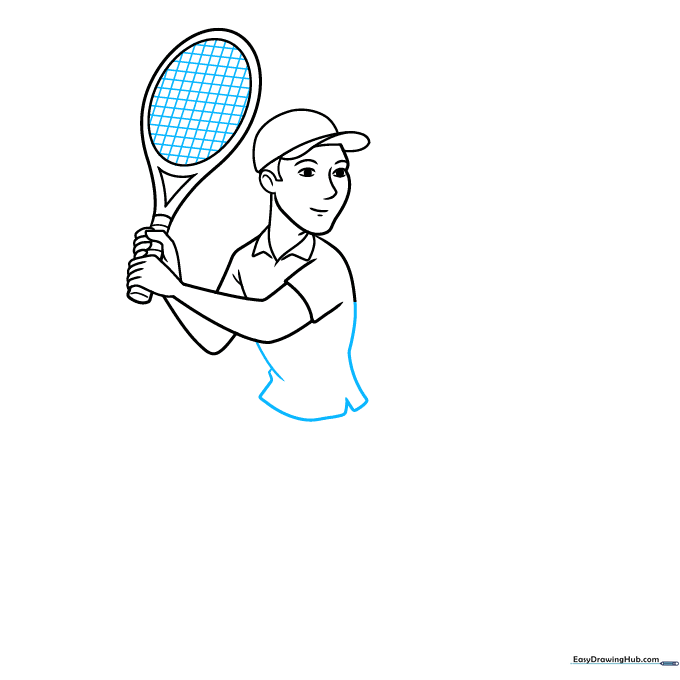
Place a grid inside the tennis racket to represent the strings. On the left side of the body, add a dash and two triangles for clothing details. Sketch a bent line on the right, and connect the lines with a curve. Tip: Use a ruler if you want the grid lines to be perfectly straight!
Step 7: Sketching the Shorts and Legs
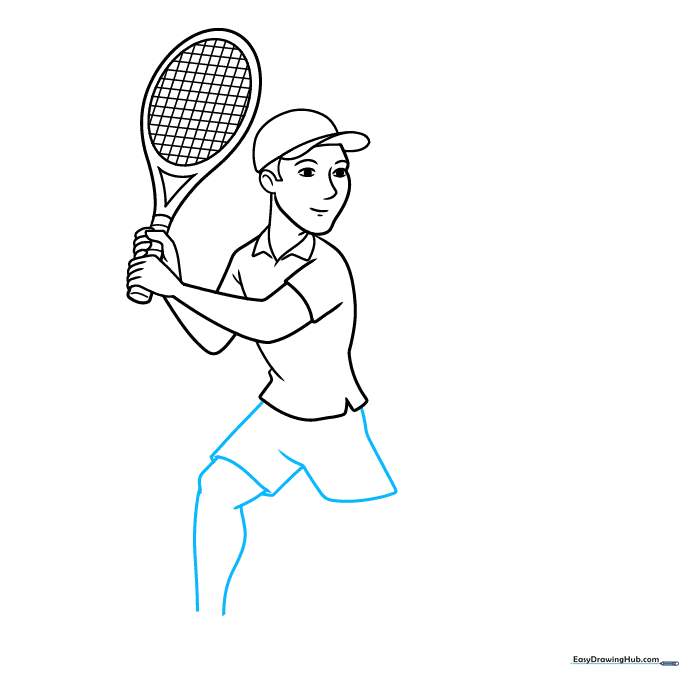
Sketch the shorts using two rounded rectangles, adding a curve between them for the seam. Draw the knee with a diagonal line and a V-shape. Complete the leg with two vertical curves. Tip: Keep the leg lines slightly curved to show the player is in a ready stance.
Step 8: Drawing the Shoes
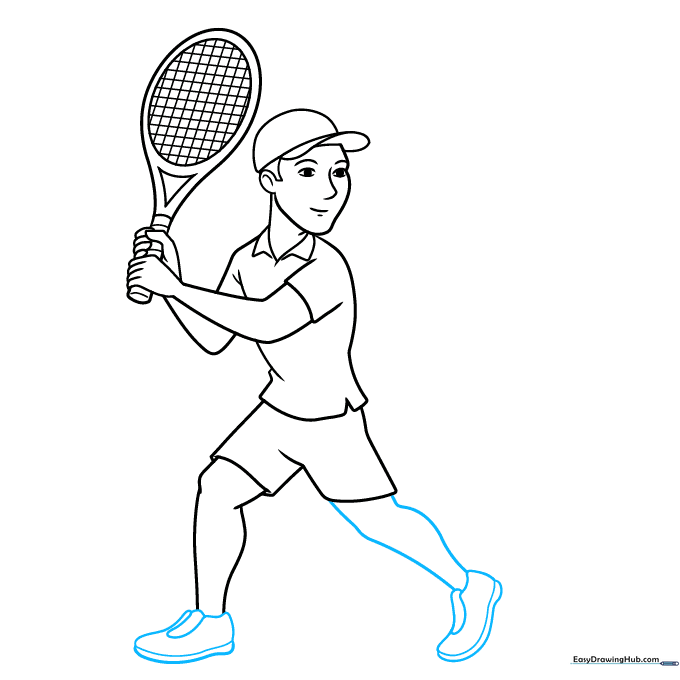
Use two loose V-shapes for the right leg. Outline the shoes with two uneven ovals, then draw the soles and sketch banana shapes on top for the shoe design. Tip: Add a small curve at the toe of the shoe to make them look like athletic sneakers.
Step 9: Final Outlining
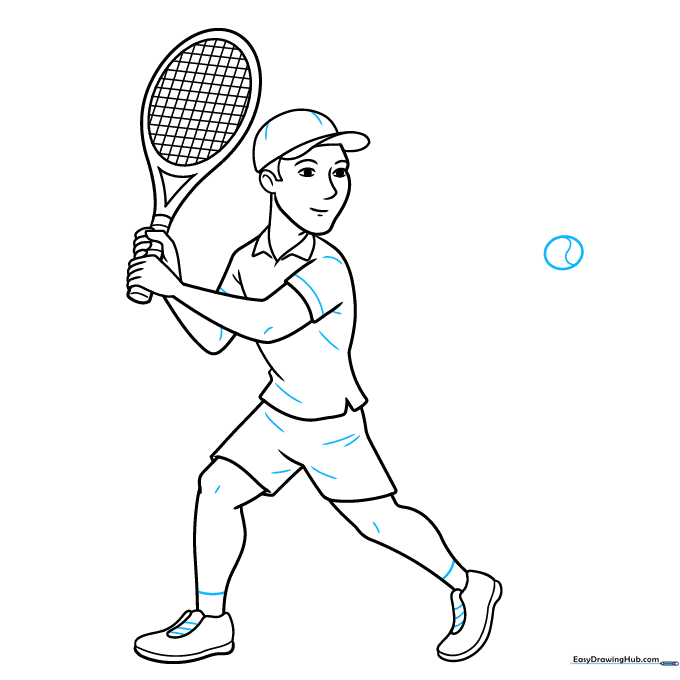
Draw lines inside the arms, legs, and clothes to add detail. Add an oval with a backward S-shape on the right side of the page to represent a tennis ball. Outline your entire drawing with a black pen or marker. Tip: Use a steady hand for the final outline to make your drawing pop!
Step 10: Adding Color
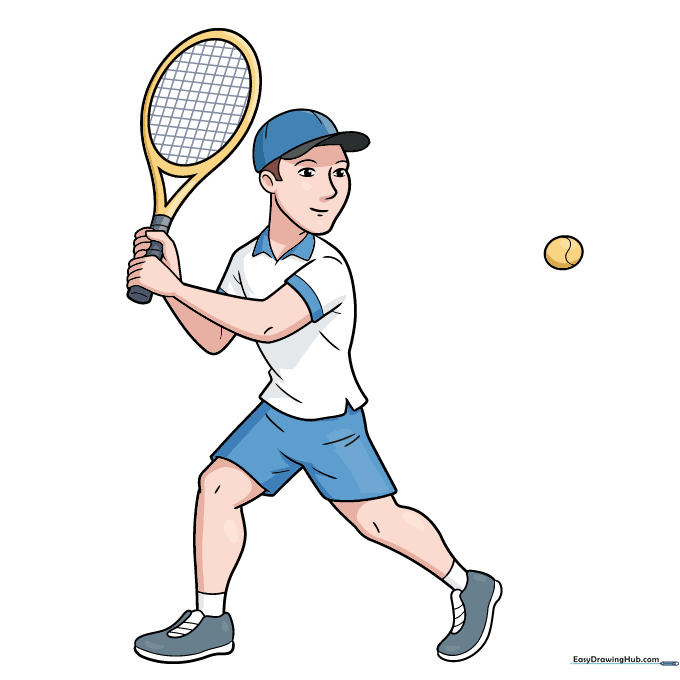
Bring your player to life! Use your favorite hair and skin tones. Try blue and white for the uniform, grey and white for the shoes, and gold for the racket and ball. Tip: Use light, circular motions with your colored pencils to get an even, smooth finish.
More Tutorials


