How to Draw a TMNT Face: Easy 10-Step Guide for Kids
Ready to draw your favorite hero in a half-shell? This guide is perfect for ages 5+ and requires only a pencil, eraser, and paper. Follow these simple steps to build your character's head shape, mask, and signature expression while developing essential hand-eye coordination.
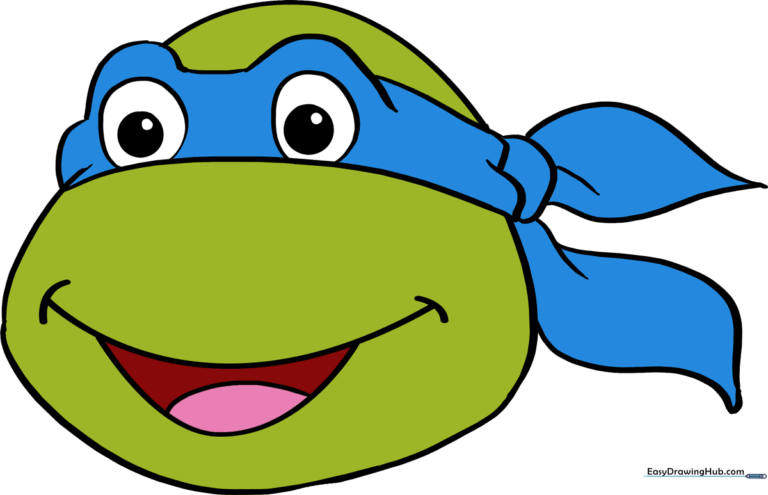
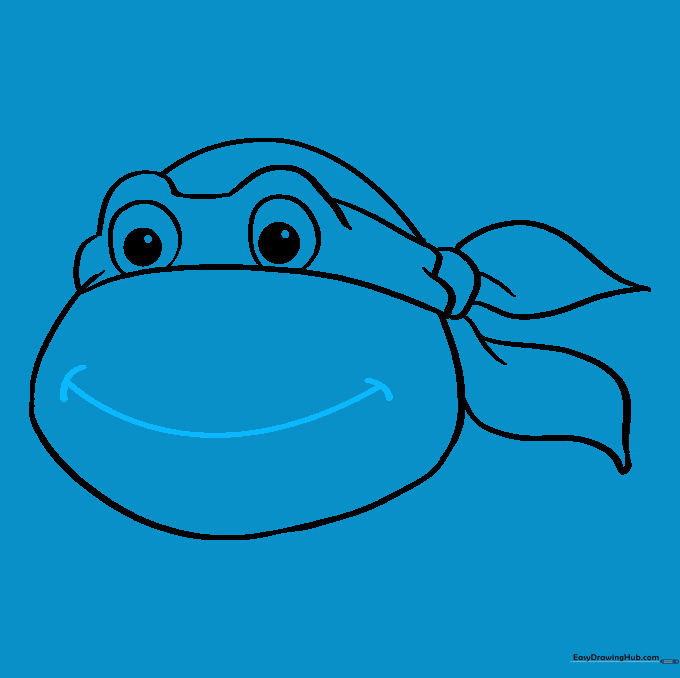
🎯 Final Result
Step-by-Step Instructions
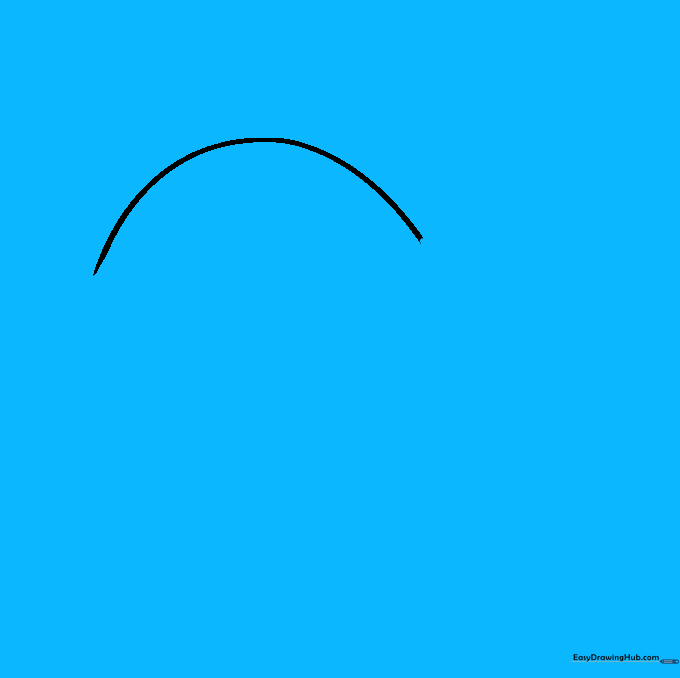
Step 1: Sketching the Cranium

Draw a smooth, wide-curved line to form the top of the head. Teacher's Tip: Keep your pencil pressure light so you can easily adjust the shape if it looks a bit lopsided.
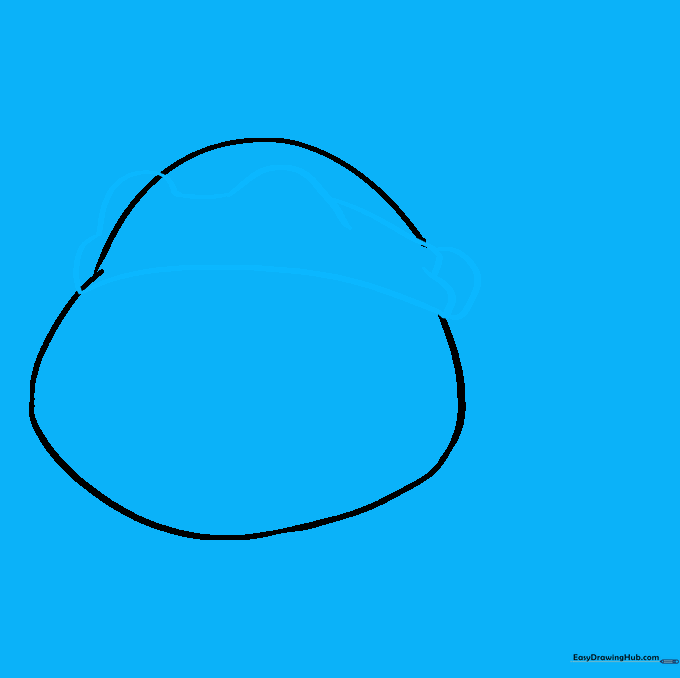
Step 2: Defining the Jawline
Extend a long, rounded line downward from the top to create the cheeks and chin. Teacher's Tip: Think of this shape like a wide 'U'—it gives the turtle that classic, sturdy look.
Step 3: Adding the Mask
Draw a horizontal band across the middle of the face for the mask, adding two 'lumps' at the top for the eye sockets. Teacher's Tip: Make sure the mask band is centered so the eyes look even.
Step 4: Drawing the Mask Ties
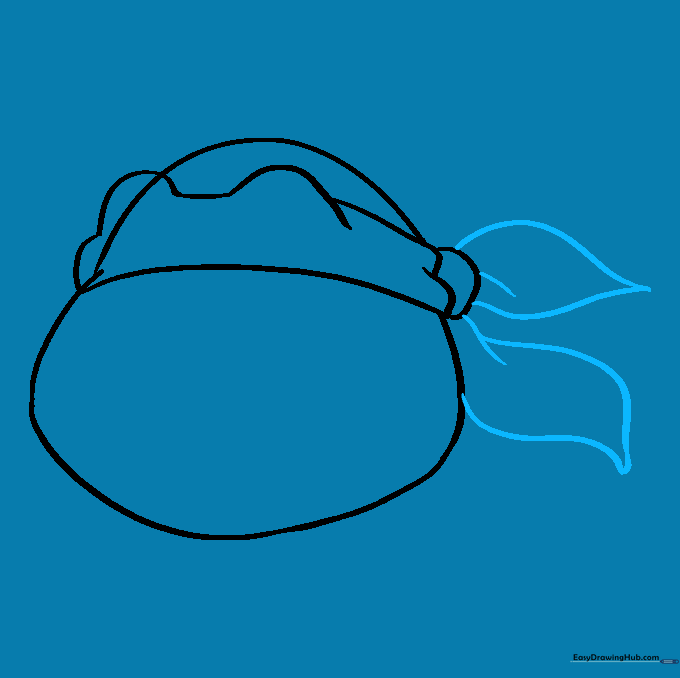
Add the trailing ends of the mask knot on the side of the head. Teacher's Tip: Add tiny 'V' shapes near the knot to represent the fabric folds—it makes your drawing look much more professional!
Step 5: Cleaning Up

Gently erase the lines of the head that overlap inside the mask area. Teacher's Tip: Use a clean eraser and brush away the crumbs so your paper stays nice and crisp.
Step 6: Adding Eyes
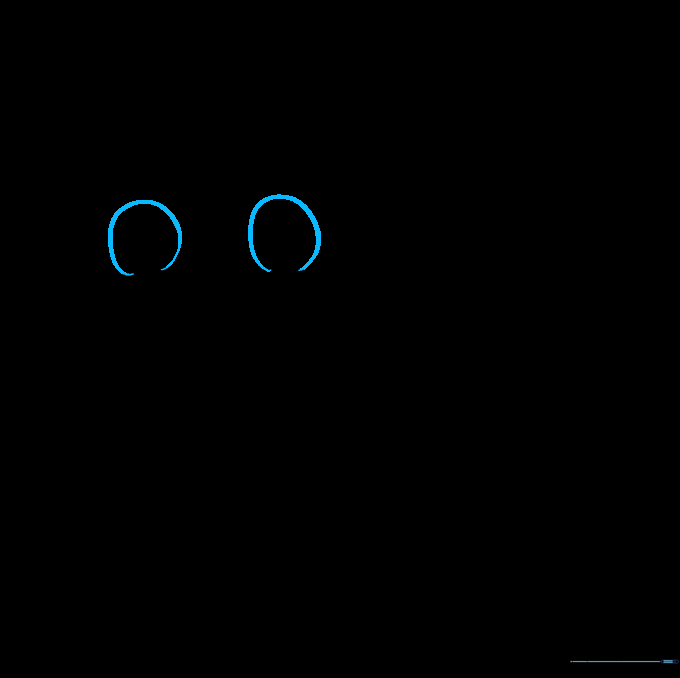
Draw two circles inside the mask openings. Teacher's Tip: Keep them round and centered to give your turtle a focused, heroic look.
Step 7: Detailing the Pupils

Draw smaller circles inside the eyes and shade them in for pupils. Teacher's Tip: Leave a tiny white dot unshaded in each pupil to create a 'glint'—it makes the eyes look alive!
Step 8: Drawing the Smile
Draw a wide, curved line for the mouth. Teacher's Tip: A slight upward curve makes your turtle look friendly and ready for action.
Step 9: Adding the Tongue
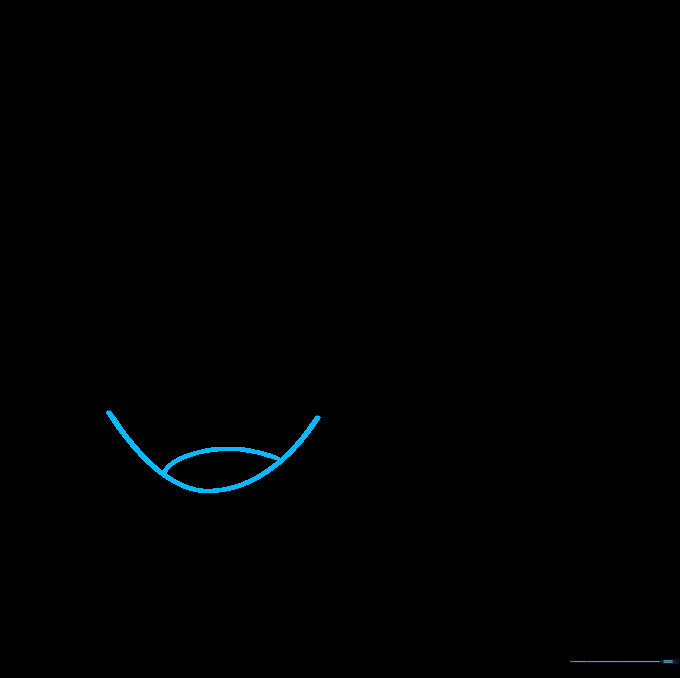
Add a 'U' shape below the smile and a line for the tongue. Teacher's Tip: Keep the tongue shape simple so it doesn't clutter the face.
Step 10: Adding Color
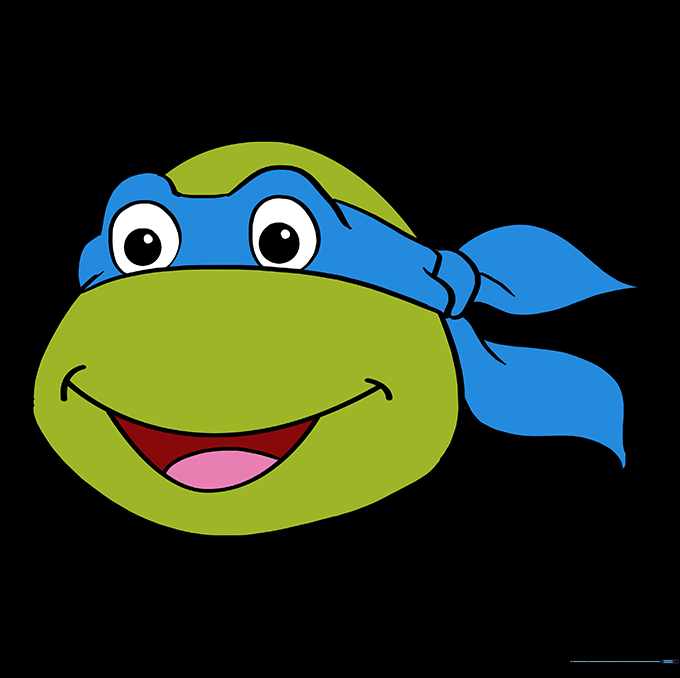
Bring your turtle to life with color! Leonardo wears blue, Michelangelo orange, Donatello purple, and Raphael red. Teacher's Tip: Use light, circular motions with your colored pencils for a smooth, even finish.
More Tutorials


