How to Draw a Tasmanian Devil: Easy 9-Step Guide
Ready to bring a feisty little marsupial to life? This tutorial is perfect for young artists ages 5 and up, requiring only a pencil, paper, and an eraser. By following these simple shapes, you will master the proportions of a cartoon Tasmanian devil while practicing your steady hand control.
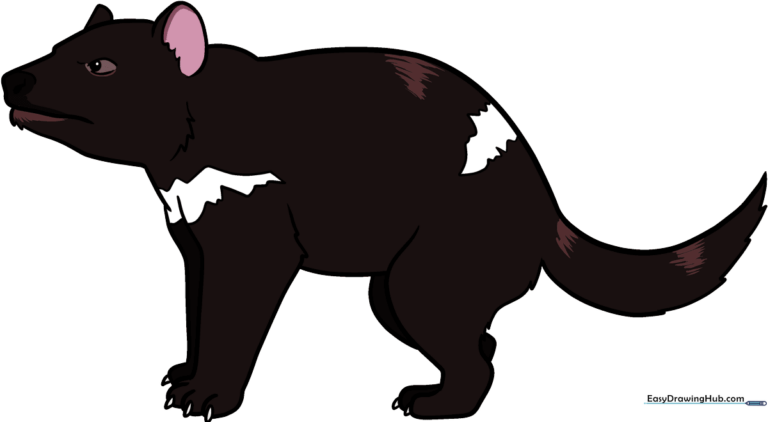
🎯 Final Result
Step-by-Step Instructions
Step 1: Sketching the Snout and Head
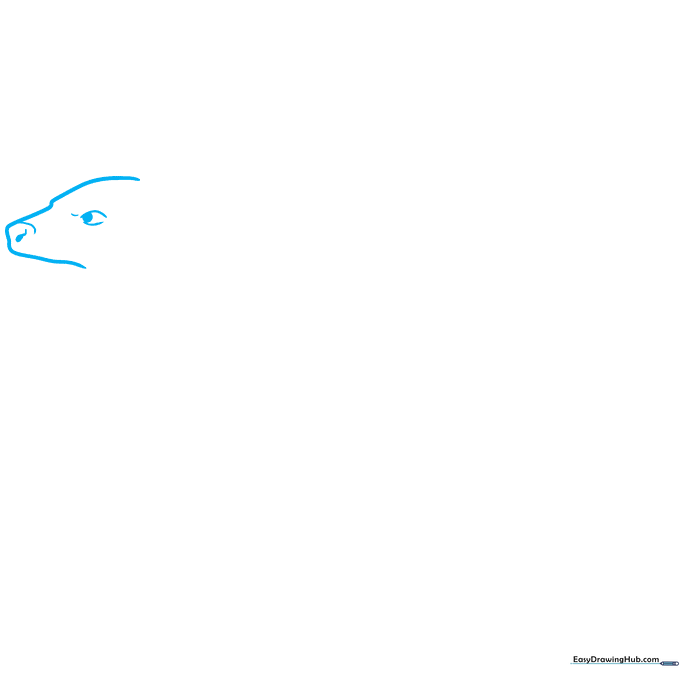
Begin by drawing the snout and head using a long, continuous curved line. Tip: Keep your pencil pressure light so you can easily adjust the shape if needed. Add a small oval for the eye and a teardrop shape for the nostril to give your character personality immediately.
Step 2: Adding Ears and Jaw
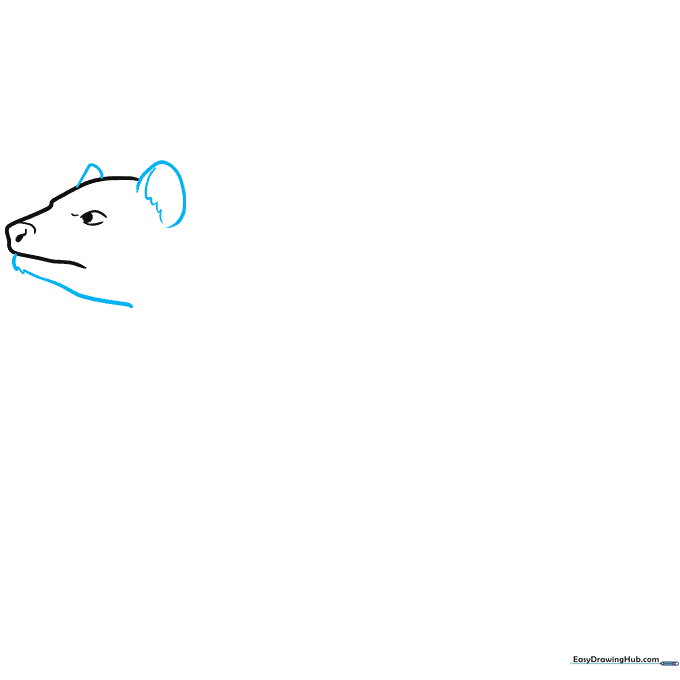
Use curved lines to define the ears and the lower jaw. Tip: Use short, jagged strokes for the inside of the ears and the mouth area to mimic the look of messy, wild fur.
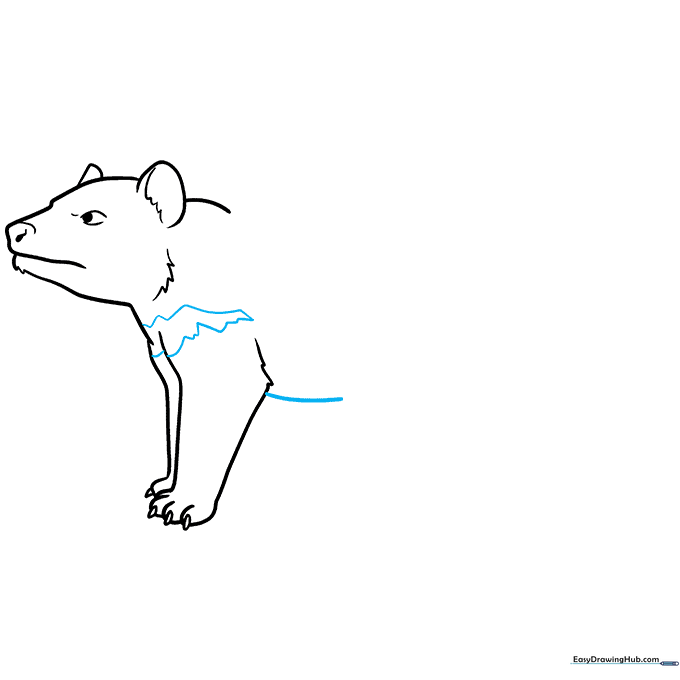
Step 3: Defining the Neck and Shoulders
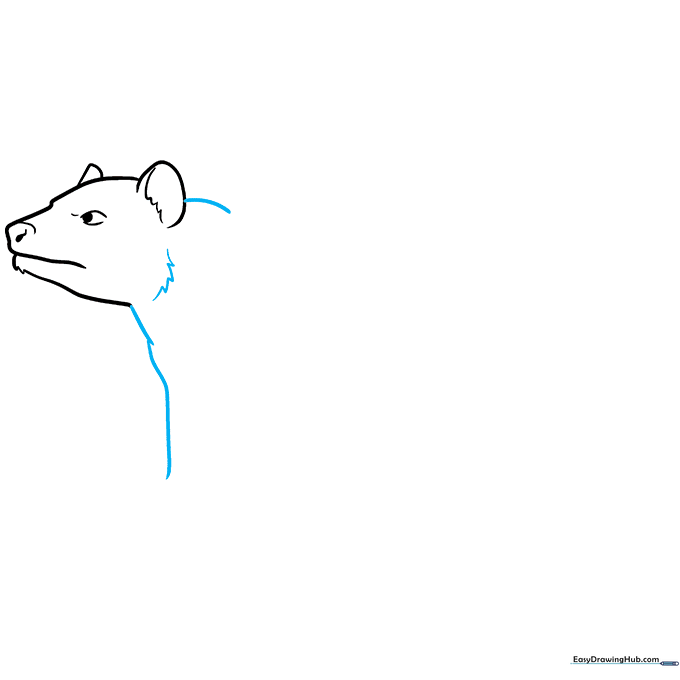
Draw a curved line for the shoulder and overlapping lines to connect the neck to the chest. Tip: Continue using those 'zig-zag' lines around the head to emphasize the Tasmanian devil's signature scruffy appearance.
Step 4: Sketching the Front Leg

Trace the foreleg using long, smooth curves, adding small, sharp triangles at the ends for claws. Tip: Don't forget to add a few extra jagged lines at the elbow to keep the fur texture consistent throughout the drawing.
Step 5: The Belly and Chest Mark
Draw a soft curve for the belly and a distinct, jagged-edged shape on the chest. Tip: This white chest patch is a classic feature of the Tasmanian devil, so make sure the edges look slightly uneven to represent natural fur patterns.
Step 6: Adding the Rear Leg
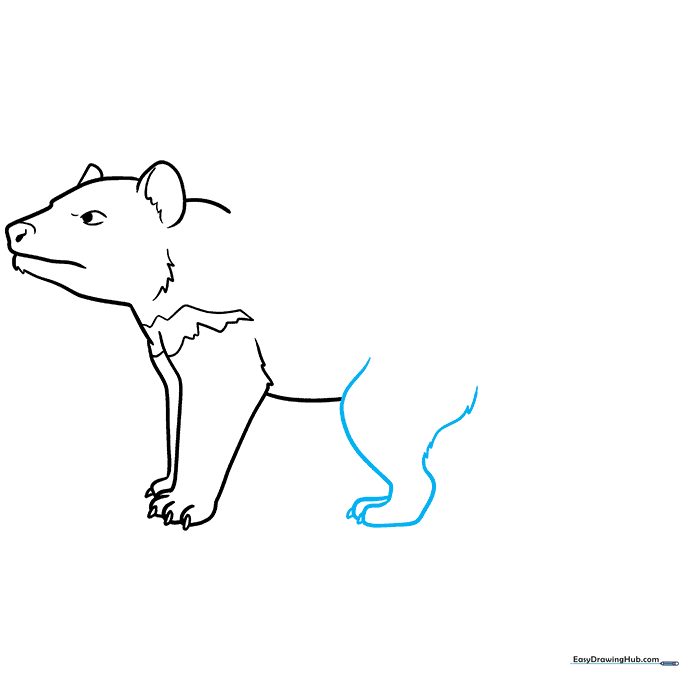
Sketch the rear leg using overlapping curves to show depth. Tip: Draw the toes slightly larger than the front ones to create a sense of perspective, and remember to add those sharp claws!
Step 7: Shaping the Back
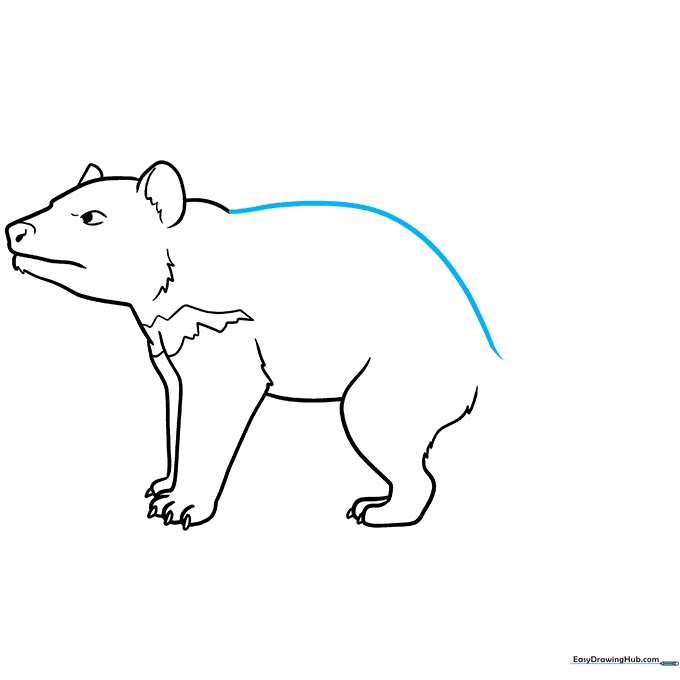
Connect the head to the rear using a long, sweeping curved line for the back. Tip: Keep this line fluid to give your character a sense of movement and energy.
Step 8: Finalizing the Legs and Fur
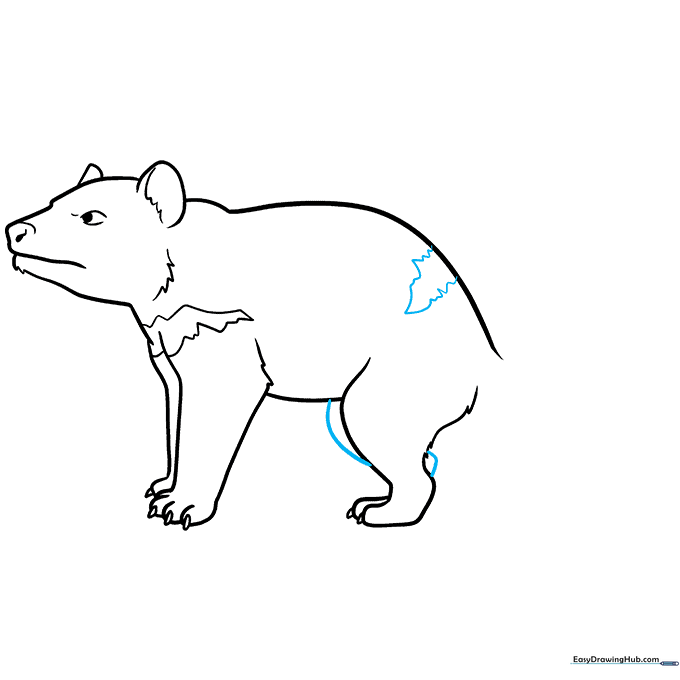
Draw the second rear leg, partially hidden behind the first. Tip: Add a few extra jagged lines on the back to suggest a lighter patch of fur, which adds great visual interest to your final piece.
Step 9: Adding the Tail
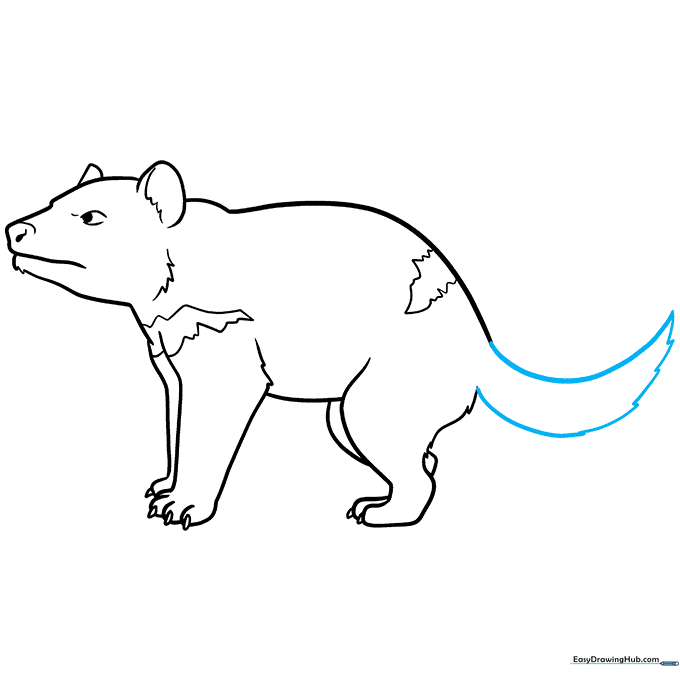
Finish your outline by drawing a thick, furry tail using long curves and jagged edges. Tip: Make the tail look bushy by varying the length of your zig-zag lines as you move toward the tip.
Step 10: Bringing It to Life with Color
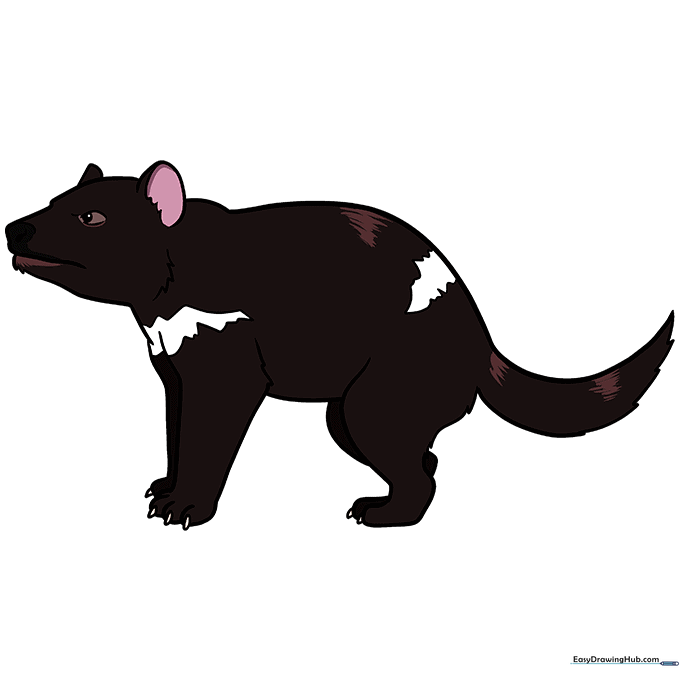
Time to color! Use deep blacks for the main body, a crisp white for the chest patch, and soft pinks for the inside of the ears. Tip: Use brown tones in the shadows to give your drawing a more professional, three-dimensional look.
More Tutorials


