How to Draw a Tarantula: Easy 9-Step Guide for Kids
Ready to draw a fuzzy, eight-legged friend? This tutorial is perfect for young artists ages 5 and up. All you need is a pencil, an eraser, and a piece of paper to bring this arachnid to life.
🎯 Final Result

Step-by-Step Instructions
Step 1: Sketching the Face and Fangs
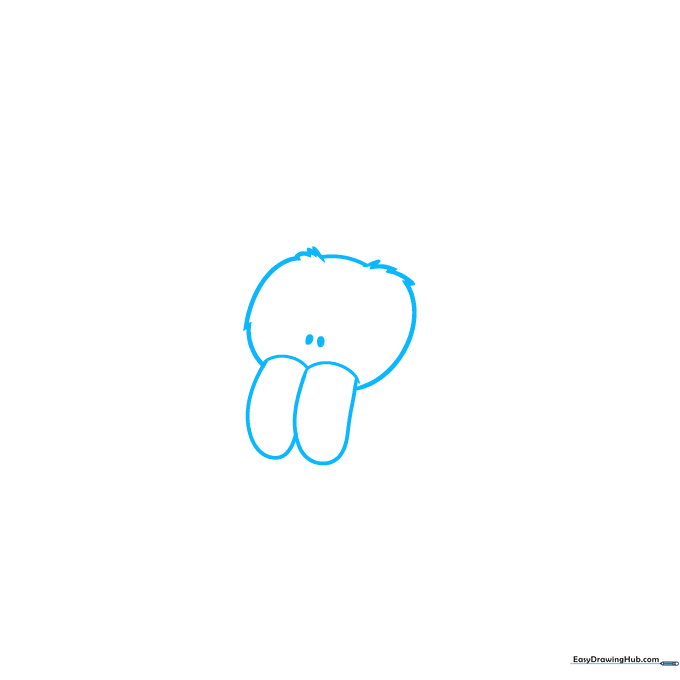
Start by drawing the chelicerae (fangs) using two curved lines and two 'U' shapes. Then, sketch a fuzzy head around them using jagged, short strokes. Teacher's Tip: Keep your pencil pressure light here so you can easily erase any overlapping lines later.
Step 2: Adding the Pedipalps
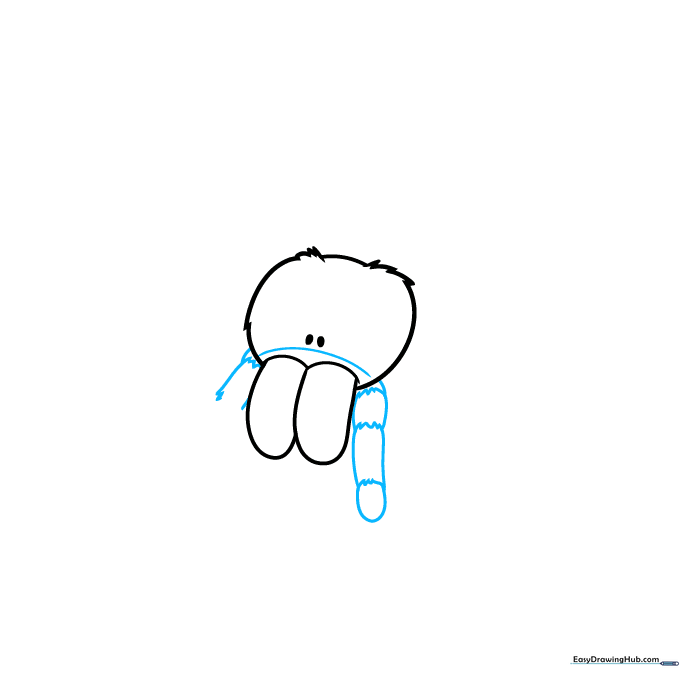
Draw a curved line across the face, then add the pedipalps—the short, leg-like appendages near the mouth. Use zig-zag lines to give them a segmented, hairy look. Tip: Think of these as the spider's 'arms'!
Step 3: Starting the First Walking Legs
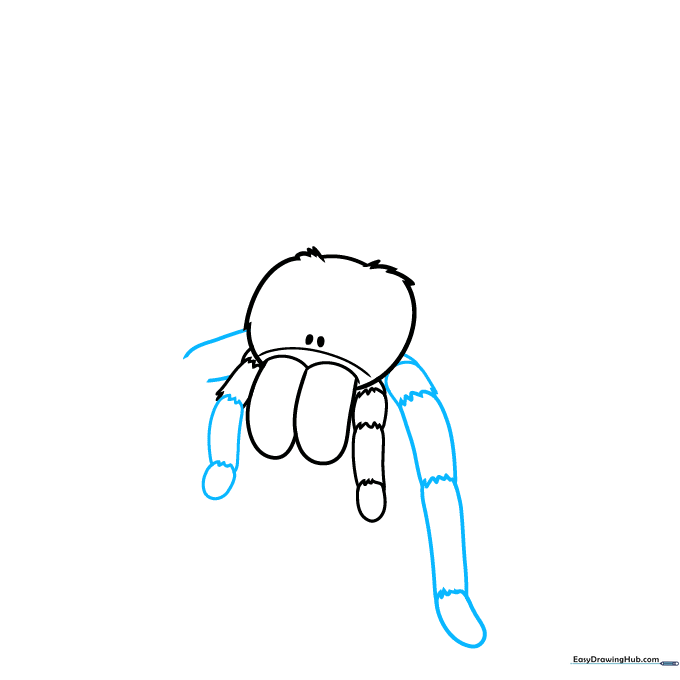
Now, let's start the long legs. Use long, curved lines for the segments and connect them with small zig-zags. End each leg with a 'U' shape for the foot. Tip: Spiders have eight legs, so space them out evenly around the body.
Step 4: Building the Second Pair of Legs
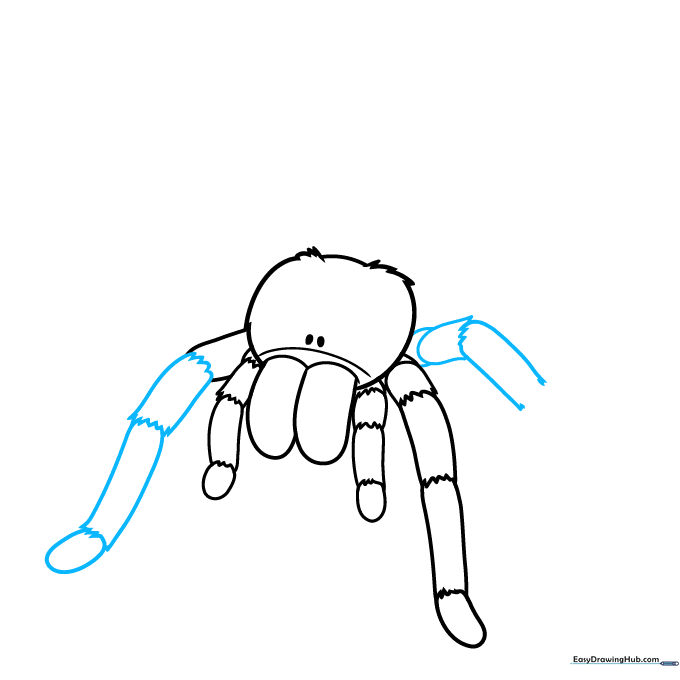
Continue adding legs by repeating the segmented process. Keep your lines fluid to make the legs look natural. Tip: If your legs look a bit stiff, try curving the segments slightly to give the spider movement.
Step 5: Adding More Legs
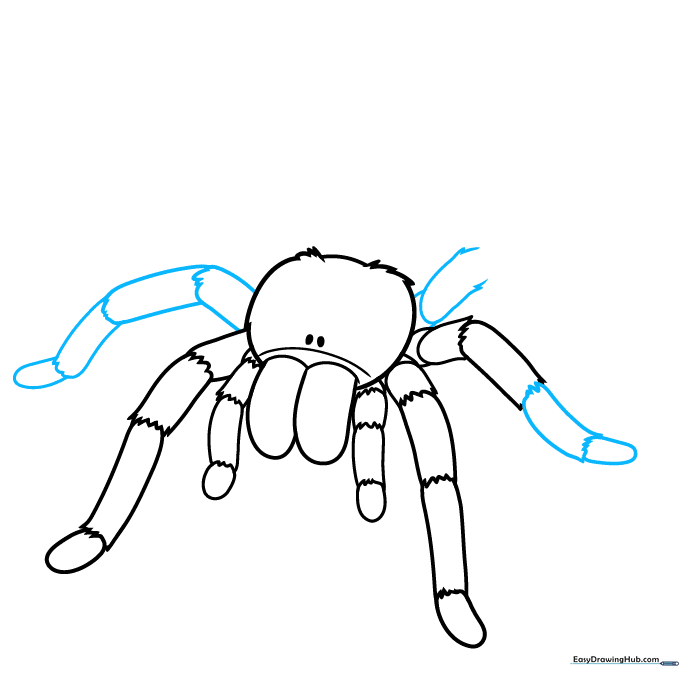
Keep going! Add the next set of legs, ensuring they originate from the center of the body. Tip: Don't worry if they aren't perfect; spiders have many joints, so slight variations make them look more realistic.
Step 6: Filling in the Leg Count
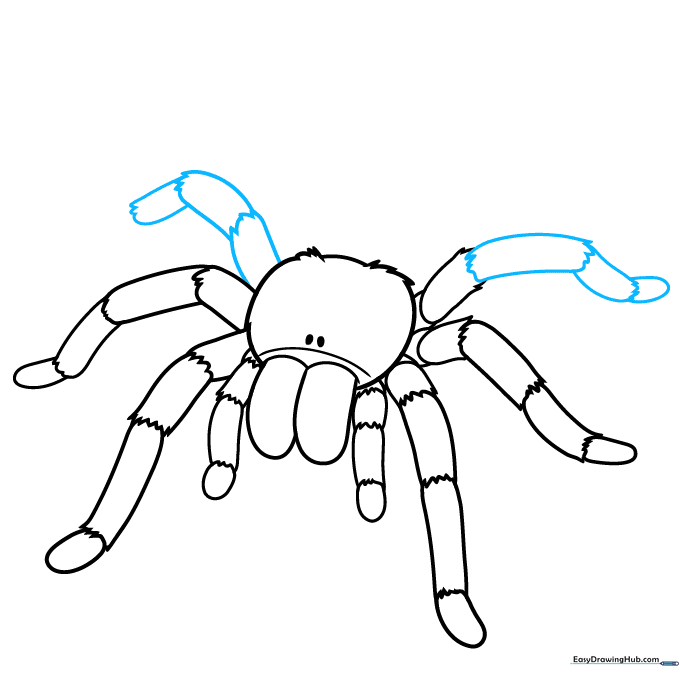
Draw the third set of walking legs. By now, your spider should really be taking shape! Tip: Check your spacing to make sure you have room for the final set of legs.
Step 7: The Abdomen and Final Legs
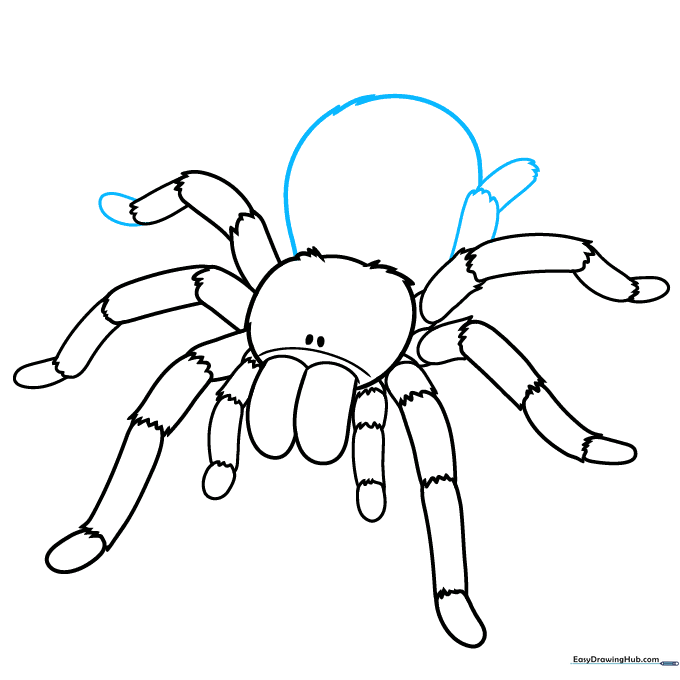
Complete the sixth leg and start the seventh. Now, draw a large, round shape behind the head for the abdomen. Use short, jagged lines to give it a fuzzy, hairy texture. Tip: The abdomen is the largest part of the spider, so make it nice and round!
Step 8: Final Details and Texture
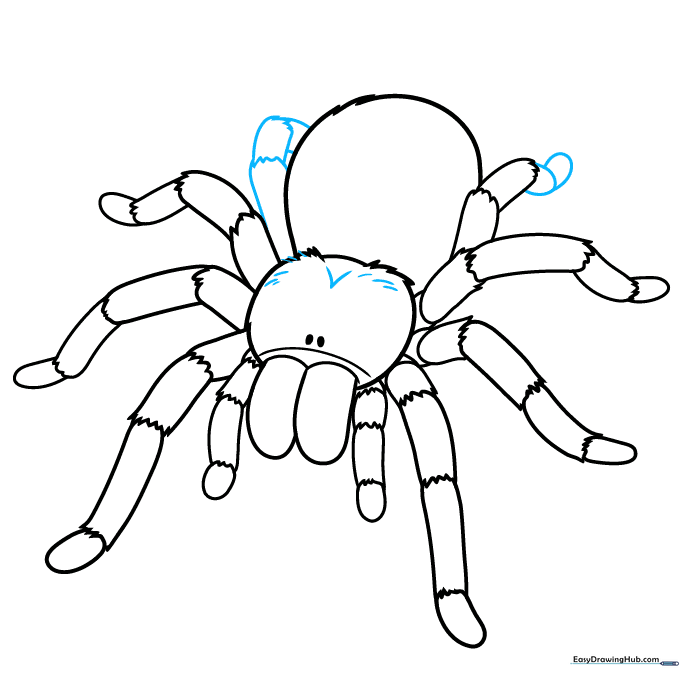
Finish the eighth leg. Add a 'V' shape on the back of the head to define the cephalothorax. Tip: Adding a few extra short lines around the body creates that iconic 'hairy' tarantula look.
Step 9: Final Touches

Go over your outline to ensure all the hairy textures are consistent. Erase any extra guidelines. Tip: Use a darker pencil or a fine-liner pen to make your final lines pop before coloring.
Step 10: Bring Your Spider to Life with Color
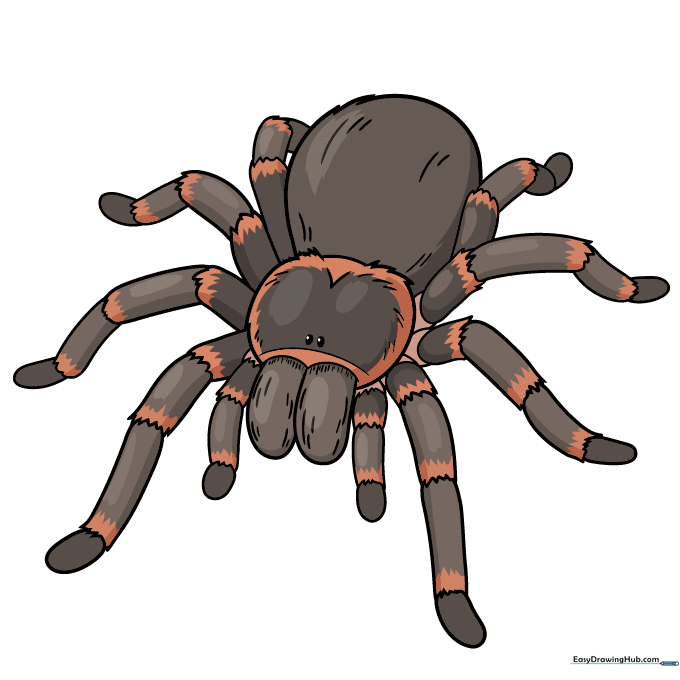
Time to color! While many tarantulas are brown or black, feel free to get creative with bright blues, oranges, or pinks. Tip: Use short, light strokes with your colored pencils to mimic the look of fur.
More Tutorials


