How to Draw a T-Shirt: Easy 10-Step Guide for Kids
Perfect for budding fashion designers ages 5 and up, this tutorial breaks down the T-shirt into simple, manageable shapes. You only need a pencil, an eraser, and a piece of paper to get started. Follow these steps to build your drawing skills and create a custom outfit design.
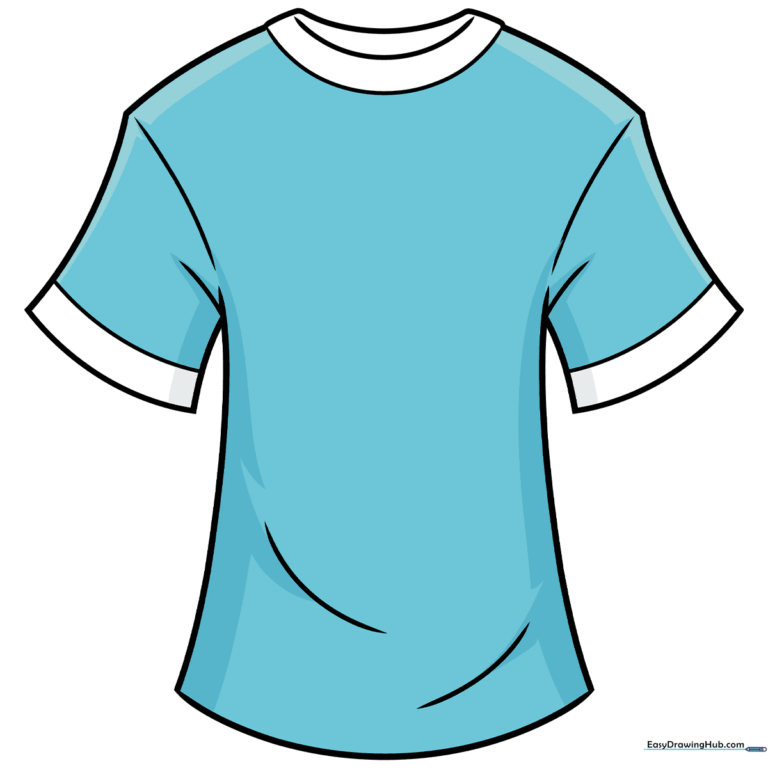
🎯 Final Result
Step-by-Step Instructions
Step 1: Sketching the Neckline
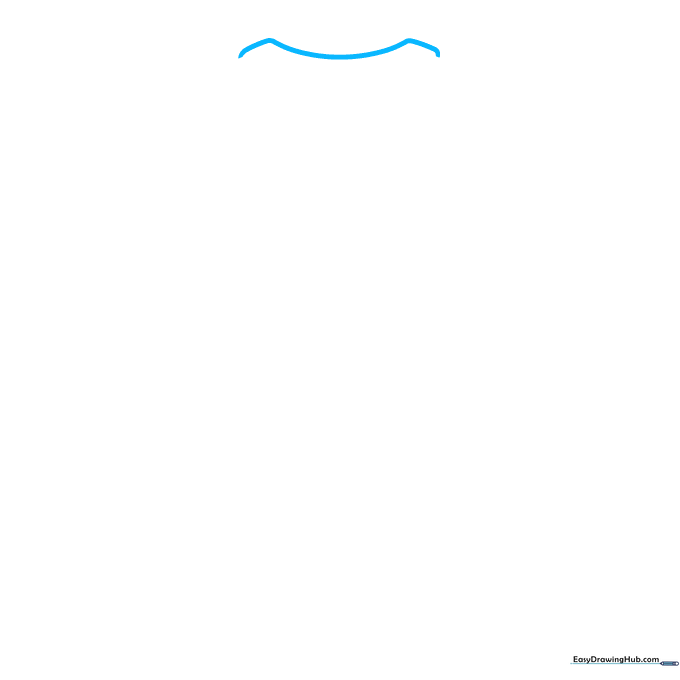
Start by drawing a soft, curved line with a gentle point at each end to form the collar. Teacher's Tip: Keep your pencil pressure light so you can easily adjust the shape if it looks a bit lopsided.
Step 2: Defining the Shoulders
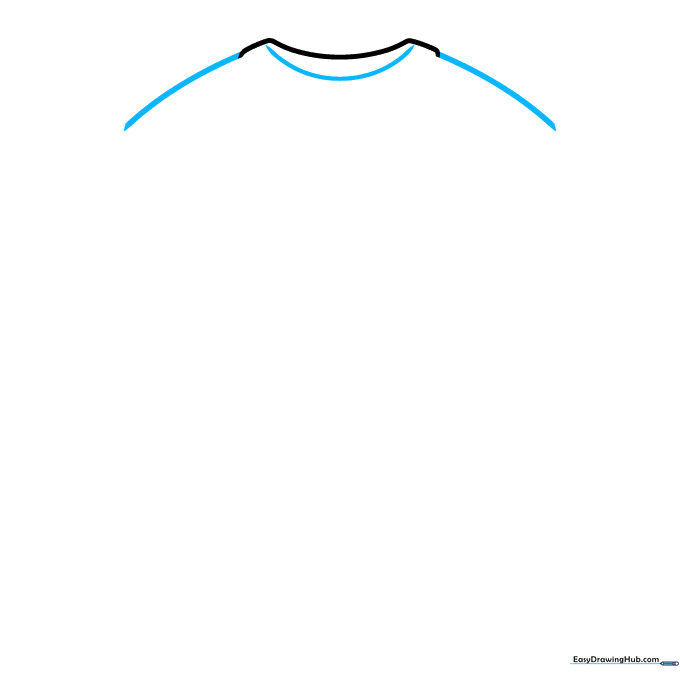
Extend long, slightly curved lines from the ends of your collar to create the shoulders. Add a wide 'U' shape below the first line to finish the neck opening. Tip: Imagine the 'U' is a small smile—keep it rounded and even.
Step 3: Drawing the First Sleeve
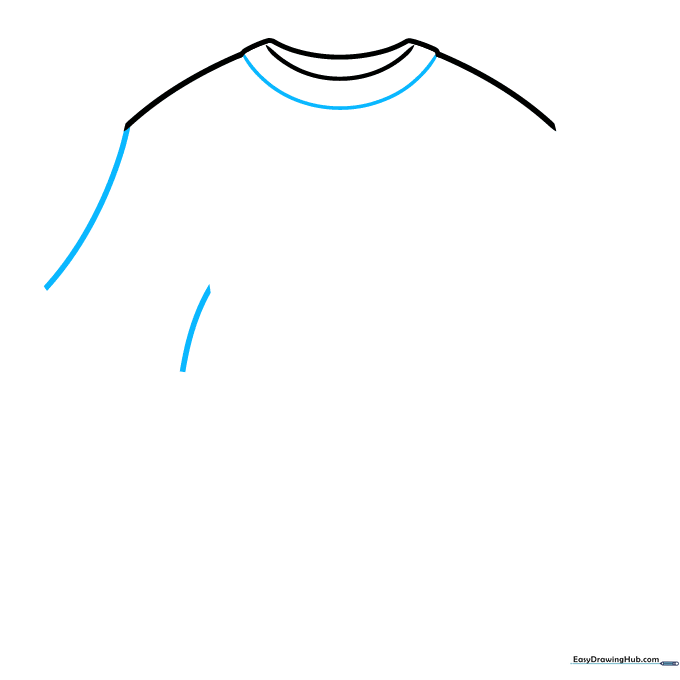
Extend a curved line from the shoulder to start the top of the sleeve, then draw a shorter parallel line below it. Tip: Keep the space between these lines consistent to make the sleeve look realistic.
Step 4: Adding the Second Sleeve

Connect the sleeve lines with a curved end, then repeat the process on the other side. Tip: Try to mirror the length of the first sleeve so your T-shirt looks symmetrical.
Step 5: Shaping the Body
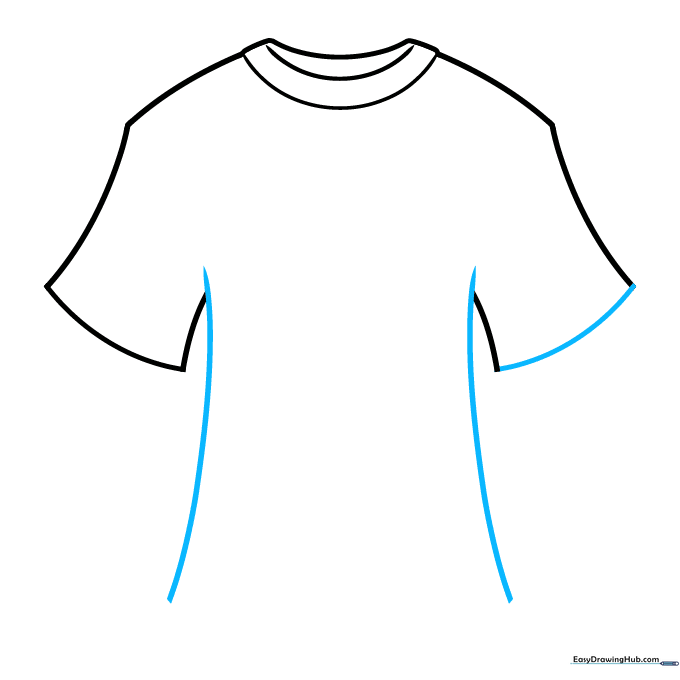
Draw long, curved lines down from the armpits to form the sides of the shirt. Let these lines slightly overlap the bottom of the sleeves. Tip: A slight curve outward makes the shirt look like it's being worn rather than just laying flat.
Step 6: Hem and Seams
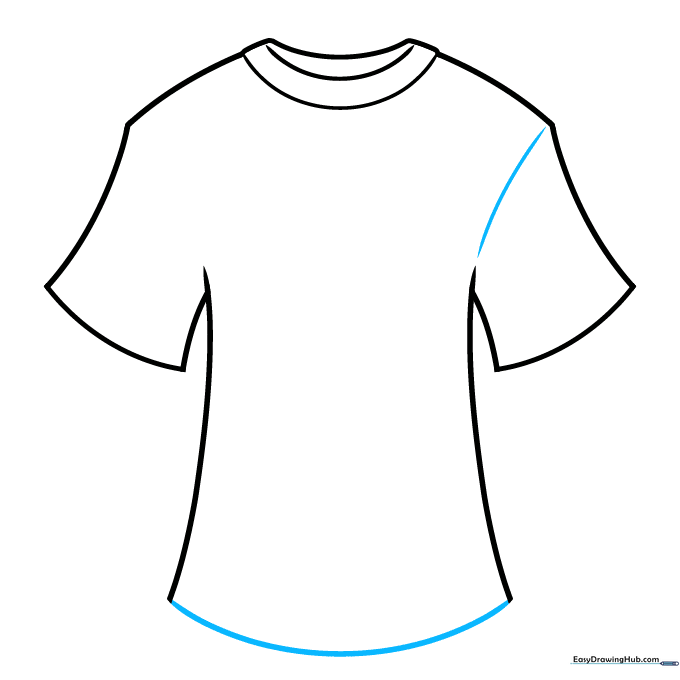
Connect the bottom sides with a long, gentle curve. Add a curved line across the top of each sleeve to represent the shoulder seam. Tip: Don't let the seam line touch the very edge of the sleeve for a more professional look.
Step 7: Adding Fabric Folds
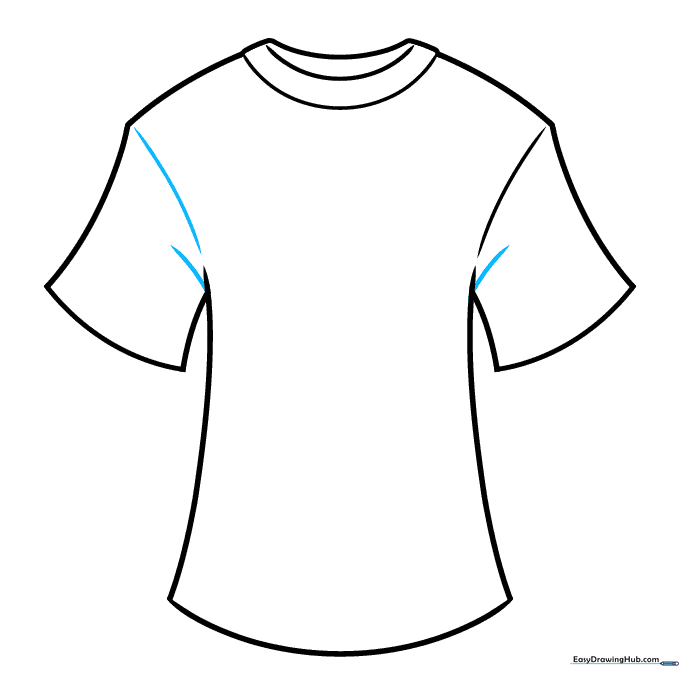
Add a second seam line to the opposite sleeve. Under each armpit, draw a short, curved line to suggest fabric bunching or folds. Tip: These small details add 'weight' to your drawing, making the shirt look like real fabric.
Step 8: Sleeve Details
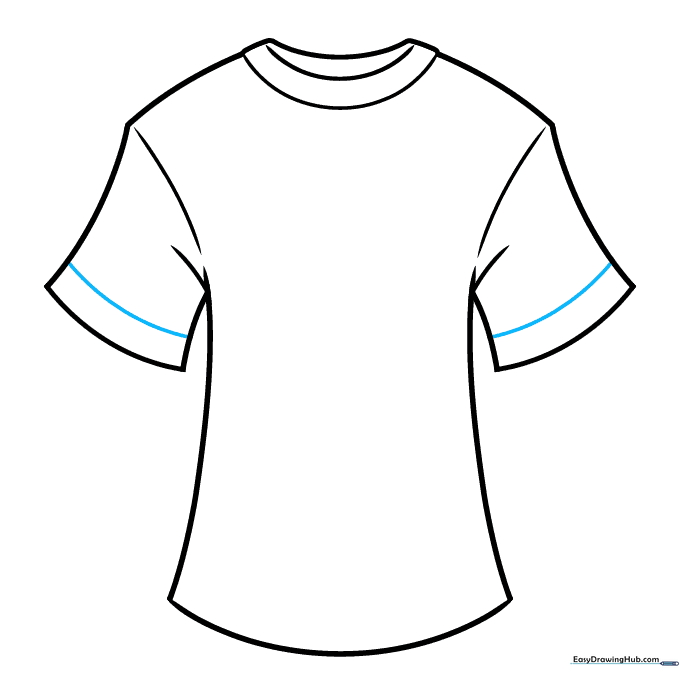
Draw a curved line across the bottom of each sleeve to create a hem or a striped cuff. Tip: If you want a striped shirt, draw two lines instead of one!
Step 9: Final Touches
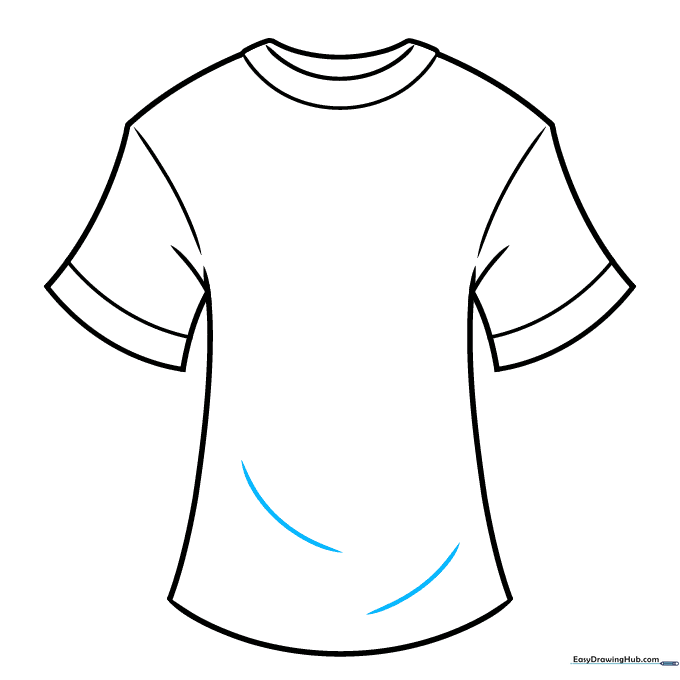
Add a few more curved lines near the bottom hem to indicate natural folds in the fabric. Tip: Keep these lines short and varied in length to make them look organic.
Step 10: Bring It to Life with Color
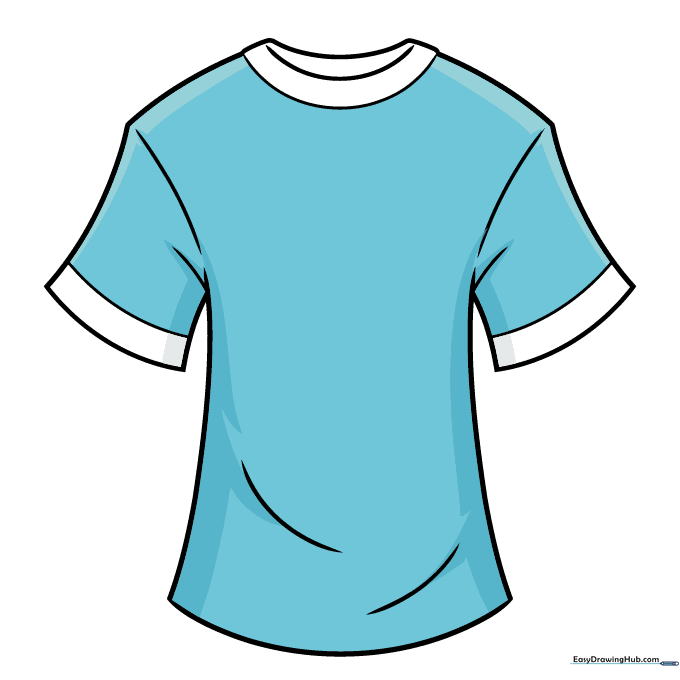
Your outline is ready! Use your favorite markers or colored pencils to fill it in. Tip: Try coloring the collar and sleeve cuffs a different shade than the body to create a cool 'rink-tee' style.
More Tutorials


