How to Draw a Swordfish: Easy 10-Step Guide for Kids
Ready to dive into the ocean? This tutorial is perfect for young artists ages 5 and up. All you need is a pencil, an eraser, and a piece of paper to bring this majestic sea creature to life while practicing your line control and shape recognition.
🎯 Final Result

Step-by-Step Instructions
Step 1: Sketching the Body and Sword

Draw a long, teardrop-shaped body that is pointed at the tail end. At the front, extend two lines that meet at a sharp point to create the iconic sword. Teacher's Tip: Keep your pencil pressure light so you can easily adjust the shape of the sword later.
Step 2: Adding Pectoral Fins
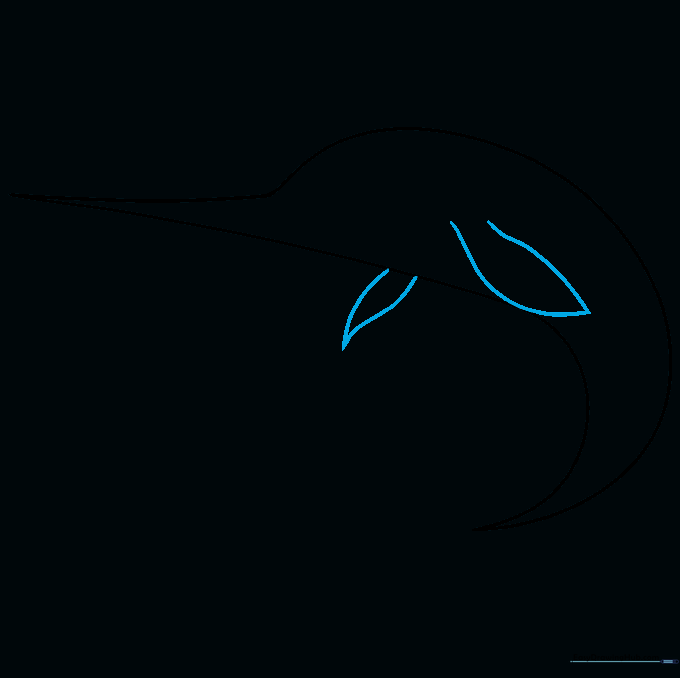
Add the pectoral fins by drawing two pairs of curved lines on the side of the body, meeting at sharp points. Teacher's Tip: Think of these as the fish's 'arms'—keep them angled slightly backward to show movement.
Step 3: Sketching the Dorsal Fin
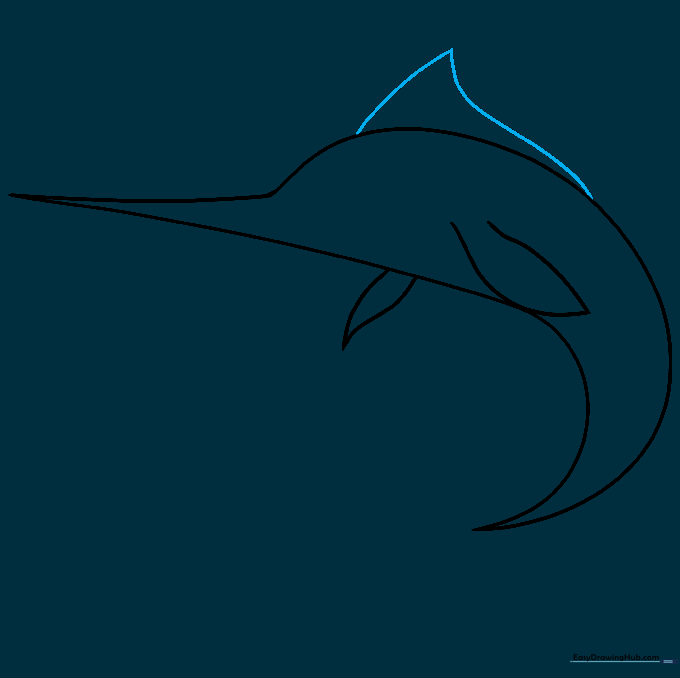
Draw the large dorsal fin on the top of the back using two curved lines that meet at a point. Teacher's Tip: Make this fin tall and triangular to give your swordfish a sleek, fast look.
Step 4: Forming the Tail

Create the tail by drawing two 'C' shaped lines at the end of the body, allowing them to meet at sharp tips. Teacher's Tip: Ensure the tail is symmetrical to help the fish look like it's ready to swim.
Step 5: Drawing the Eye

Draw a curved line for the face, then add an inverted 'U' shape for the eye. Shade a small corner to create the pupil and add a line above for the eyebrow. Teacher's Tip: A well-placed eye gives your character personality—try to keep it expressive!
Step 6: Creating the Open Mouth
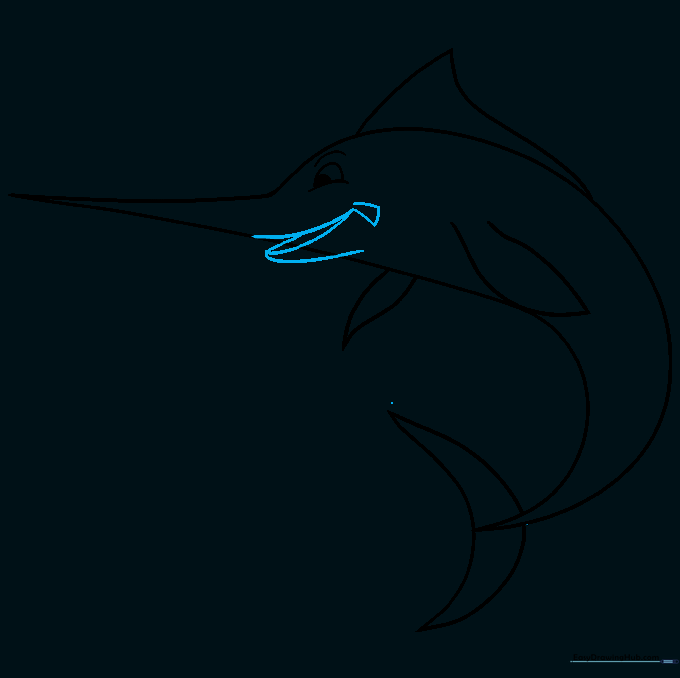
Draw a curved line across the base of the sword and a 'U' shape below for the mouth. Add a small rectangular detail at the corner. Teacher's Tip: Don't worry if the lines overlap; we will clean those up in the next step.
Step 7: Refining the Shape
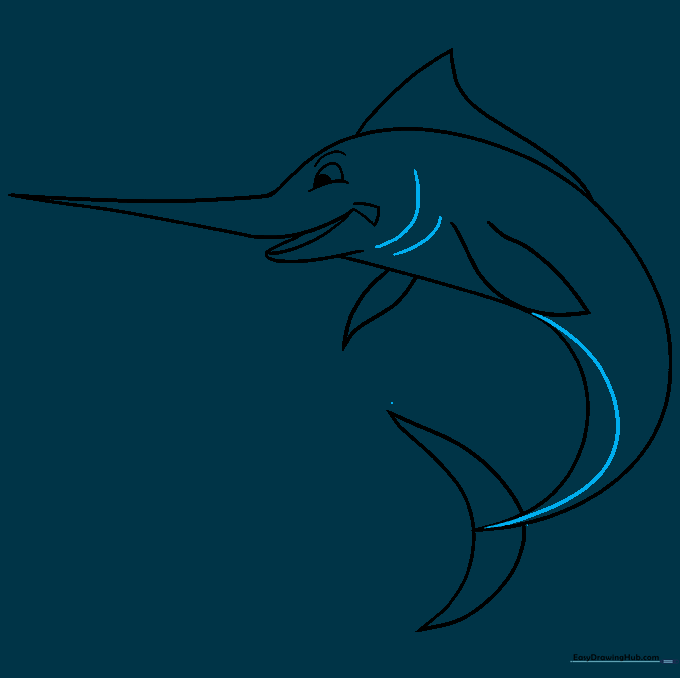
Erase the overlapping lines near the mouth. Add two curved lines for the gills and a long, smooth line from the dorsal fin to the tail to define the belly. Teacher's Tip: Using a soft eraser helps keep your paper clean and prevents smudging.
Step 8: Adding Anal Fins
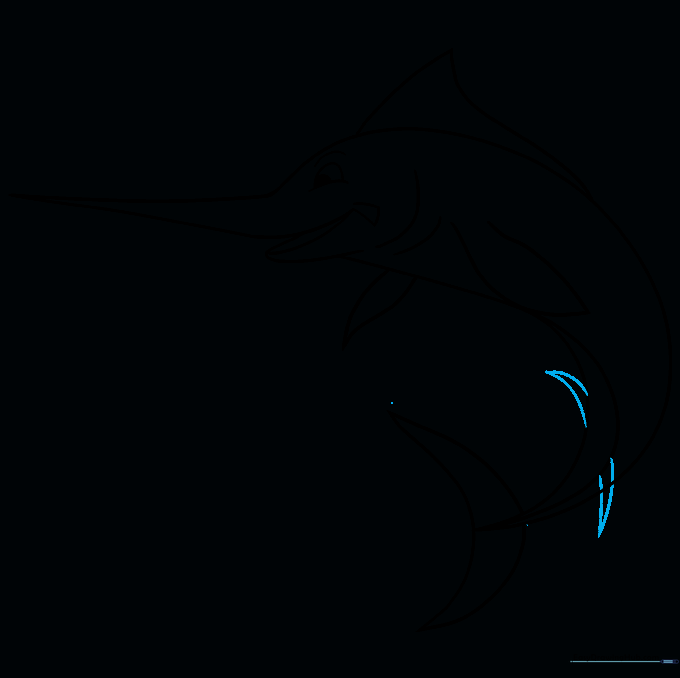
Draw the anal fins by extending pairs of curved lines from the belly near the tail. Teacher's Tip: Keep these fins small to maintain the balance of your drawing.
Step 9: Adding Texture Details
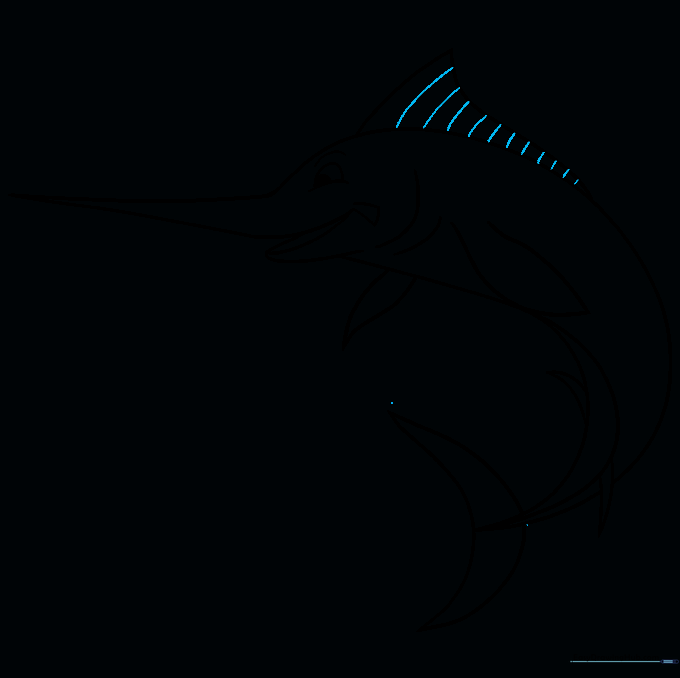
Add bands to the dorsal fin using simple curved lines. Teacher's Tip: These details add depth and make your drawing look more professional.
Step 10: Bringing It to Life with Color

Color your swordfish! Use shades of grey or blue for the top and a soft cream or white for the belly. Teacher's Tip: Try using light blue for the fins to make them pop against the body.
More Tutorials


