How to Draw a Sword: Easy 11-Step Guide for Beginners
Ready to design your own legendary blade? This tutorial is perfect for young artists ages 6+ looking to master geometric shapes. All you need is a pencil, an eraser, and a piece of paper to bring this knightly accessory to life.
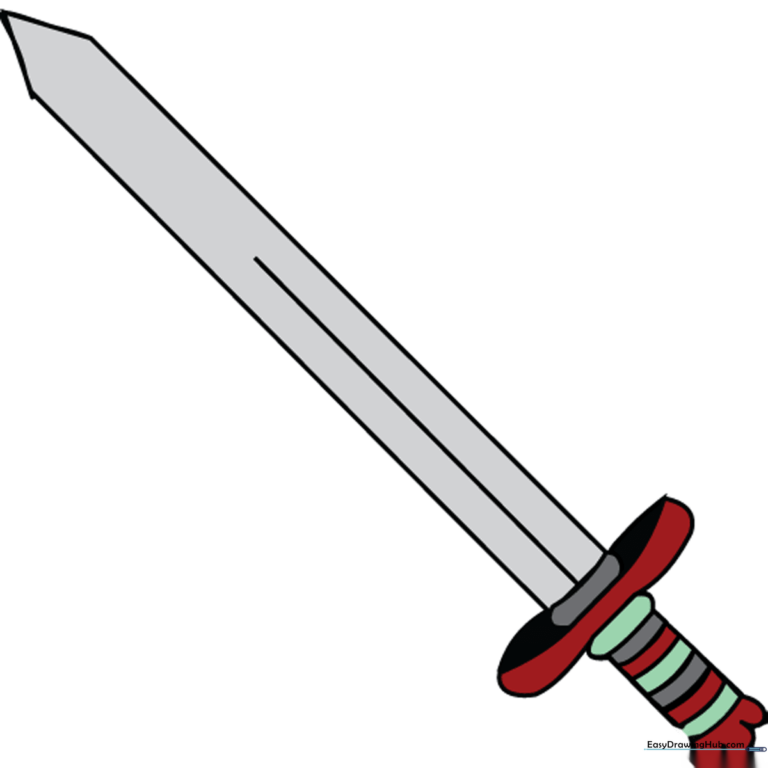
🎯 Final Result
Step-by-Step Instructions
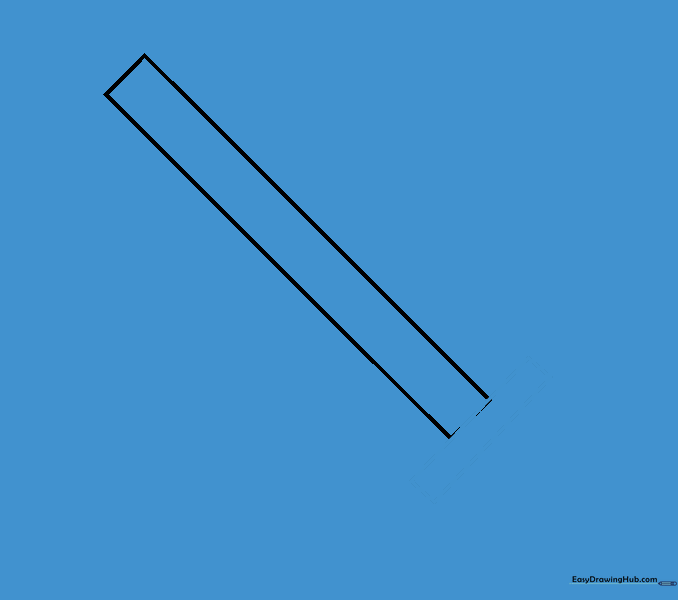
Step 1: Sketching the Blade Base

Draw a long, narrow rectangle at a slight diagonal angle. Teacher's Tip: Keep your pencil pressure light; this is just the skeleton of your blade, and we'll refine the shape later.
Step 2: Adding the Cross-Guard
Draw a smaller, horizontal rectangle across the base of your blade. This is the cross-guard that protects the hand. Tip: Ensure it is centered perfectly so your sword looks balanced.
Step 3: Forming the Grip

Draw a smaller rectangle extending downward from the center of the cross-guard. This is the grip where the knight holds the sword. Keep it narrow for a realistic look.
Step 4: Refining the Blade and Pommel

Add a triangle to the top of the blade for a sharp point. Draw a line down the center of the blade (the fuller) to add strength. Add a curved line at the bottom for the pommel. Tip: Use a ruler if you struggle with straight lines!
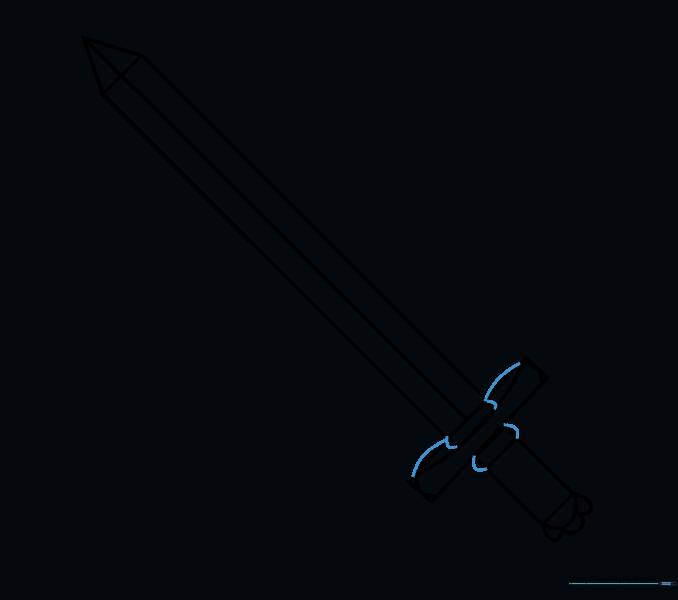
Step 5: Detailing the Guard
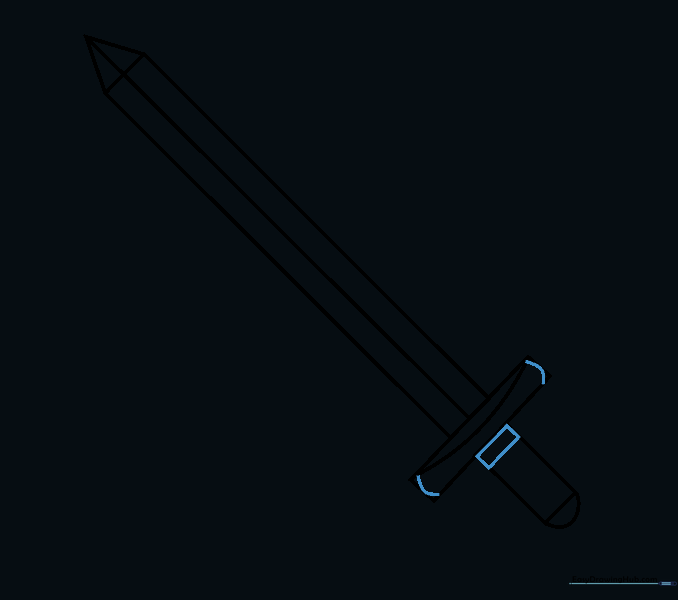
Add curved lines inside the cross-guard to give it depth. Outline a small rectangle at the top of the grip. Tip: Think of these as decorative metal accents.
Step 6: Adding Handle Texture
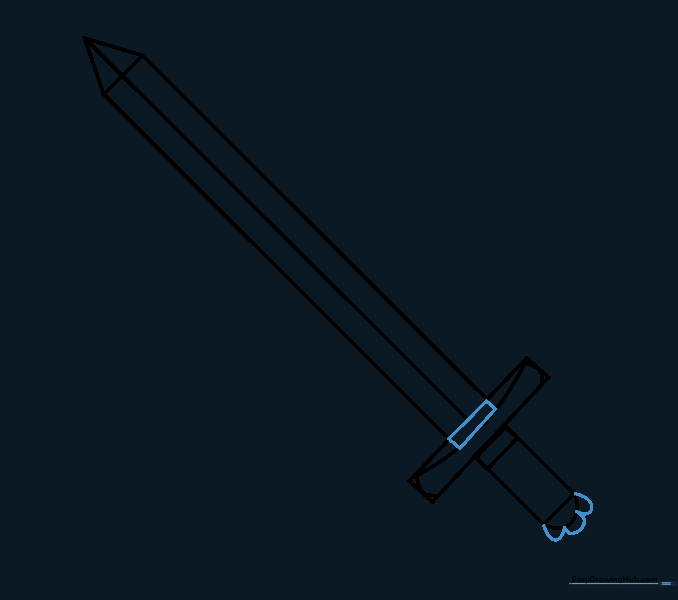
Draw a narrow rectangle where the blade meets the guard, and add 'U' shaped lines around the pommel. This creates a professional, finished look.
Step 7: Finalizing Handle Details
Add curved lines across the top of the cross-guard and the ends of the grip. These small details make the sword look like it's made of real metal.
Step 8: Cleaning Up
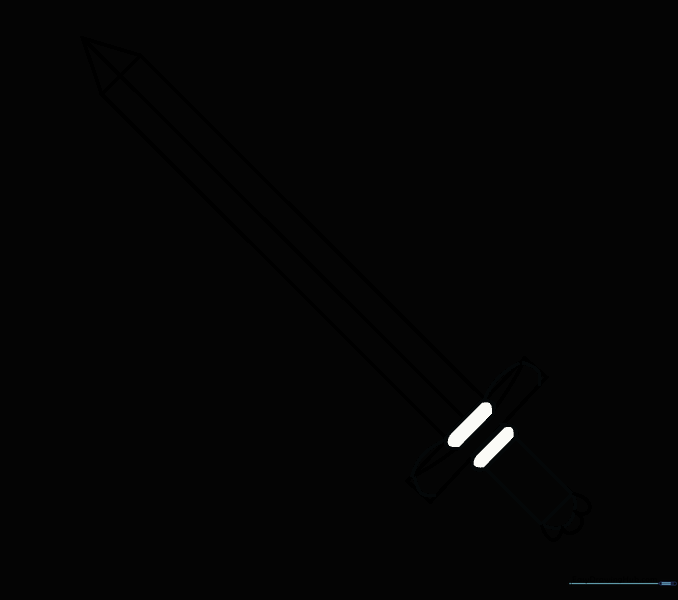
Carefully erase the overlapping guide lines on the handle. Tip: Use a soft eraser and brush away the crumbs so you don't smudge your drawing.
Step 9: Adding Final Accents
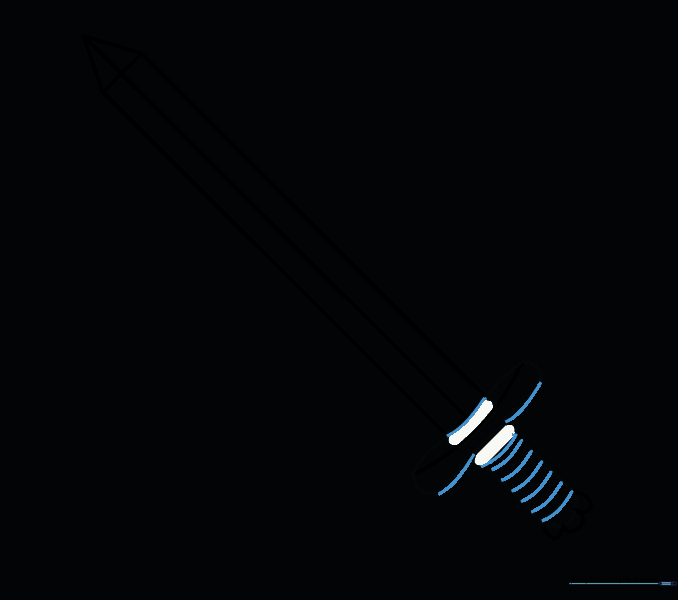
Add small curved lines across the grip and along the base of the blade. These indicate where the leather wrap or metal fittings would be.
Step 10: Final Polish
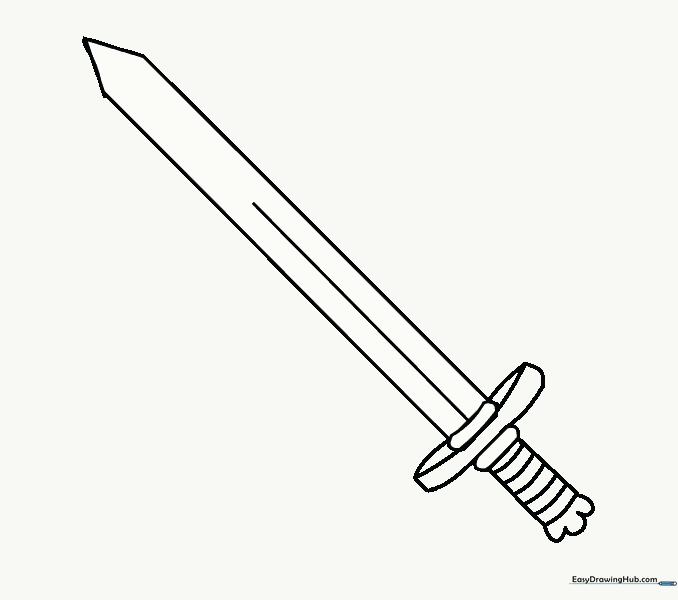
Erase any remaining faint guide lines on the blade. Now your sword is clean and ready for color!
Step 11: Bring It to Life with Color
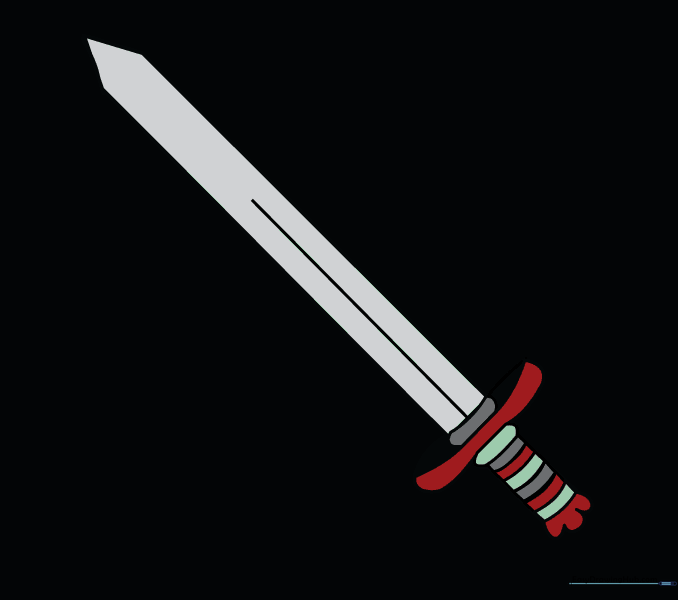
Time to color! Use silver or grey for the blade, and brown or gold for the handle. Tip: Use a darker grey on one side of the blade to create a 'shadow' effect, making it look shiny and metallic.
More Tutorials


