How to Draw a Sweet Pea: Easy 9-Step Flower Guide
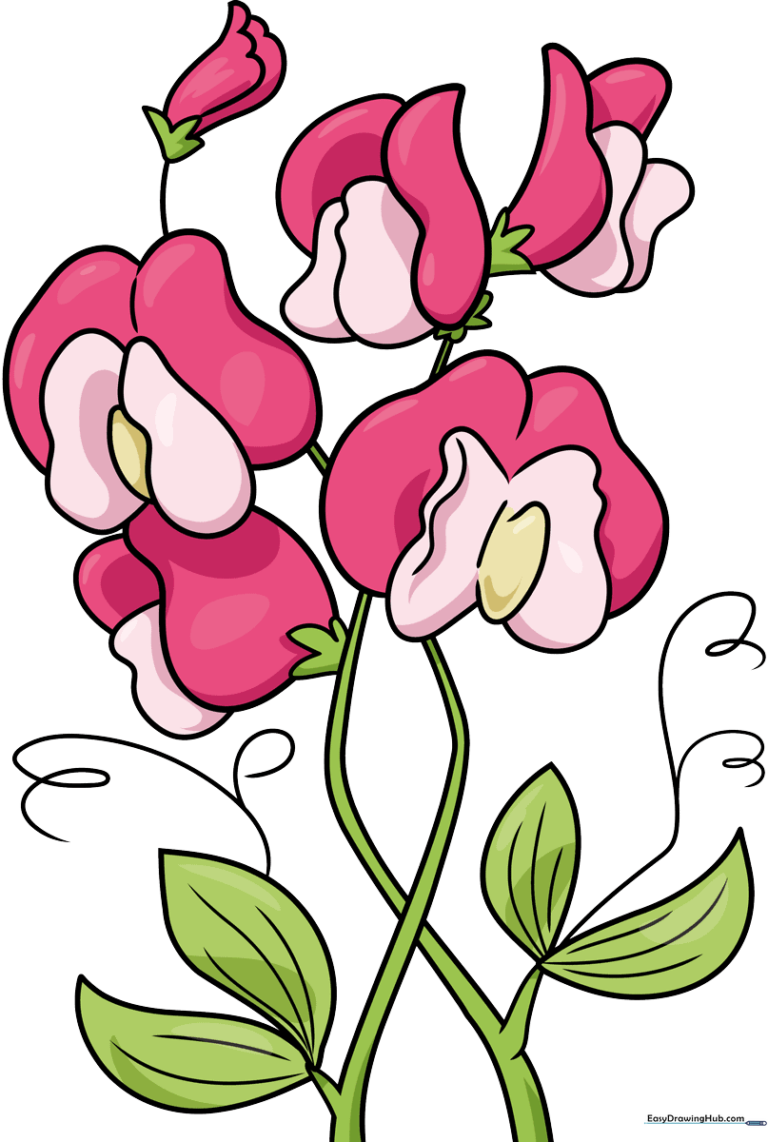
Bring the beauty of spring to your sketchbook with this sweet pea drawing tutorial. Designed for ages 5 and up, this project uses basic shapes to build a complex-looking flower. Grab your pencil, eraser, and paper, and let’s grow a garden on your page!
🎯 Final Result
Step-by-Step Instructions
Step 1: Sketching the Upper Petal
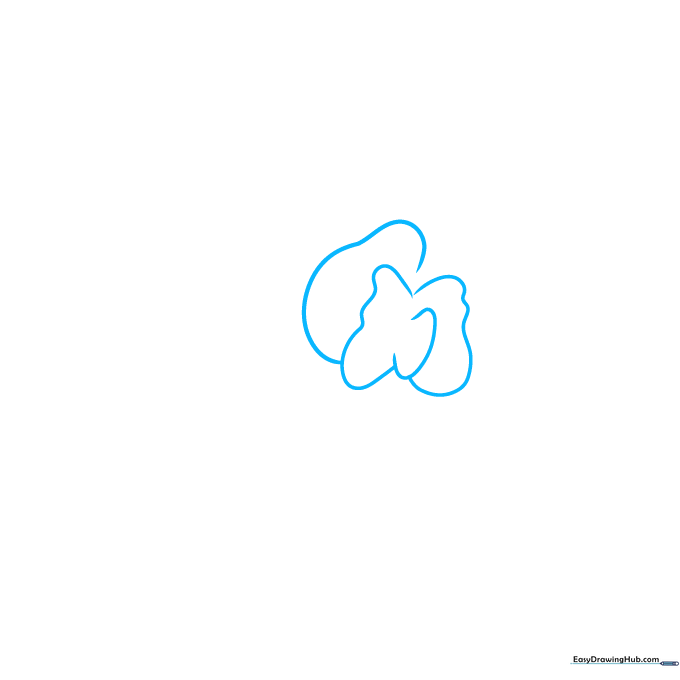
Start by drawing a backward 'C' shape. Around it, add soft, wavy lines to create the top 'wing' of the flower. Teacher's Tip: Keep your pencil pressure light here; these are just guidelines for the flower's structure.
Step 2: Balancing the Blossom
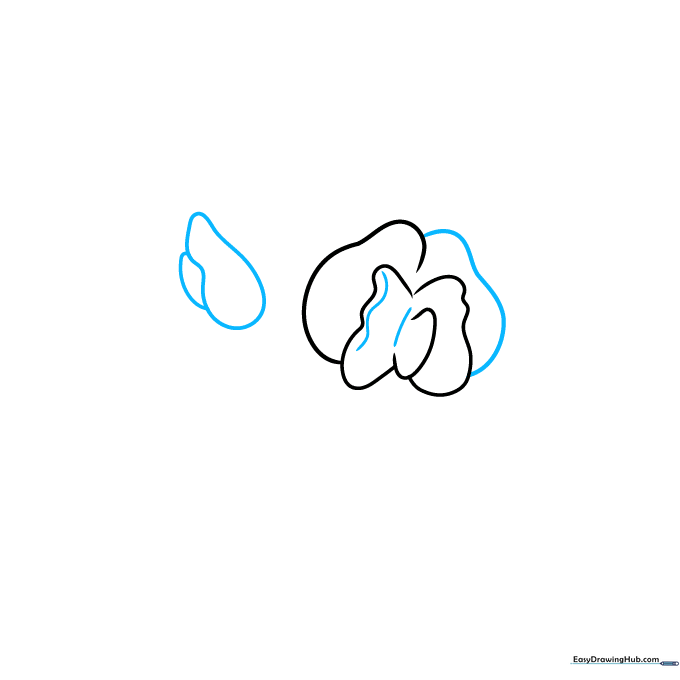
Connect the wings with a curved line to create symmetry. Then, draw a small teardrop shape nearby for a second, partially hidden blossom. Teacher's Tip: Think of the teardrop as a small raindrop—keep it rounded and smooth.
Step 3: Adding Stems and Leaves
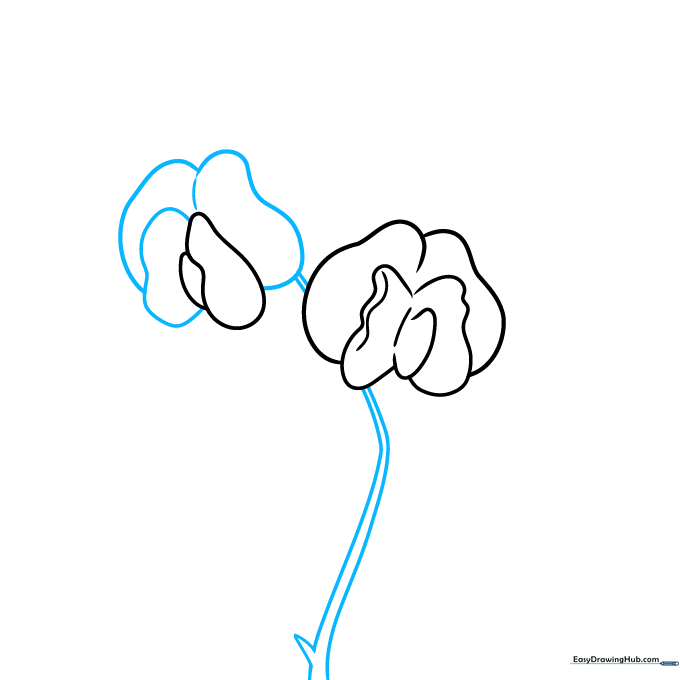
Add three more curved lines to define the petals. Draw two long, parallel lines extending downward for the stem, and add a small, pointed leaf at the base. Teacher's Tip: Use a ruler if you struggle with straight lines, but freehand is better for a natural look!
Step 4: Growing the Second Stem
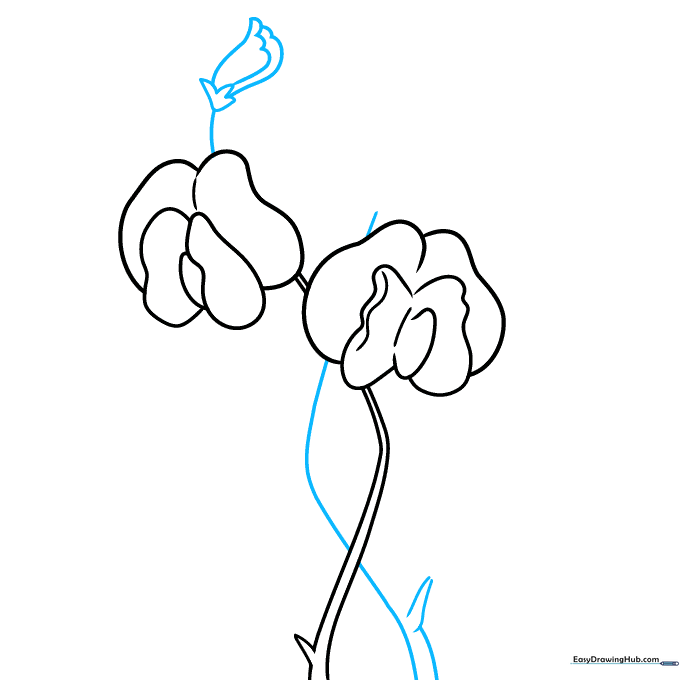
Draw a second stem curving behind the first. Add a jagged sepal (the small green base of the flower) and sketch two more petals. Teacher's Tip: Make the sepal look 'bumpy' to contrast with the smooth petals.
Step 5: Completing the Blossom
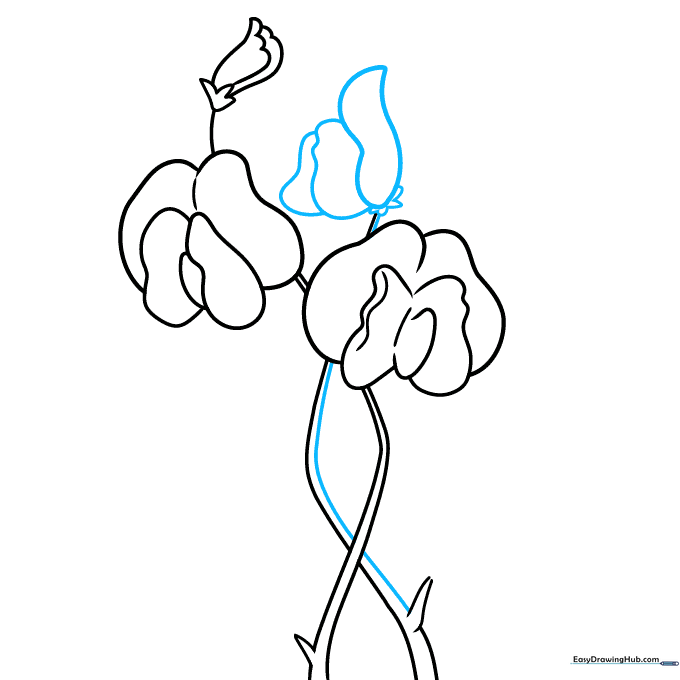
Finish the second stem by drawing a parallel line. Add a small sepal and large, rounded petals on top. Teacher's Tip: Overlapping your lines slightly helps the flower look 3D.
Step 6: Adding More Flowers
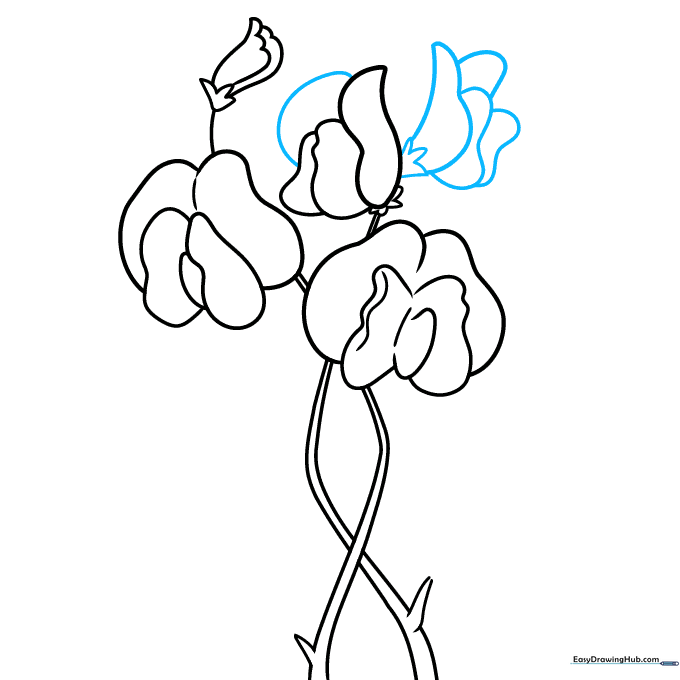
Add one more large petal to the previous flower. Then, sketch the sepals and petals for a third blossom. Teacher's Tip: Vary the size of your petals to make the flower look more realistic.
Step 7: Detailed Leaves
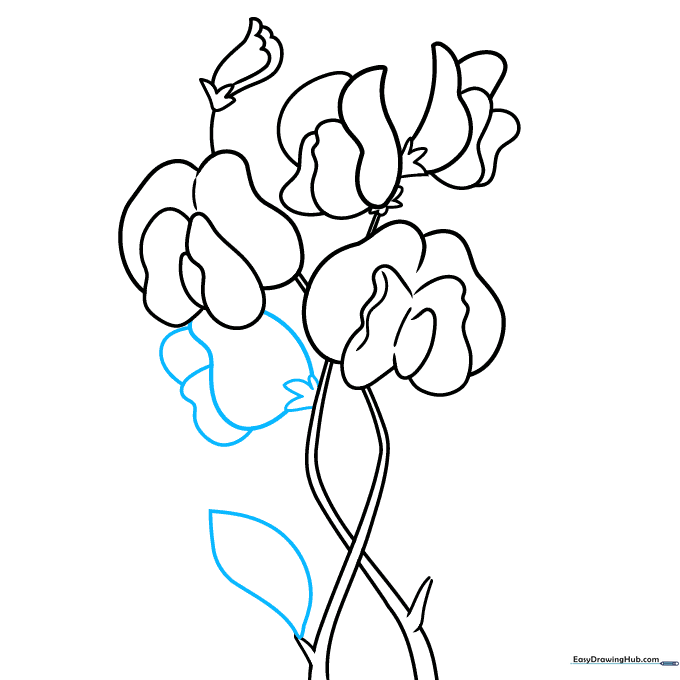
Draw a leaf extending from the stem using two curved lines that meet at a point. Add another sepal and petal set. Teacher's Tip: Leaves are rarely perfectly straight; give them a slight bend.
Step 8: Final Foliage
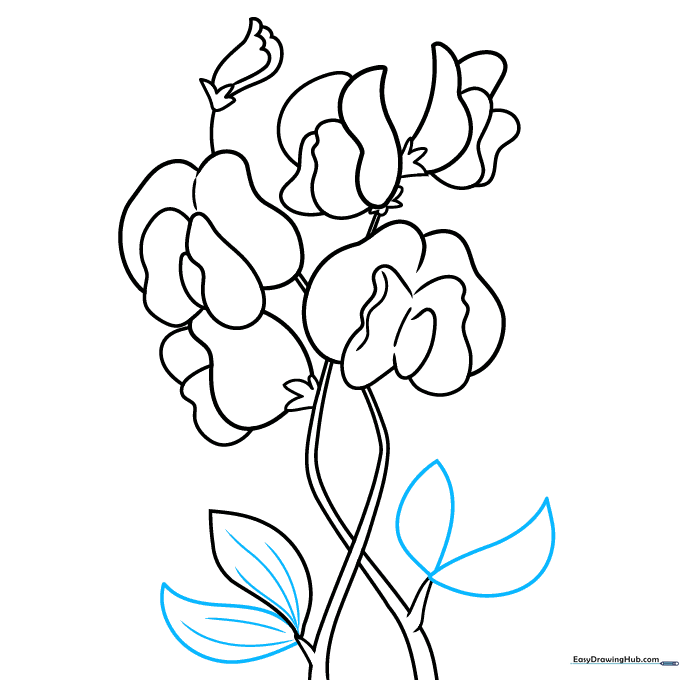
Add three more leaves, each with a pointed tip. Add small curved lines inside the leaves to show texture. Teacher's Tip: These inner lines act as 'veins' for the leaves.
Step 9: Tendrils and Finishing Touches
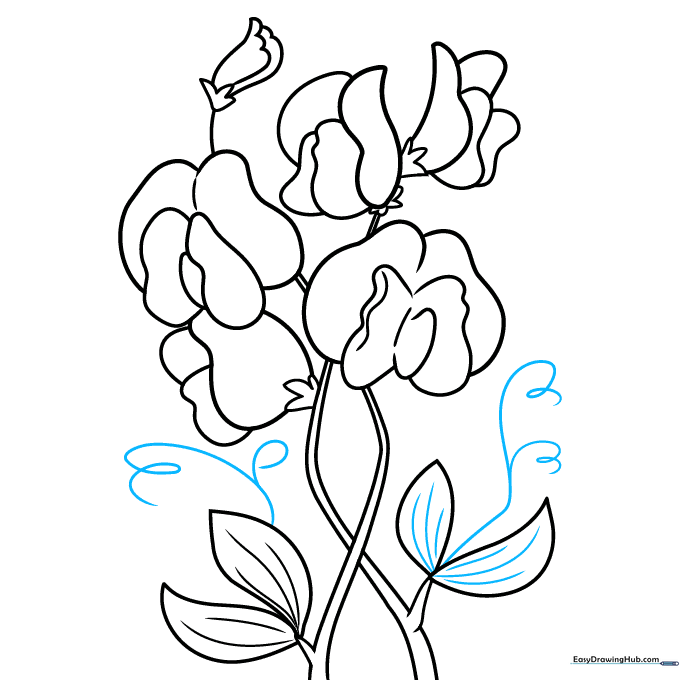
Draw spiral-shaped lines to represent the plant's tendrils. These help the sweet pea climb! Teacher's Tip: Make the spirals tight and bouncy to add character to your drawing.
Step 10: Color Your Masterpiece
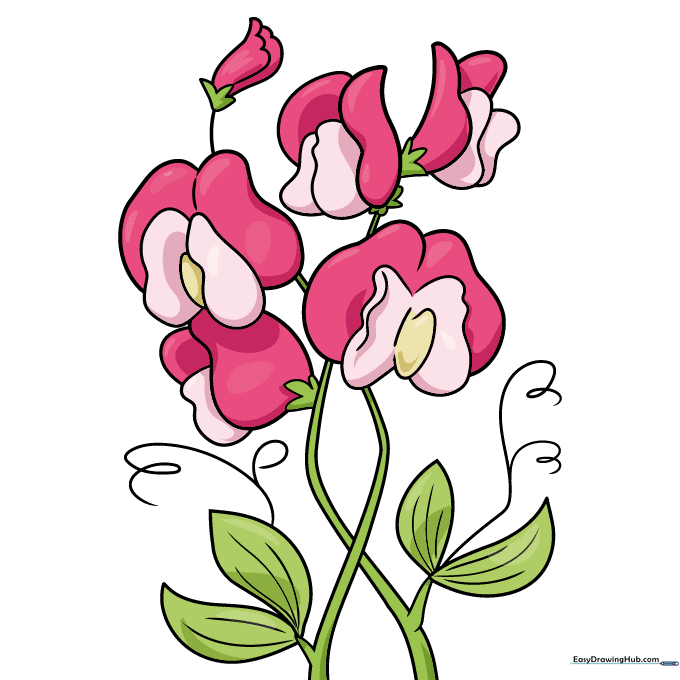
Time to bring your flower to life! Use shades of pink, purple, or white for the petals and vibrant green for the stems. Teacher's Tip: Use a darker green for the shadows under the leaves to make them pop.
More Tutorials


