How to Draw a Swamp: Easy Step-by-Step Landscape Guide
Bring a mysterious marsh to life with this fun, screen-free drawing activity. Designed for budding artists ages 6+, this tutorial uses basic shapes to build a complex-looking landscape. Grab your pencil, eraser, and paper to start creating your own cartoon habitat.
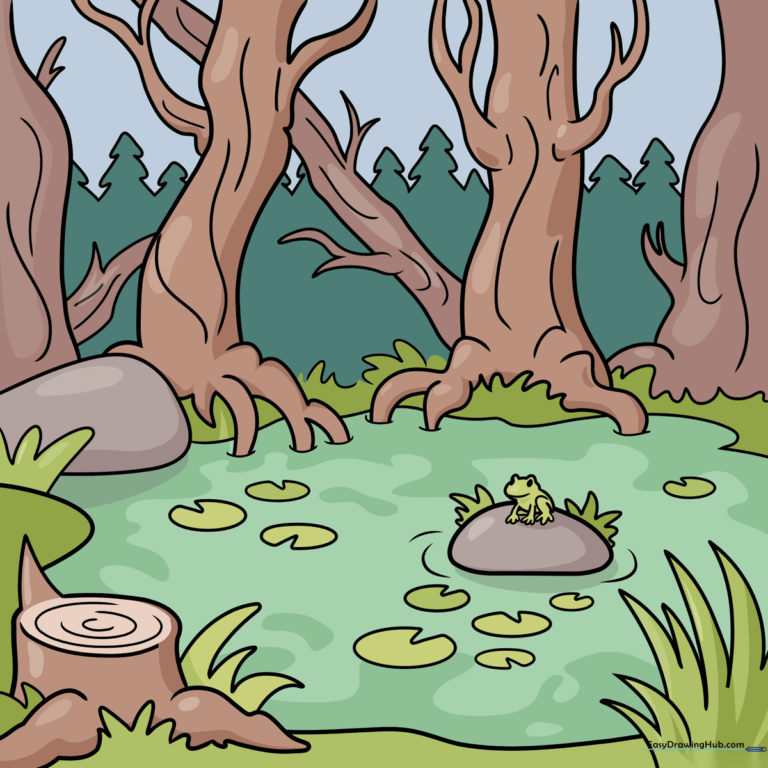
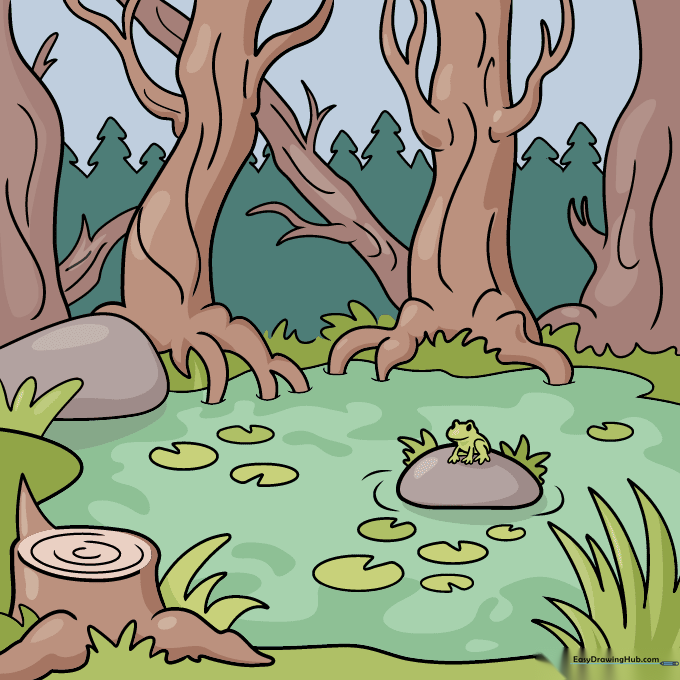
🎯 Final Result
Step-by-Step Instructions
Step 1: Establishing the Trunk Base

Draw a small oval for the base of your tree trunk. Add a triangle on the left side, then outline the trunk with vertical lines. Tip: Keep your pencil pressure light so you can easily erase guidelines later if you need to adjust your composition.
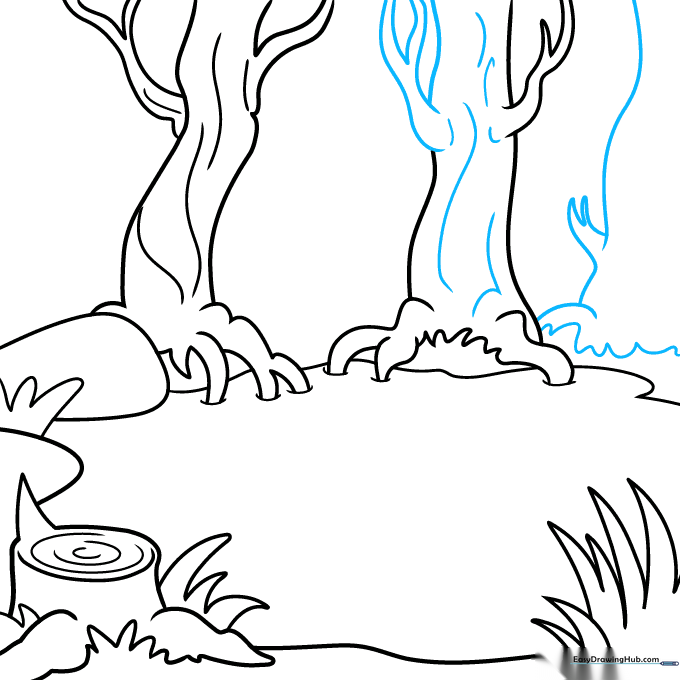
Step 2: Adding Texture and Grass

Sketch incomplete ovals on top of the trunk. Add a half-oval on the right with tall, jagged loops above it. Add loose triangles on the right for grass, and a wavy horizontal line to represent the water's edge. Tip: Use quick, flicking motions for the grass to make it look natural and wild.
Step 3: Creating the Boulder and Roots
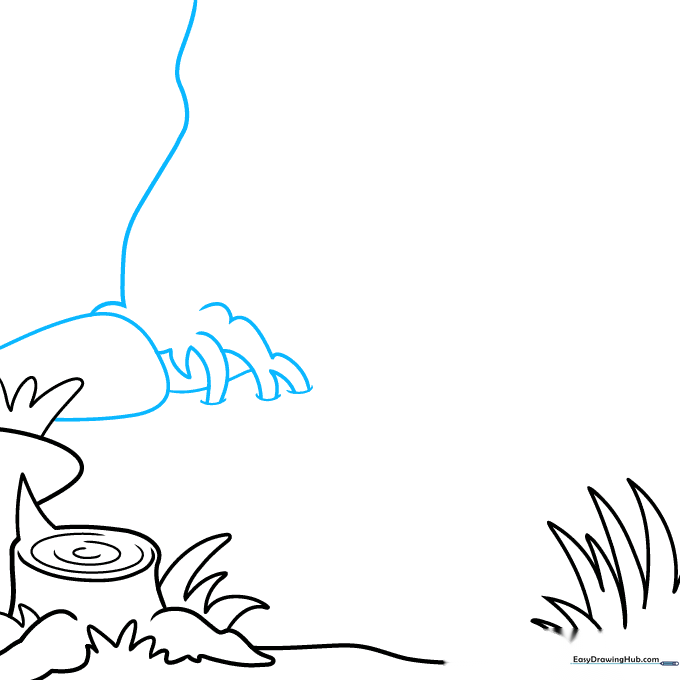
Draw a rounded rectangle for a boulder on the left. Sketch a wavy vertical line reaching the top of your page, then add curves and loops for the tree roots. Tip: Don't worry about making the roots perfectly symmetrical; swamp trees have gnarly, uneven roots!
Step 4: Branching Out
Outline the rest of the trunk with a curved vertical line, adding a wavy branch near the top. Use curved lines to sketch additional branches. Add wavy lines inside the trunk to suggest bark texture. Tip: Vary the thickness of your branches to make the tree look more realistic.
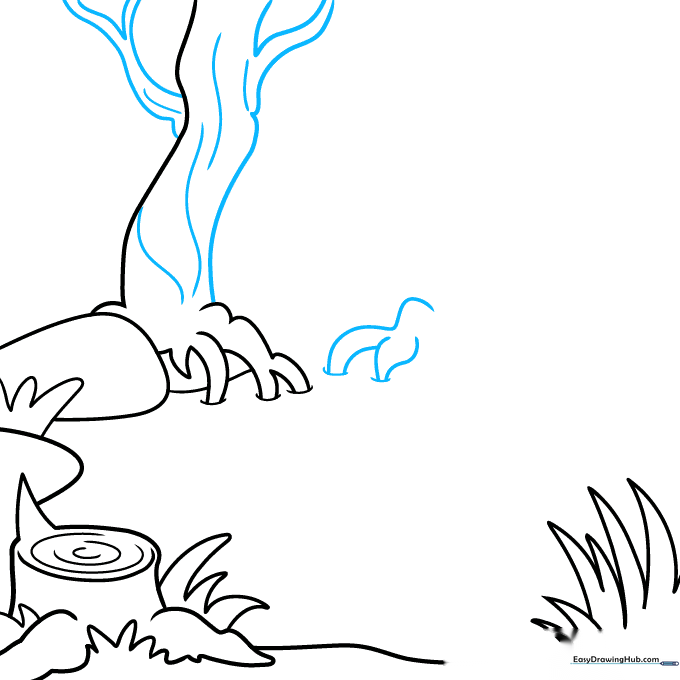
Step 5: Refining the Roots
Sketch the tree trunk using two wavy vertical lines. Use curves and a narrow triangle for the branch. Add small loops for grass and wider, sweeping loops for the roots beneath the tree. Tip: The wider the loops at the base, the more stable your tree will look.
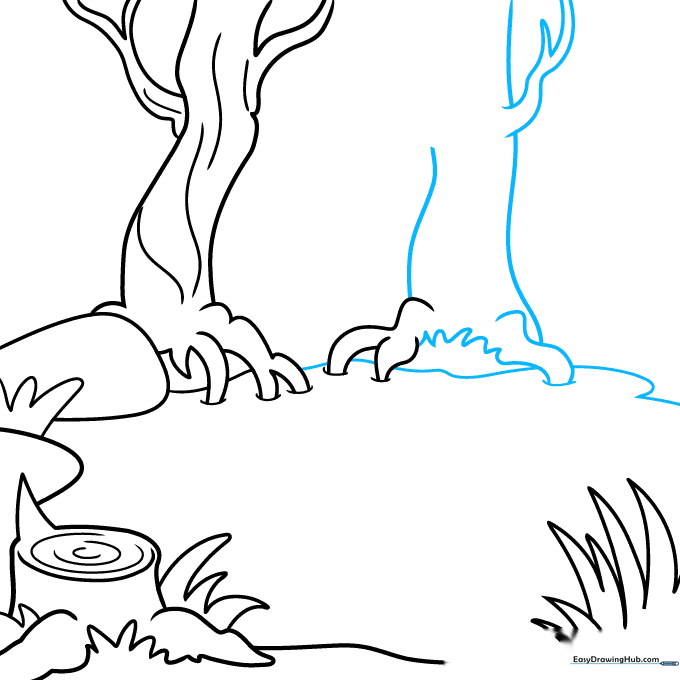
Step 6: Adding Depth
Sketch the left branch as skinny tubes with a triangle between them. Add another wavy vertical line to the right. Use narrow triangles for the short branch and pointy, wave-like lines for the grass. Tip: Overlapping your lines helps create a sense of depth in your landscape.
Step 7: Building the Forest
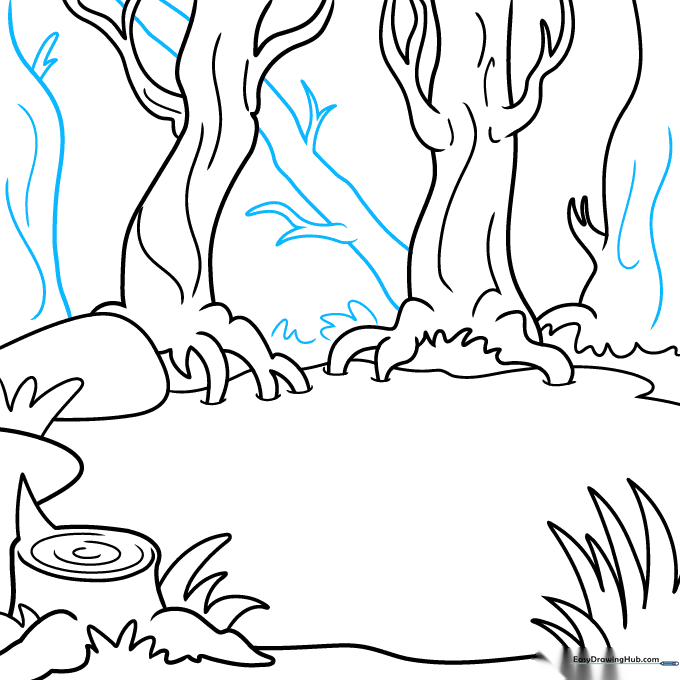
Draw more trunks in the background using curves and uneven lines. Add swirls inside the trunks for character and narrow triangles for distant branches. Use fluffy, cloud-like shapes for the grass. Tip: Keep background trees smaller to make them look further away.
Step 8: Adding Water Details
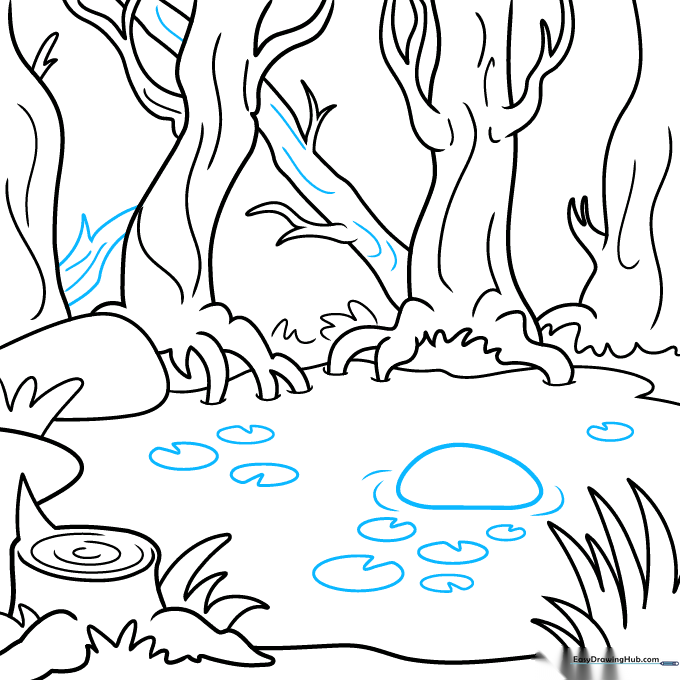
Sketch a final branch on the left and add swirls to the main trunk. Draw ovals with small triangles cut out to create lily pads, then add a loose oval with surrounding curves in the water. Tip: Lily pads are just simple ovals—don't stress about making them perfect!
Step 9: Adding a Frog Friend
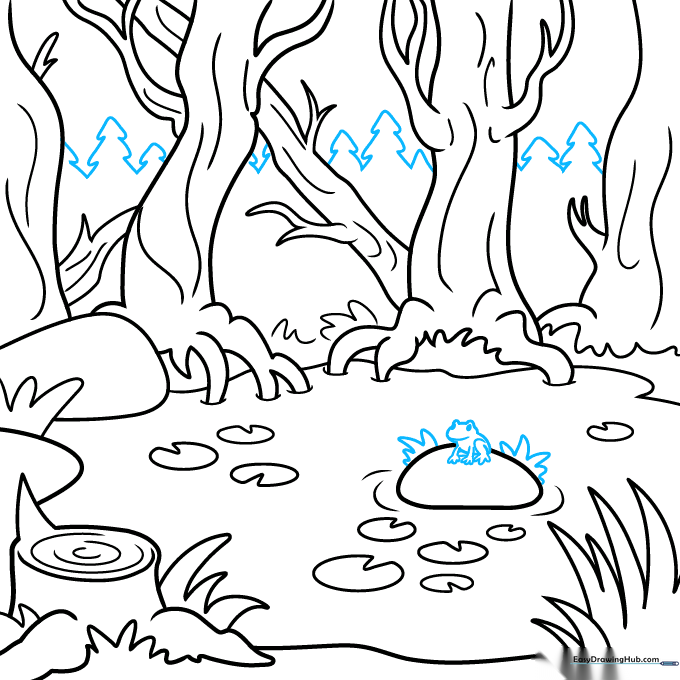
Add rounded triangles for background trees. Start a frog by drawing two ovals for the body, tiny ovals for eyes, and curves for legs. Add more grass around the stone. Tip: Keep the frog simple—two small circles for eyes instantly give it personality!
Step 10: Bringing It to Life with Color
Outline your drawing with black ink. Color the trees reddish-brown, rocks gray, and the sky blue. Use dark green for pine trees and lighter greens for the frog, grass, and lily pads. Tip: Use different shades of green to make your swamp look lush and vibrant.
More Tutorials


