How to Draw a Surfer: Easy 10-Step Guide for Kids
Ready to catch a wave? This tutorial is perfect for young artists ages 6+ looking to draw a cool surfer character. Grab your pencil, eraser, and paper to follow along as we build this character from simple shapes into a fun beach scene.
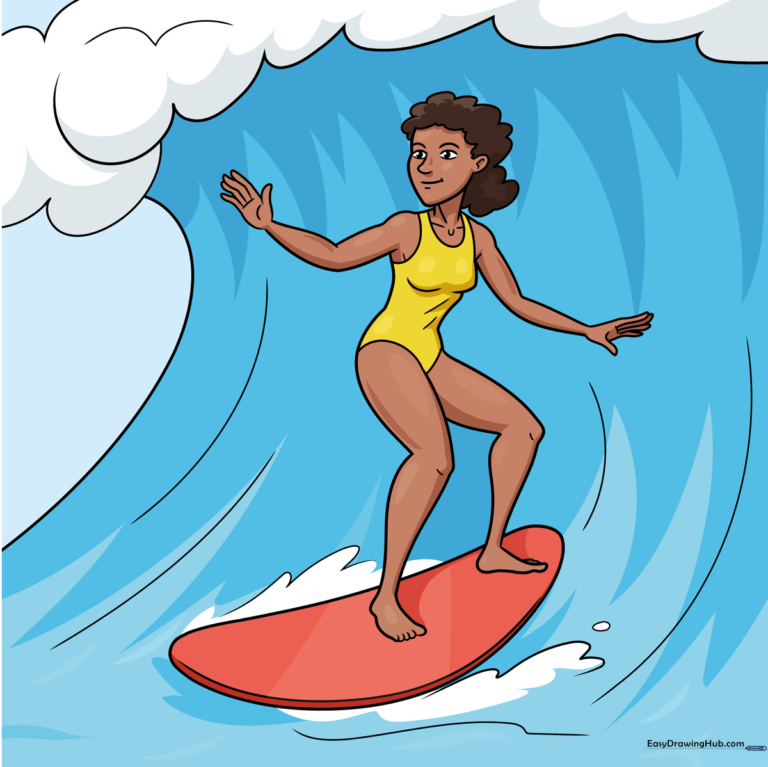
🎯 Final Result
Step-by-Step Instructions
Step 1: Sketching the Face and Features
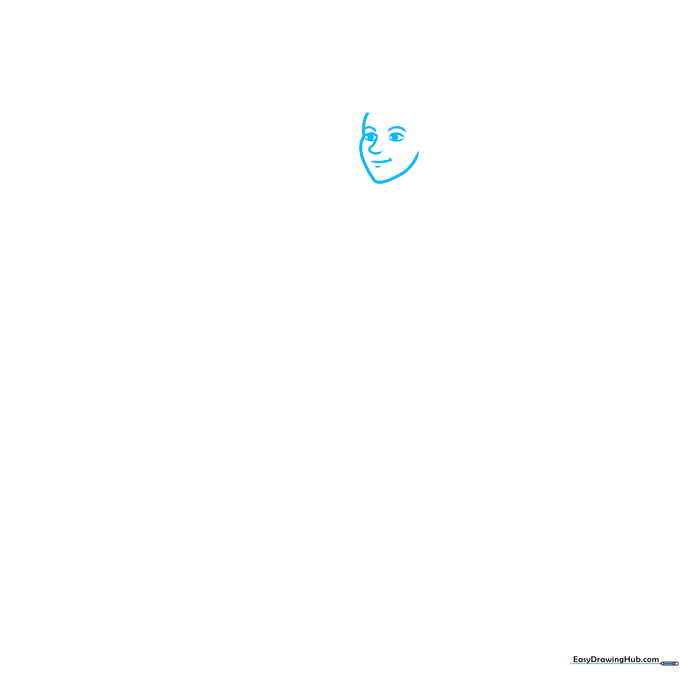
Draw two lemon-shaped eyes with ovals inside for pupils. Sketch an L-shape near the left eye, then add curves above the eyes and below the nose. Tip: Keep your pencil lines light so you can easily erase any stray marks later.
Step 2: Adding Hair and Neck
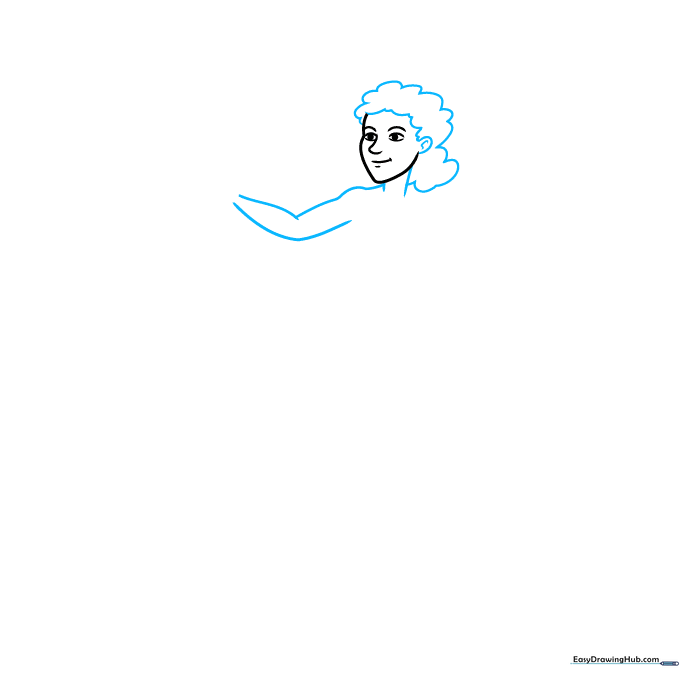
Draw an oval with a hook for the ear. Outline the hair using small, rounded 'cloud' shapes. Sketch two vertical lines for the neck and start the left arm with curved lines. Tip: Use short, quick strokes for the hair to give it a textured, wavy look.
Step 3: Sketching the Hands
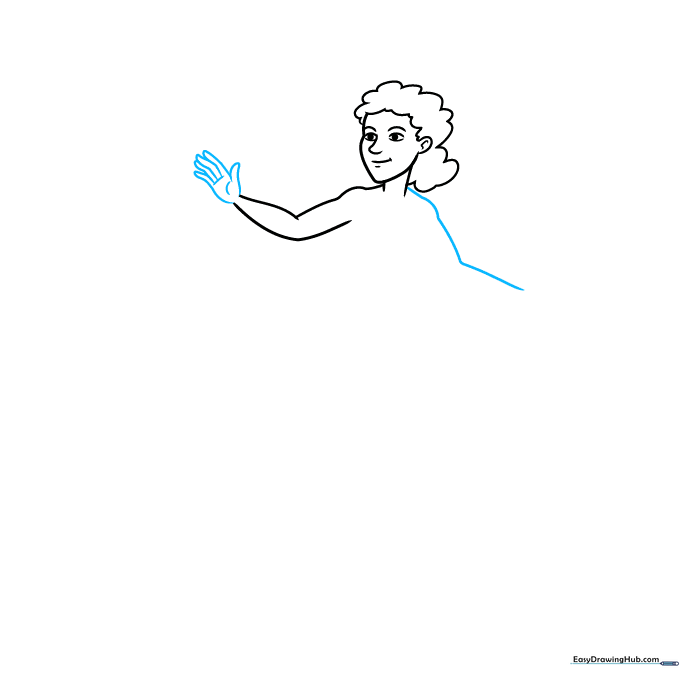
Begin the right arm with a crooked line. On the left, draw five small 'noodle' shapes for fingers and add two dashes in the palm. Tip: If the fingers look tricky, think of them as small, rounded sausages attached to the hand.
Step 4: Finishing the Arms
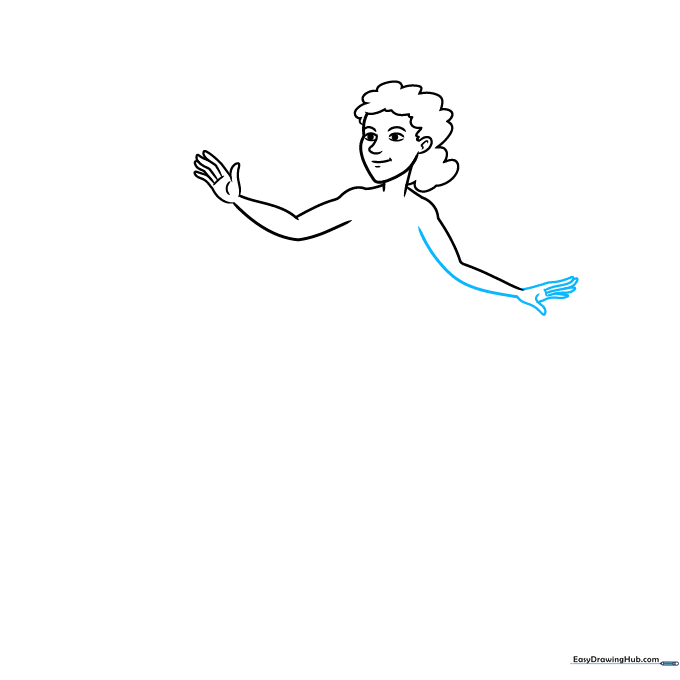
Complete the right arm with a smooth curve. Add five more overlapping noodle shapes for the other hand. Tip: Overlapping shapes create depth, making your drawing look more realistic.
Step 5: Drawing the Torso
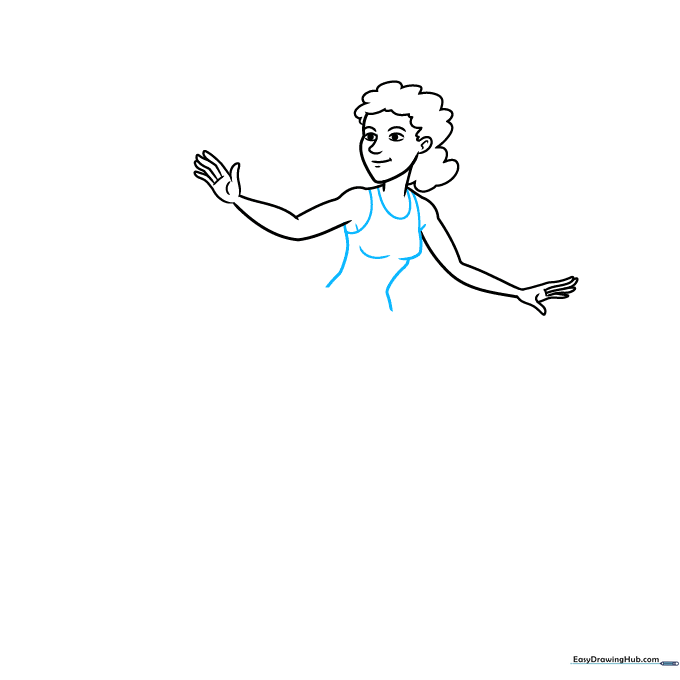
Outline the body using curved lines on both sides. Add curves for the chest, a U-shape under the neck, and a backward C-shape on the left. Tip: Keep these curves soft to make the character look active and athletic.
Step 6: Adding the Legs
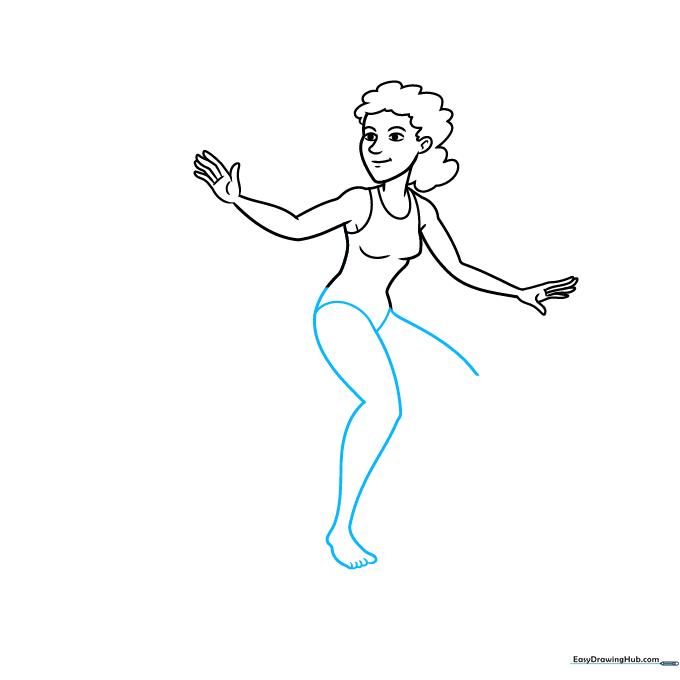
Sketch a curvy V-shape below the torso. For the left leg, draw two sideways V-shapes pointing right, then add two curves and five small ovals for the foot. Tip: The ovals for the toes don't need to be perfect—just keep them small and grouped together.
Step 7: The Surfboard
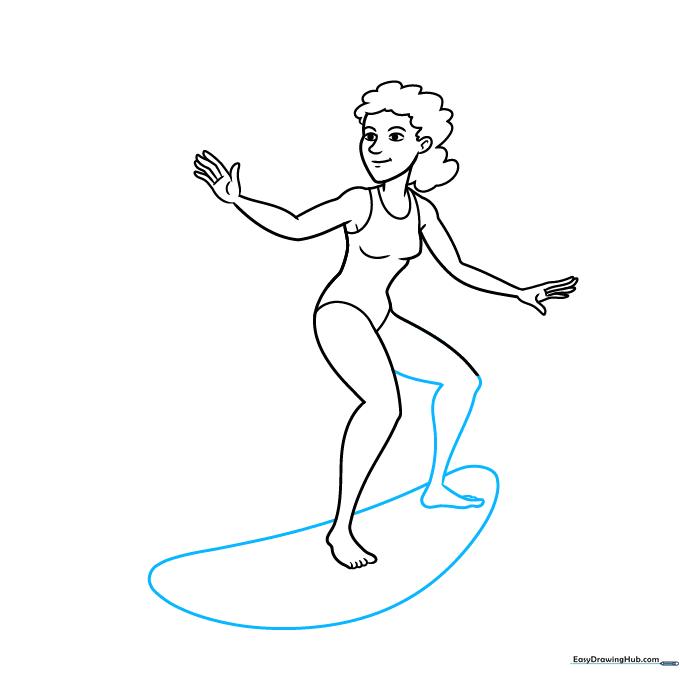
Finish the right leg with a sideways V-shape and a diagonal line, using an oblong triangle for the foot. Draw the surfboard as a large, elongated oval. Tip: Think of the surfboard shape like a long, flat potato chip.
Step 8: Adding Details

Draw a curve near the edge of the board, and add lines inside the neck, knees, and swimsuit. Surround the surfer with large, rolling hills to represent waves. Tip: Use varying line weights to make the waves look more dynamic.
Step 9: Final Touches
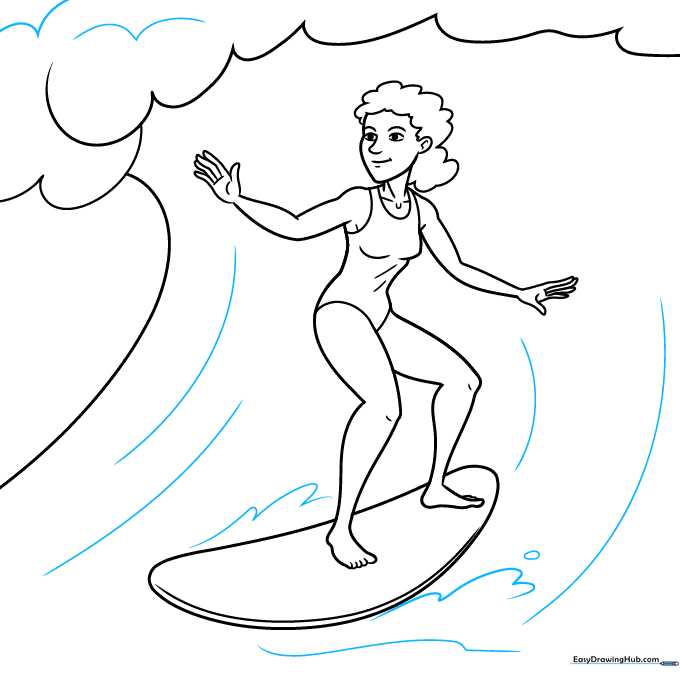
Sketch two W-shapes on the top left, then add dashes and wavy lines around the board for water splashes. Go over your final lines with a dark pen or marker. Tip: Take your time with the ink; slow, steady lines look much cleaner than fast, shaky ones.
Step 10: Color Your Masterpiece
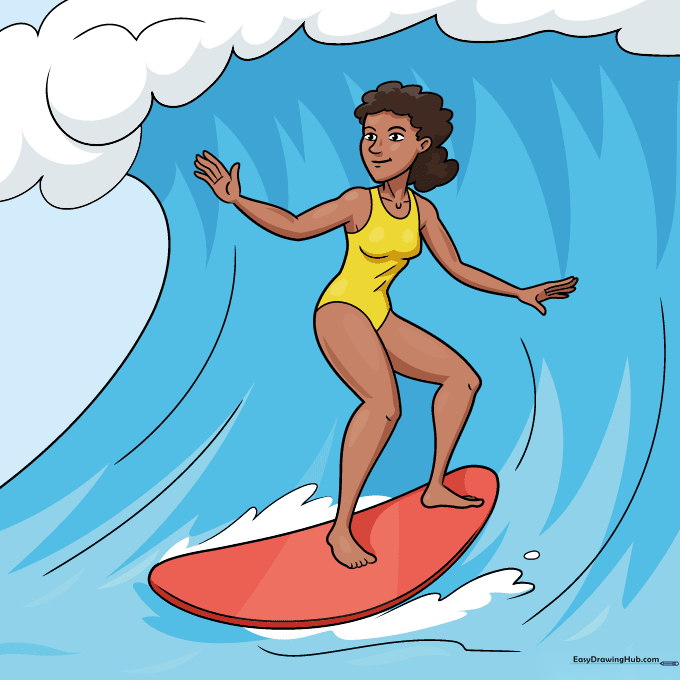
Bring your surfer to life! Use bright colors for the swimsuit, a sunny yellow for the board, and shades of blue for the ocean waves. Tip: Use a light blue for the water and a darker blue for the shadows to make the waves 'pop'.
More Tutorials


