How to Draw a Super Dad: Easy Step-by-Step Guide
Looking for the perfect handmade gift for Father's Day? This Super Dad drawing is a fantastic, screen-free activity for children ages 5 and up to build fine motor skills and confidence. All you need is a pencil, an eraser, and some markers to bring your own superhero to life.
🎯 Final Result

Step-by-Step Instructions
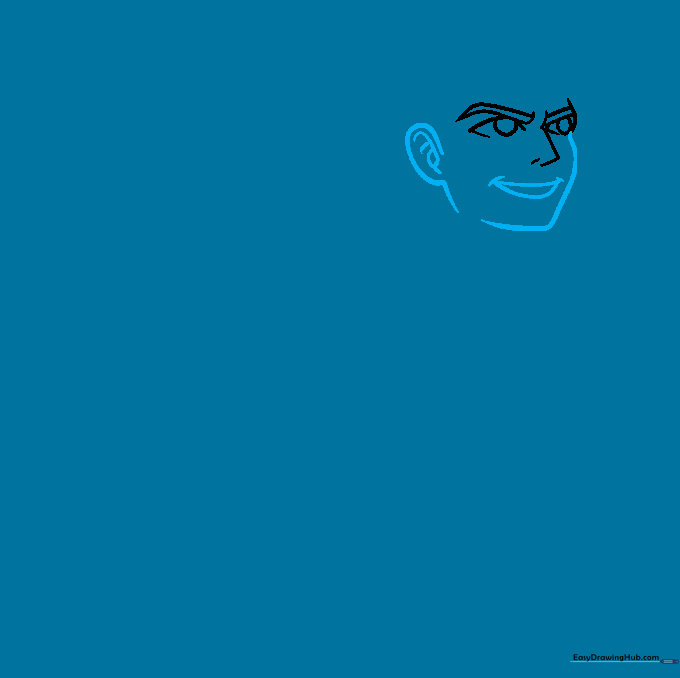
Step 1: Sketching the Face

Start by sketching the face. Use curved and straight lines to define the eyes, thick eyebrows, and a strong, chiseled nose. Tip: Keep your pencil lines light so you can easily adjust the expression later.
Step 2: Defining the Profile
Outline the ear, cheek, and chin using smooth, curved lines. Draw the open mouth with two simple lines. Tip: A slightly curved line for the mouth helps give your hero a friendly, heroic smile.
Step 3: Adding the Hair
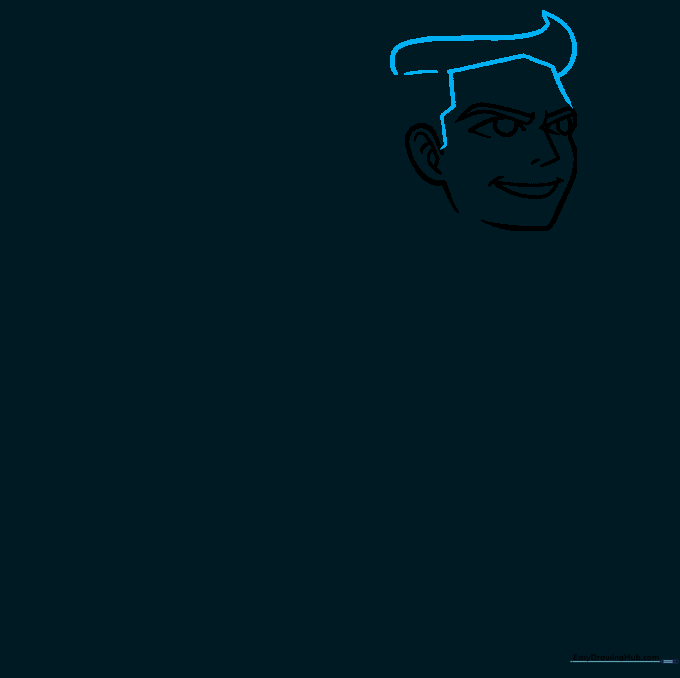
Use short, straight lines for the hairline and forehead, then add the classic superhero hair swoop. Tip: Don't worry about perfection; hair is made of many strands, so a few jagged lines add great texture.
Step 4: Neck and Cape Base
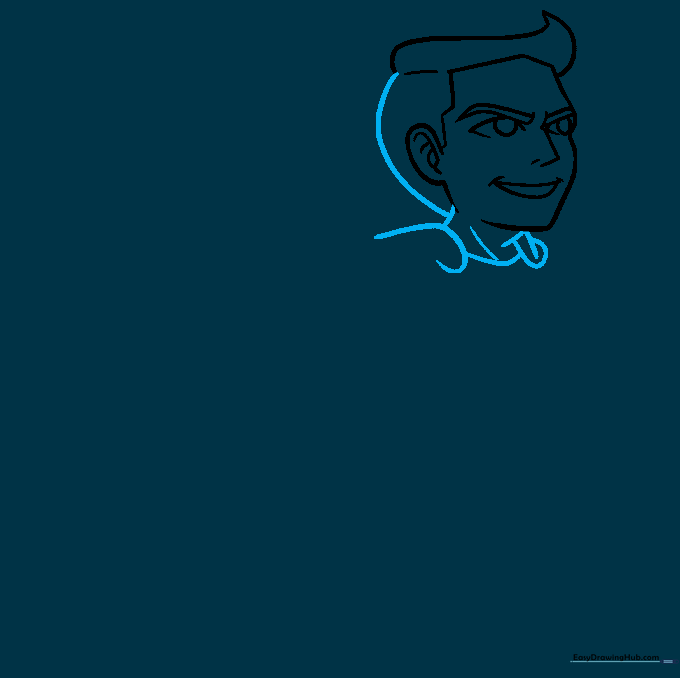
Complete the back of the head with a smooth curve. Use overlapping lines to draw the neck and the start of the cape. Tip: The cape should look like it's draped over the shoulders, so keep your lines flowing.
Step 5: Drawing the Cape
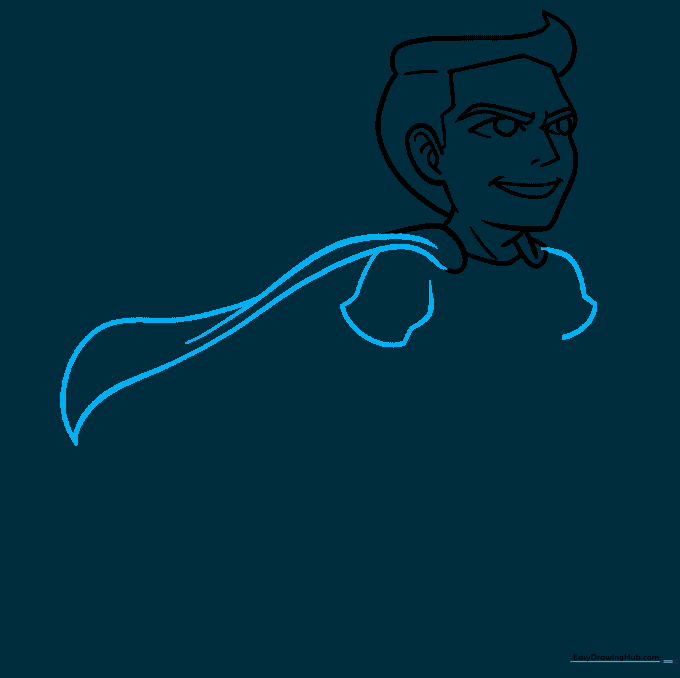
Outline the sleeves and the flowing cape using long, curved lines. Tip: Imagine the wind is blowing the cape to give it a sense of movement and action.
Step 6: Arms and Muscles
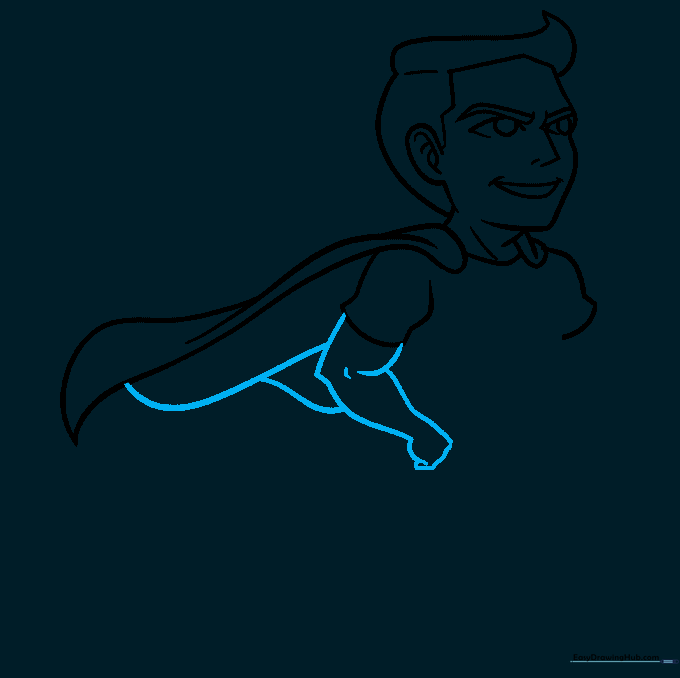
Draw the muscular arm and hand using overlapping curves. Add a small line at the elbow for detail. Tip: Use a firm hand for the arm outline to make your dad look extra strong!
Step 7: Chest and Torso
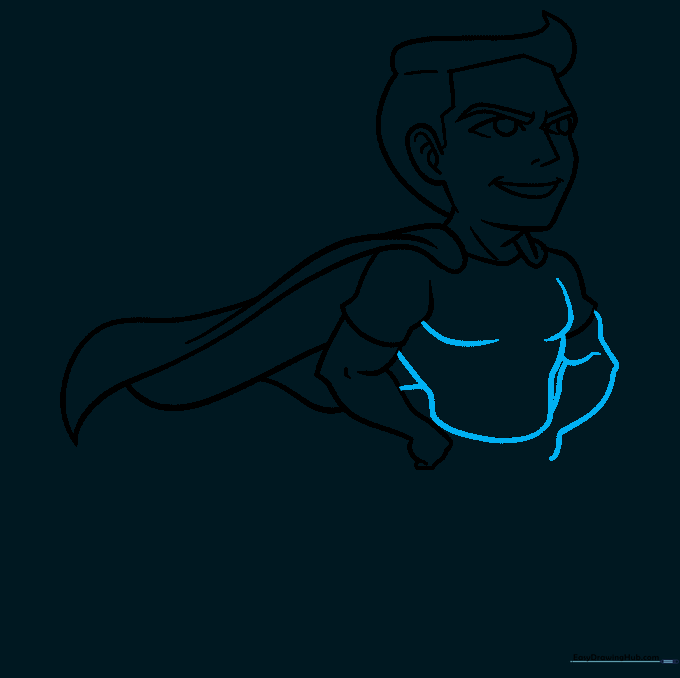
Draw the second arm and contour the chest muscles. Finish the outline of the shirt. Tip: Keep the chest lines symmetrical to maintain the superhero proportions.
Step 8: Pants and Legs
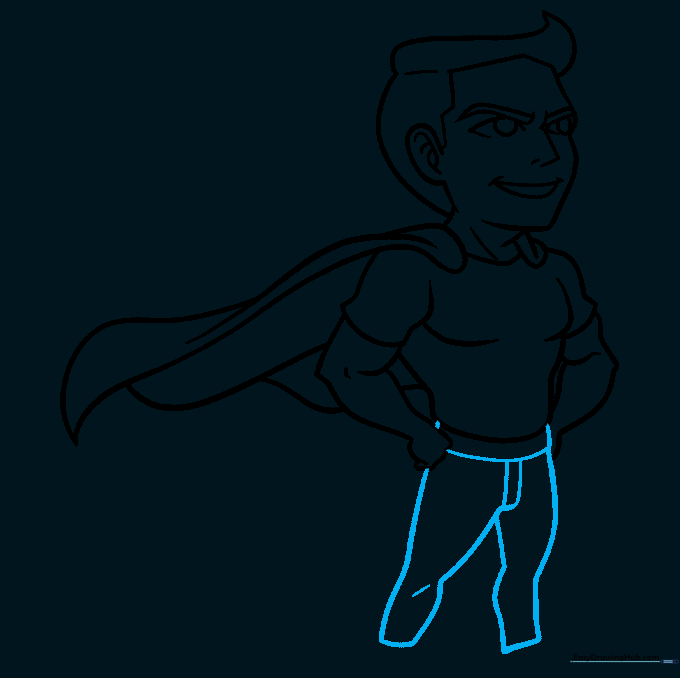
Draw the waistband with narrow rectangles, then complete the legs with pairs of curved lines. Tip: Ensure the legs are long enough to balance the upper body.
Step 9: Feet and Final Touches
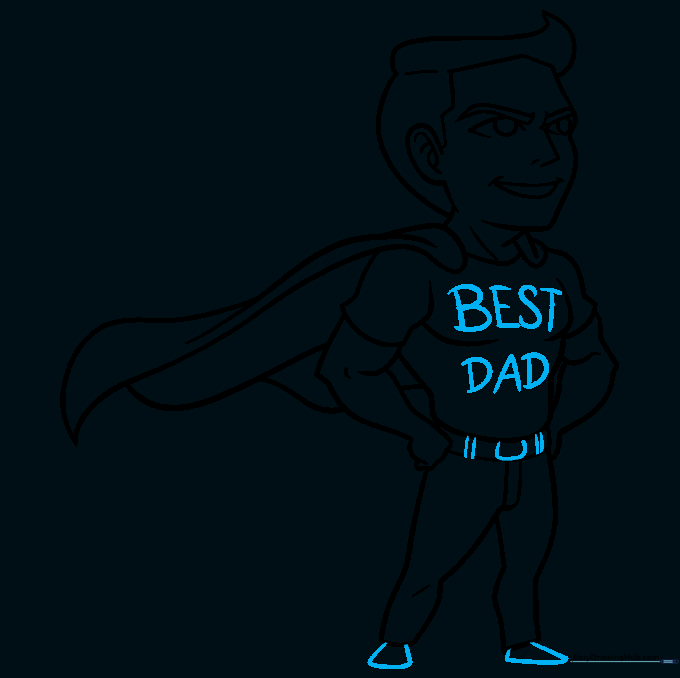
Enclose the feet and add a belt buckle. Finally, write 'BEST DAD' on the chest. Tip: Use a ruler for the belt buckle to keep it nice and sharp!
Step 10: Bring Him to Life with Color

Time to color! Pick your favorite superhero colors—maybe classic red and blue, or colors that match your dad's favorite shirt. Tip: Use bold markers to make the 'BEST DAD' text really pop.
More Tutorials


