How to Draw a Sunrise: Easy 10-Step Landscape Guide
Capture the beauty of a new day with this fun, screen-free landscape drawing activity. Designed for ages 5 and up, this tutorial uses basic shapes to build confidence in young artists. Grab your pencil, eraser, and paper to create your own vibrant morning scene.
🎯 Final Result

Step-by-Step Instructions
Step 1: Sketching the First Mountain

Draw a large, gentle curved line to create the silhouette of your first mountain. Teacher's Tip: Keep the peak rounded rather than sharp to give your landscape a soft, cartoon-like feel.
Step 2: Adding the Riverbank
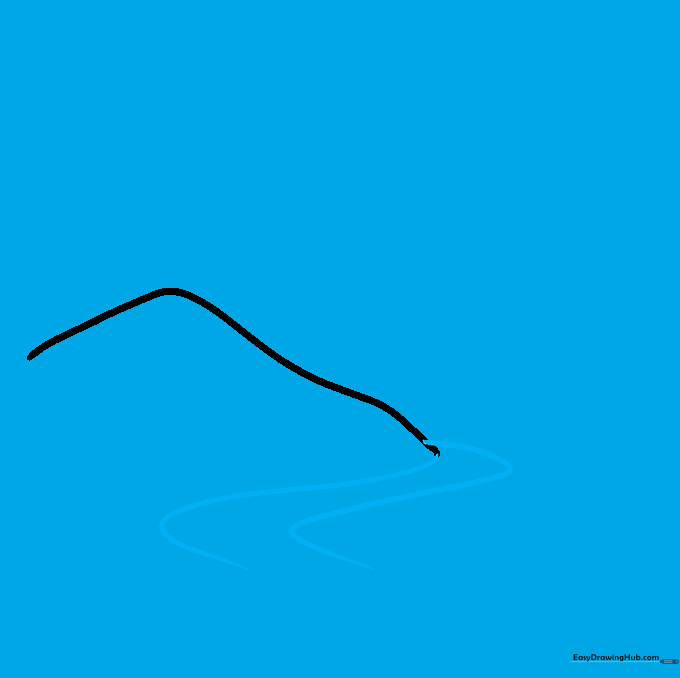
Draw two long, parallel curved lines at the base of your mountain to represent the river. Teacher's Tip: Make the lines slightly wavy to mimic the natural flow of water.
Step 3: Creating Water Ripples
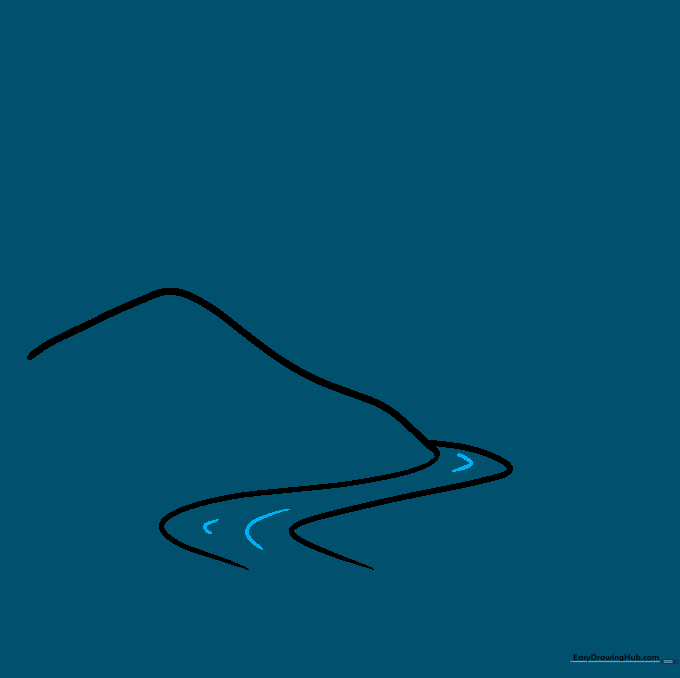
Add short, horizontal curved lines inside the river shape to create ripples. Teacher's Tip: Vary the length of these lines to make the water look like it is moving.
Step 4: Drawing the Second Mountain

Sketch a second mountain behind the first one using a long, sweeping curved line. Teacher's Tip: Make this mountain slightly taller to create a sense of depth in your landscape.
Step 5: Sketching the Rising Sun

Draw a semi-circle nestled between the two mountain peaks. Teacher's Tip: Use a circular object like a coin as a stencil if you find it hard to draw a perfect curve freehand.
Step 6: Adding Sun Rays

Draw a series of connected curved lines radiating outward from the sun. Teacher's Tip: Keep the points of the rays sharp to make the sun look bright and energetic.
Step 7: Drawing the Tree

Draw a simple tree trunk with a cloud-like shape on top for the leaves. Teacher's Tip: Use short, quick strokes for the leaves to give the tree a fluffy, natural texture.
Step 8: Adding a Cloud

Draw a cloud in the sky using a flat bottom line and a bumpy, curved top. Teacher's Tip: Clouds are great for filling empty space in the sky—don't be afraid to make them different sizes!
Step 9: Adding More Clouds

Add another cloud to balance your composition. Teacher's Tip: Try overlapping the clouds slightly to create a more realistic sky effect.
Step 10: Bringing it to Life with Color
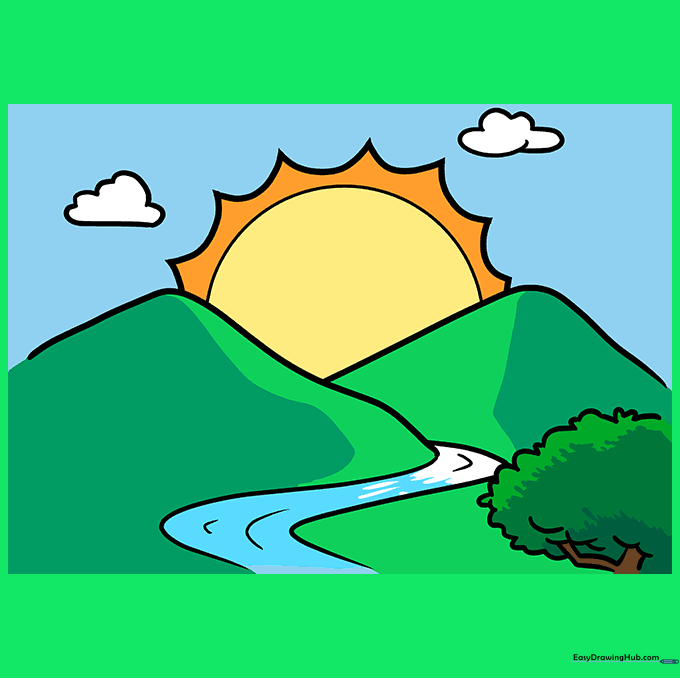
Fill your drawing with vibrant colors! Use warm oranges, pinks, and yellows for the sunrise, and cool greens or browns for the mountains and tree. Teacher's Tip: Blend your colors where they meet to create a soft, glowing effect.
More Tutorials


