How to Draw a Sunflower: Easy 10-Step Guide for Kids
Bring the sunshine indoors with this simple sunflower drawing tutorial, perfect for artists ages 5 and up. All you need is a pencil, an eraser, and your favorite coloring supplies to get started. Follow these steps to build confidence and master basic floral shapes in minutes.
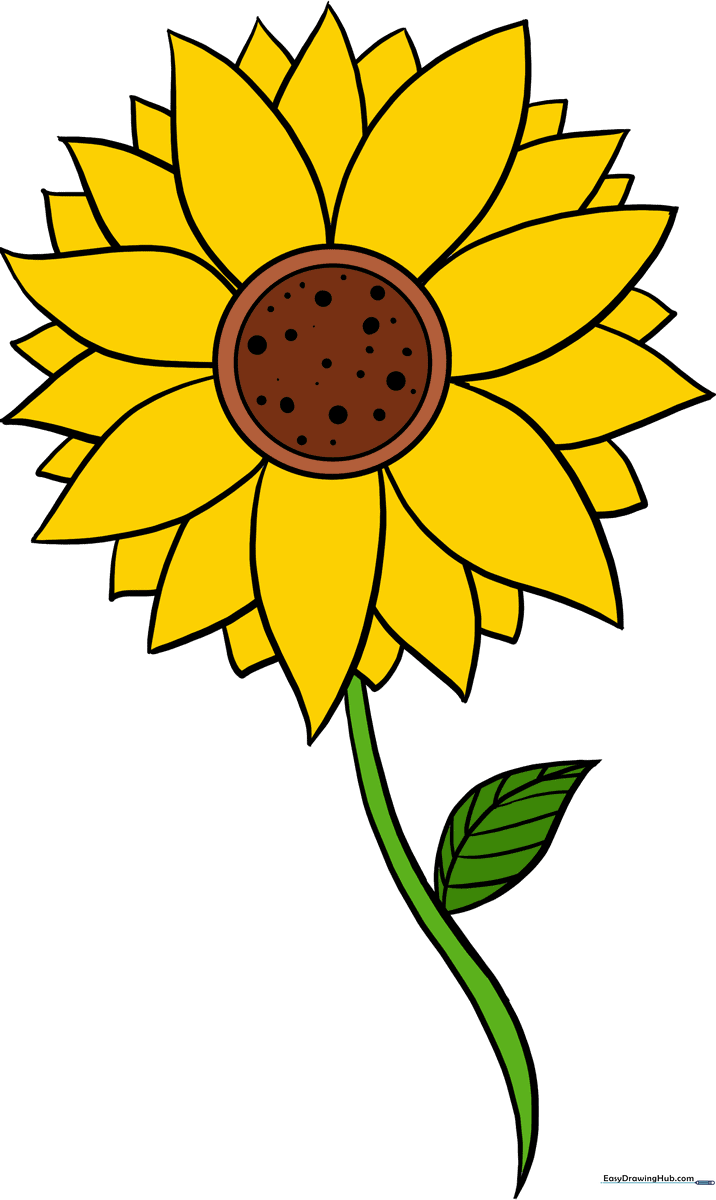
🎯 Final Result
Step-by-Step Instructions
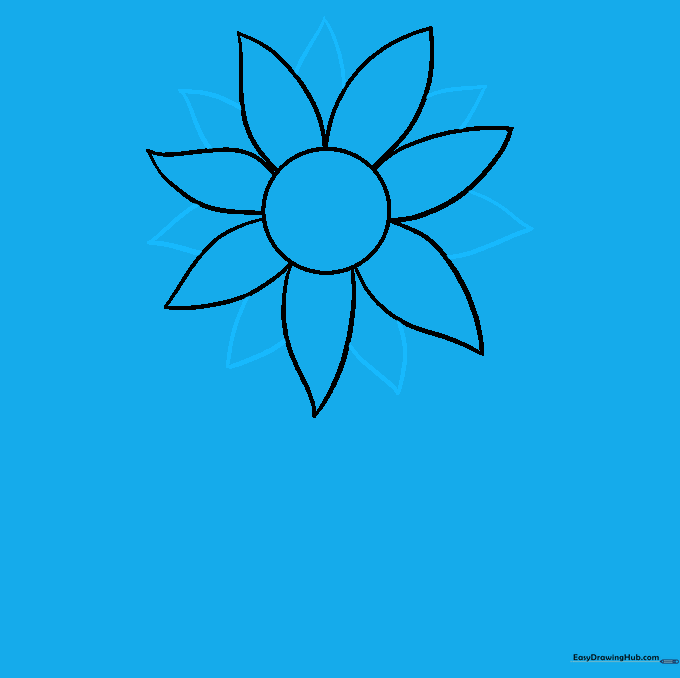
Step 1: Sketching the Center Disk

Draw a neat circle to form the center of your sunflower. Teacher's Tip: Keep your pencil strokes light so you can easily erase any stray marks later!
Step 2: Drawing the First Petal Layer

Extend pairs of curved lines outward from the center circle, meeting at a sharp point to create petals. Teacher's Tip: Try to space them evenly like the hands of a clock.
Step 3: Adding Depth with Second Layer Petals
Draw shorter, curved lines in the gaps between the first petals. These will look like they are peeking out from behind the front layer. Teacher's Tip: Keep these slightly smaller to create a 3D effect.
Step 4: Filling the Background Petals

Add a third layer of small, triangular petals in the remaining spaces. Teacher's Tip: Don't worry if they aren't perfect; nature is full of unique shapes!
Step 5: Detailing the Seed Disk

Draw a smaller, concentric circle inside the main center disk. Teacher's Tip: This helps define where the seeds will go later.
Step 6: Drawing the Stem

Extend two long, parallel curved lines downward from the flower head to create the stem. Teacher's Tip: Make the stem slightly thicker at the base for stability.
Step 7: Sketching the Leaf
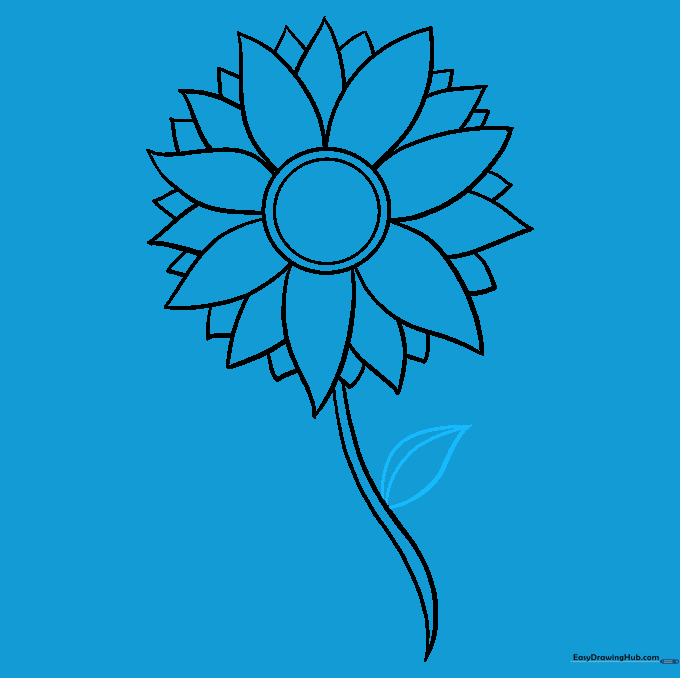
Draw a large, pointed leaf shape extending from the side of the stem, adding a curved line down the middle for the vein. Teacher's Tip: Sunflower leaves are quite large and heart-shaped.
Step 8: Adding Leaf Veins
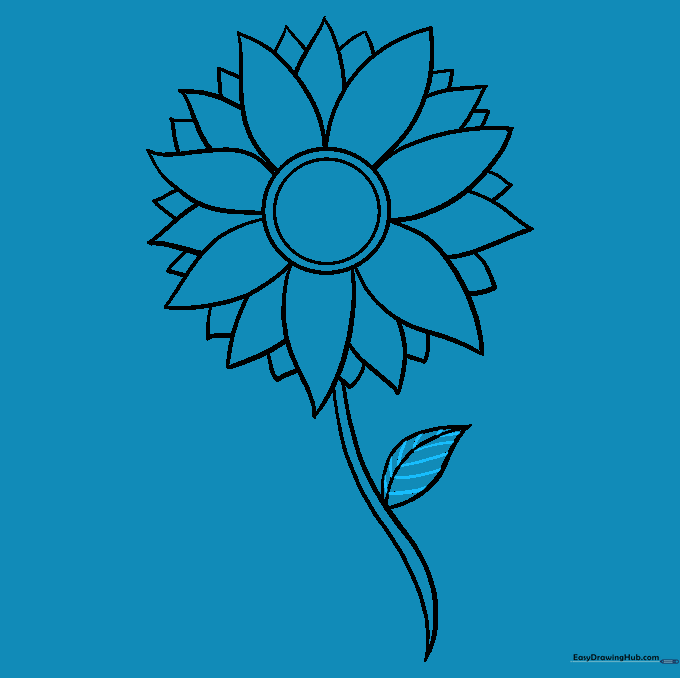
Add smaller, diagonal lines branching out from the central vein of the leaf. Teacher's Tip: Keep these lines light to mimic the delicate texture of a real leaf.
Step 9: Texturing the Seed Disk

Fill the center circle with small dots and tiny circles to represent the seeds. Teacher's Tip: Vary the size of the dots to make the center look realistic and textured.
Step 10: Bringing It to Life with Color

Use bright yellows for the petals, deep browns for the center, and vibrant greens for the stem and leaves. Teacher's Tip: Try using two shades of yellow to add highlights to your petals!
More Tutorials


