How to Draw a Sun and Moon: Easy 10-Step Art Tutorial
Bring the sky to life with this charming sun and moon illustration! Designed for young artists ages 5 and up, this project requires only a pencil, paper, and an eraser. Follow these steps to practice symmetry and character design while creating a beautiful piece of celestial art.
🎯 Final Result

Step-by-Step Instructions
Step 1: Sketching the Base Shapes

Start by drawing a large circle to serve as the base for both celestial bodies. Add a curved line through the center, ending with a small hook shape. Teacher's Tip: Keep your pencil pressure light here; this is just a guide to help you place the moon's nose later.
Step 2: Defining the Crescent Moon
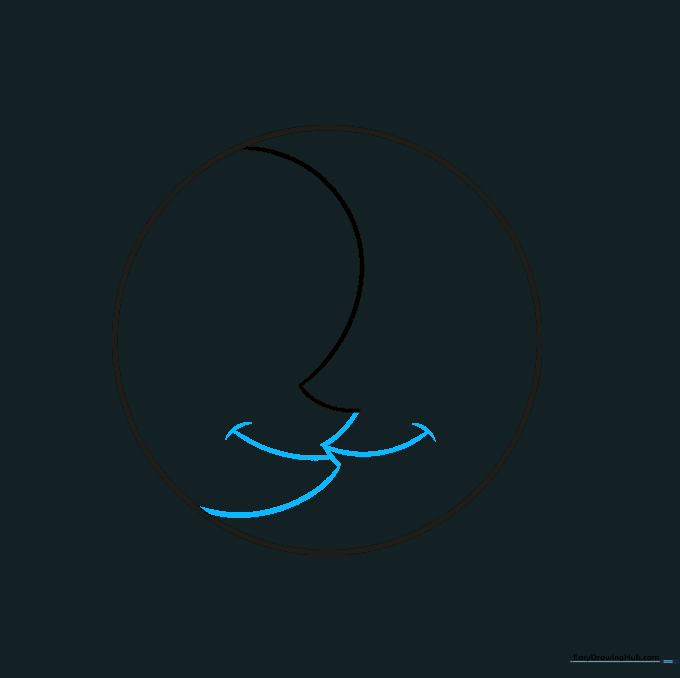
Use three smooth, connected curved lines to define the crescent moon's edge. Add a simple, happy smile to both the sun and moon using a long curve with a small dash at the corner. Teacher's Tip: Make sure the moon's smile connects right at the point where your nose-line ends.
Step 3: Drawing the Sun's Eye

Draw the sun's closed eye using a series of gentle curves. Include the upper lid, lower lid, and a soft brow line. Teacher's Tip: Think of the eye as a small 'm' shape to help keep the proportions balanced.
Step 4: Adding the Moon's Eye and First Ray
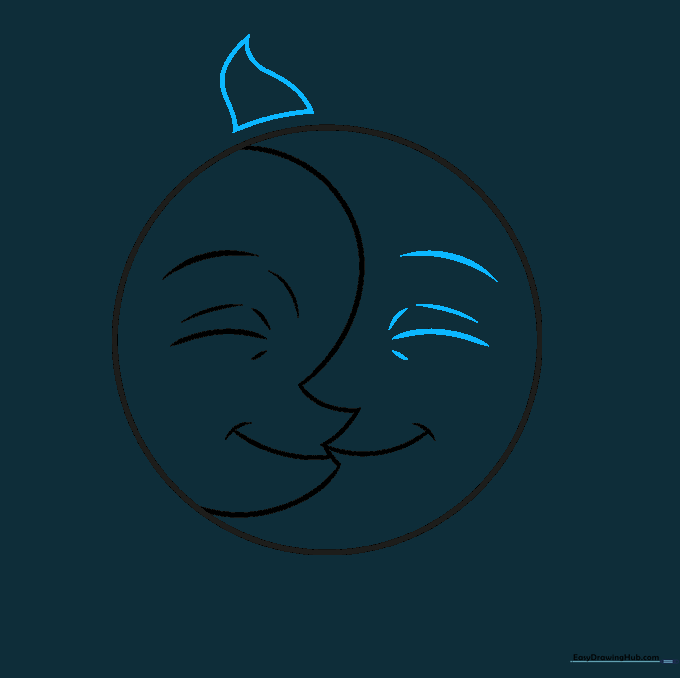
Repeat the eye-drawing process for the moon. Then, draw your first sun ray by creating a wavy triangle shape on the edge of the circle. Teacher's Tip: Keep the ray slightly rounded at the tip to maintain a friendly, cartoon style.
Step 5: Continuing the Sun Rays
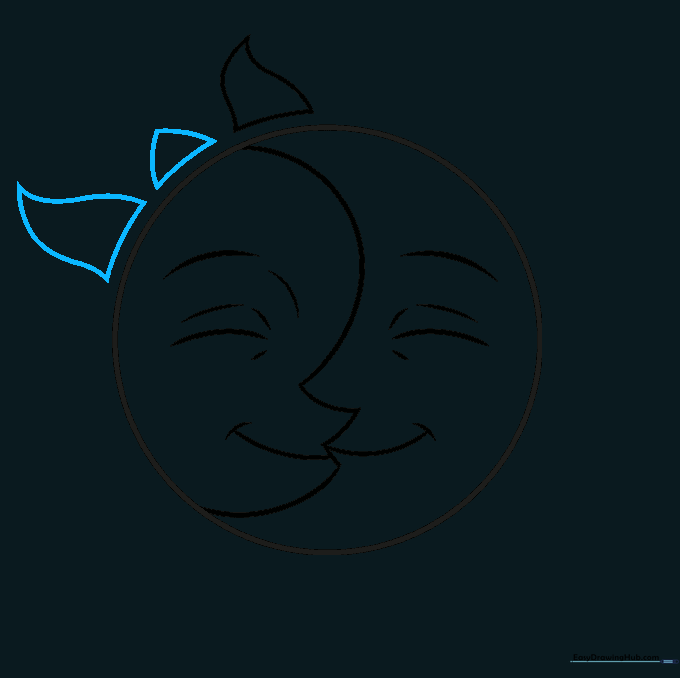
Continue adding rays around the sun. Alternate between short, squat triangles and taller, wavy ones. Teacher's Tip: Don't worry about making them perfectly identical; nature is full of variety!
Step 6: Completing the Ray Pattern
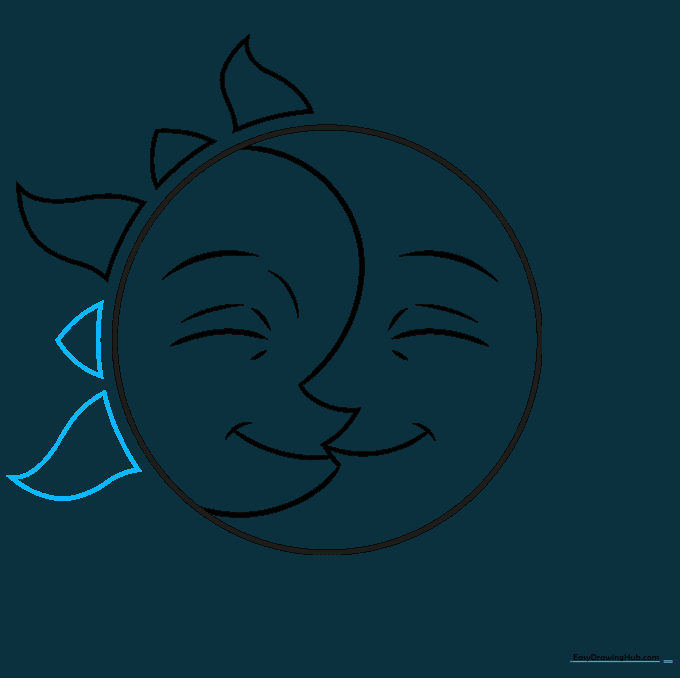
Keep working your way around the circle, maintaining the pattern of short and tall rays. Ensure the lines are clean and smooth. Teacher's Tip: Use your wrist to pivot the paper as you draw to keep your lines fluid.
Step 7: Adding the First Cloud

Draw a 'C' shaped line and a straight base to start a cloud at the bottom. Notice how the final sun ray tucks behind this cloud. Teacher's Tip: Use your eraser to remove the part of the ray that is 'hidden' behind the cloud to create depth.
Step 8: Fluffing the Cloud

Use a series of 'U' shaped lines to give your cloud a puffy, soft appearance. Teacher's Tip: Vary the size of your 'U' shapes to make the cloud look more natural and less like a perfect row of bumps.
Step 9: Adding a Second Cloud

Add a second cloud behind the sun and moon for extra detail. Use the same technique as before: a straight base and fluffy 'U' tops. Teacher's Tip: Placing this cloud slightly higher adds a sense of space to your drawing.
Step 10: Bringing It to Life with Color

Time to color! Use bright yellows for the sun and soft blues or greys for the moon and clouds. Teacher's Tip: Try using light pressure for a soft glow or heavy pressure for bold, vibrant colors.
More Tutorials


