How to Draw a Stethoscope: Easy 10-Step Guide for Kids
Perfect for aspiring doctors and nurses, this drawing activity helps children visualize medical tools through simple shapes. You will need a pencil, eraser, and paper to get started. Follow these steps to build confidence in your sketching skills while creating a fun, professional-looking medical instrument.
🎯 Final Result

Step-by-Step Instructions
Step 1: Sketching the First Ear Tube

Draw a gentle, curved line that looks like one side of a heart. Teacher’s Tip: Keep this line light and airy; it acts as the foundation for the headset.
Step 2: Completing the Headset Arch
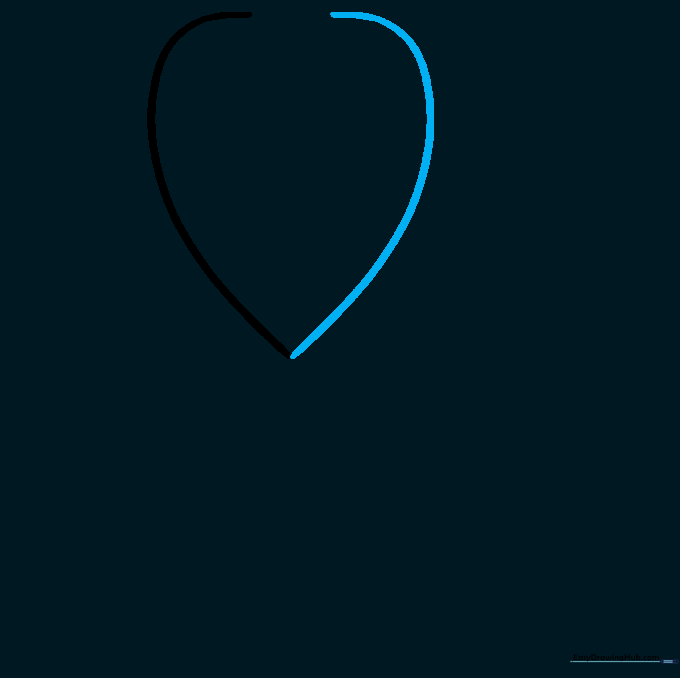
Draw a second curved line to mirror the first, leaving a small gap at the top. Teacher’s Tip: Try to keep the distance between the two lines consistent for a balanced look.
Step 3: Drawing the Main Tubing
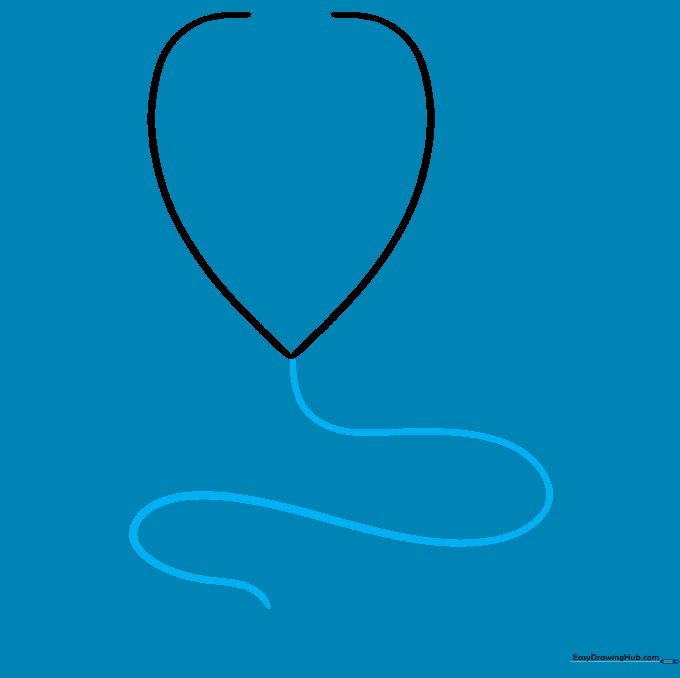
Extend a long, flowing curved line downward from the center of your headset. Teacher’s Tip: Imagine this is a piece of soft rubber tubing; don't worry if it's not perfectly straight!
Step 4: Adding the First Earpiece
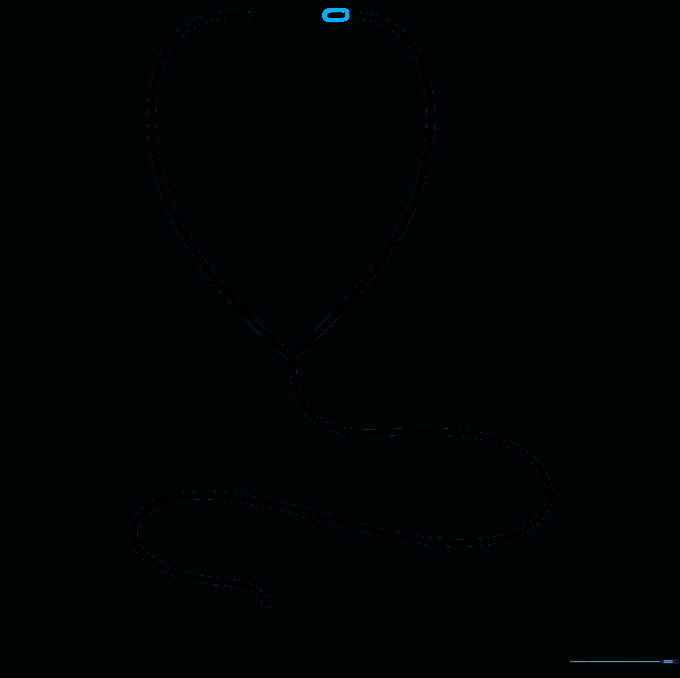
Sketch a small rectangle with rounded corners at the top of one ear tube. Teacher’s Tip: These are the soft parts that go in the doctor's ears, so make them look comfortable and rounded.
Step 5: Adding the Second Earpiece
Repeat the previous step on the opposite side to create the second earpiece. Teacher’s Tip: Check that both earpieces are roughly the same size to keep your drawing symmetrical.
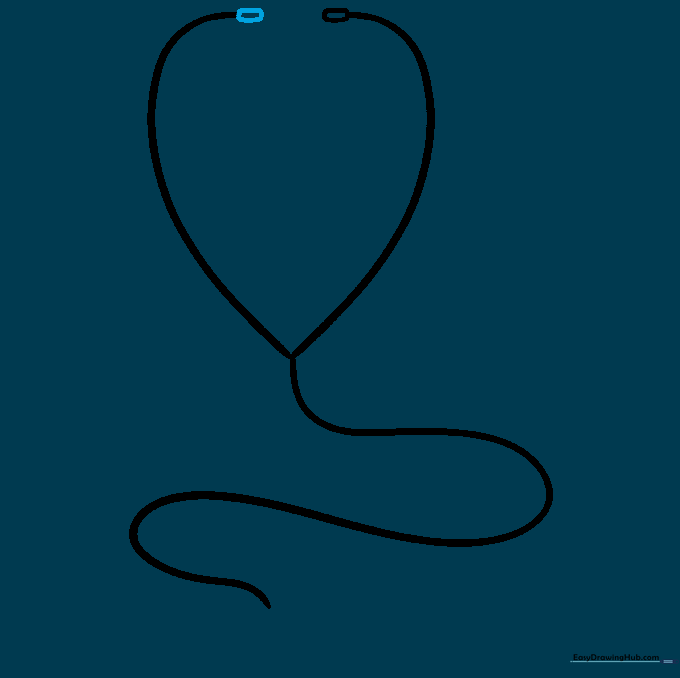
Step 6: Creating the Y-Junction

Erase the overlapping lines where the tubes meet and draw a clean 'Y' shape. Teacher’s Tip: Use a soft eraser to keep your paper clean before drawing the final connecting lines.
Step 7: Drawing the Chest Piece
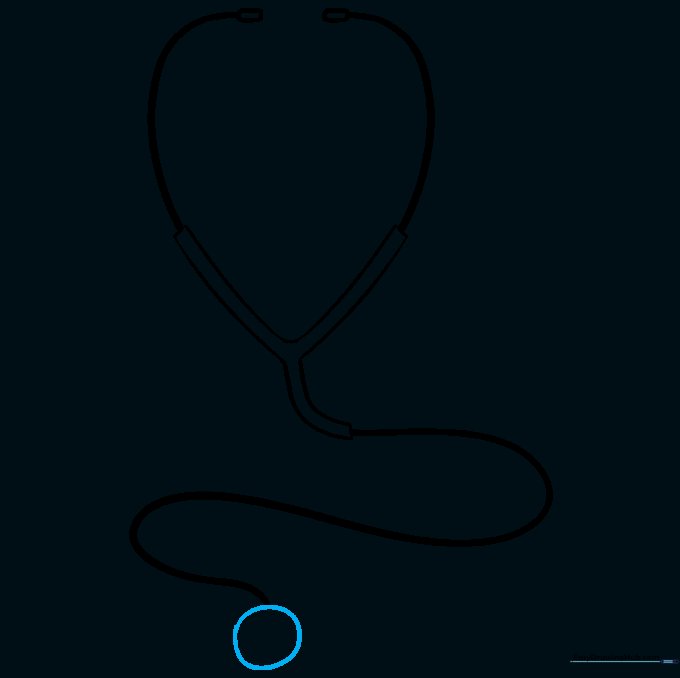
Draw a circle at the bottom of the tubing to represent the chest piece. Teacher’s Tip: If you struggle with circles, trace the bottom of a small glue stick!
Step 8: Adding Detail to the Chest Piece

Draw a smaller circle inside the first one to show the bell of the stethoscope. Teacher’s Tip: Center this circle to make it look professional and realistic.
Step 9: Adding the Binaural Spring
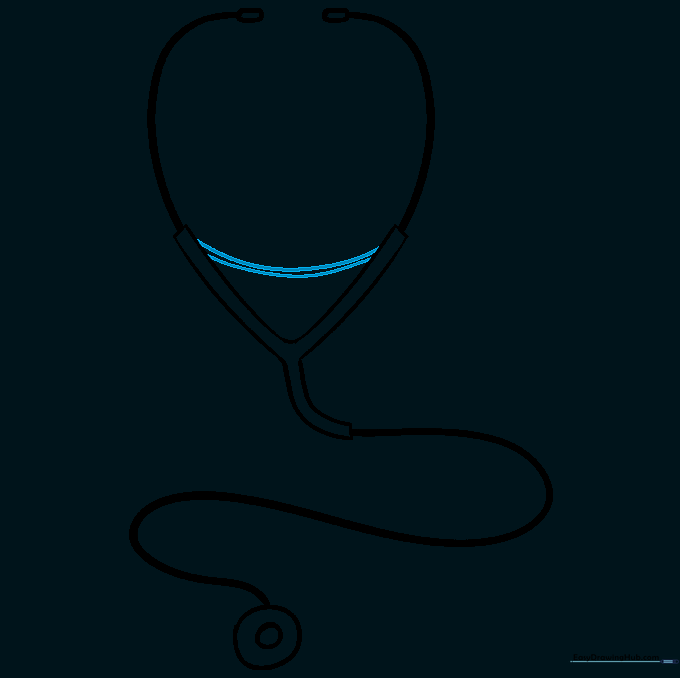
Draw two small curved lines between the 'Y' junction. Teacher’s Tip: This represents the metal spring that keeps the earpieces tight in the ears.
Step 10: Final Touches and Coloring
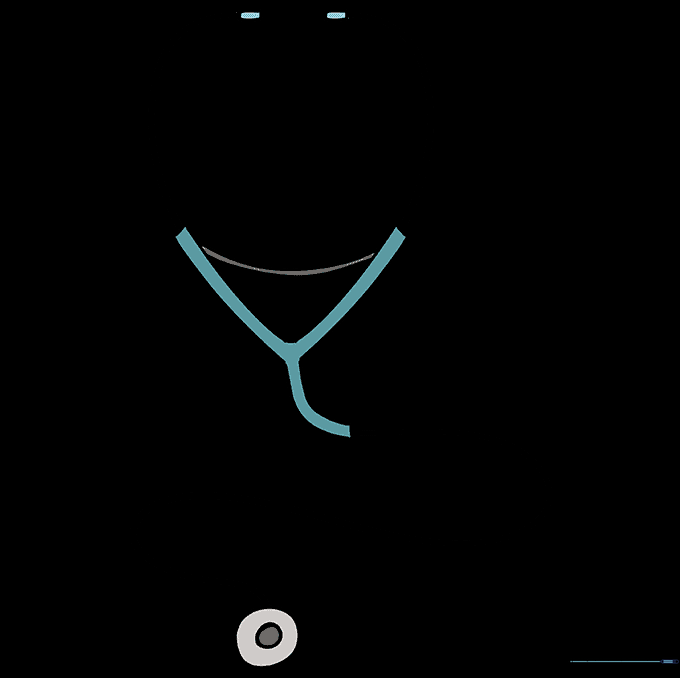
Outline your drawing with a dark pen and add your favorite colors. Teacher’s Tip: Use a metallic silver for the metal parts and a solid color for the tubing to make it pop!
More Tutorials


