How to Draw a Starbucks Frappuccino: Easy 10-Step Guide
Ready to draw your favorite treat? This tutorial is perfect for young artists ages 6+ looking to master cartoon-style food illustrations. You'll only need a pencil, an eraser, and some markers to bring this icy drink to life while practicing your curved line control.
🎯 Final Result

Step-by-Step Instructions
Step 1: Sketching the Lid

Draw a wide, gentle curve to form the top of the lid. Add a small oval near the top to represent the straw opening. Teacher's Tip: Keep your wrist loose to get that smooth, rounded shape.
Step 2: Defining the Lid Base
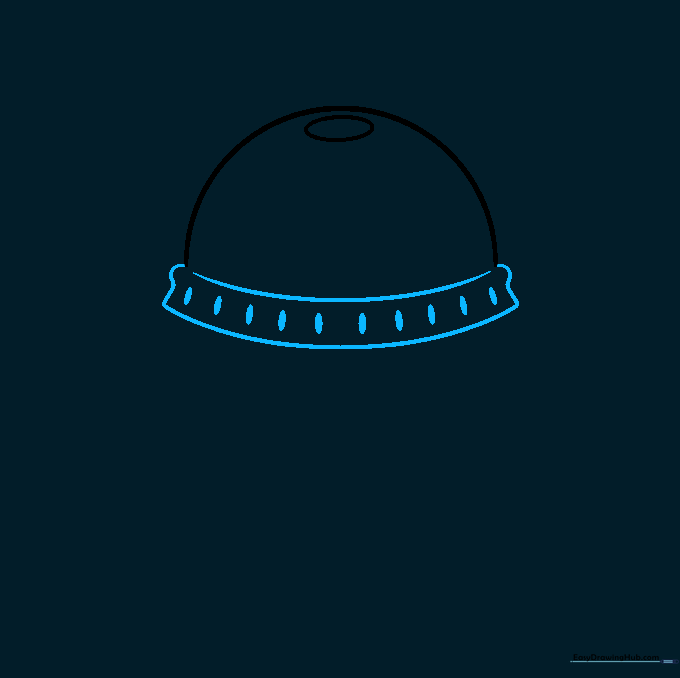
Draw wavy lines under the lid to show the rim, then connect them with a curved line. Add small vertical ovals around the base for texture. Tip: These little ovals create the look of a ridged plastic cup rim.
Step 3: Adding Whipped Cream

Use overlapping, cloud-like curved lines inside the lid to create the whipped cream topping. Tip: Don't worry about making it perfect; whipped cream is naturally messy and fluffy!
Step 4: Drawing the Straw
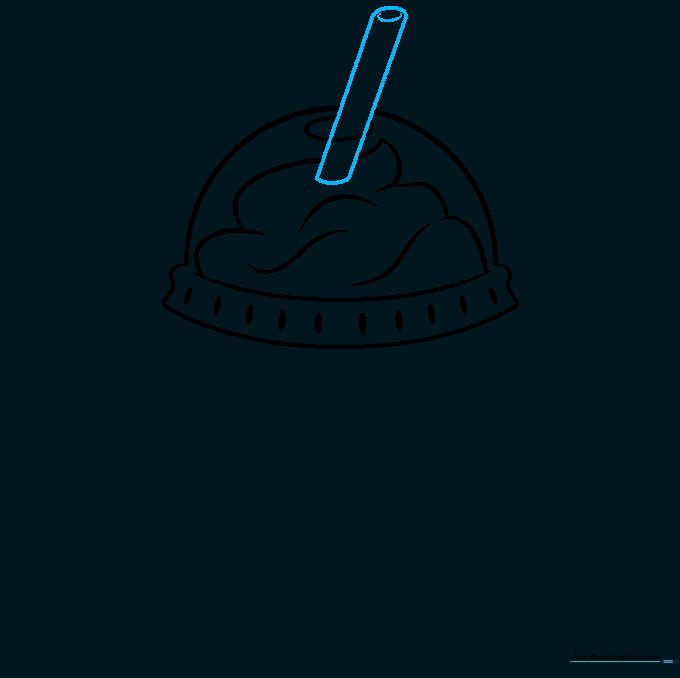
Draw two parallel lines extending upward from the lid opening, connected by a small curve at the top. Tip: Use a ruler if you struggle with straight lines, but freehand gives it a more natural, cartoon look.
Step 5: Shaping the Cup

Draw the sides of the cup using long, slightly inward-curving lines. Add a large circle in the center for the logo. Tip: Make sure the cup is symmetrical by checking the distance from the center line on both sides.
Step 6: The Mermaid Crown
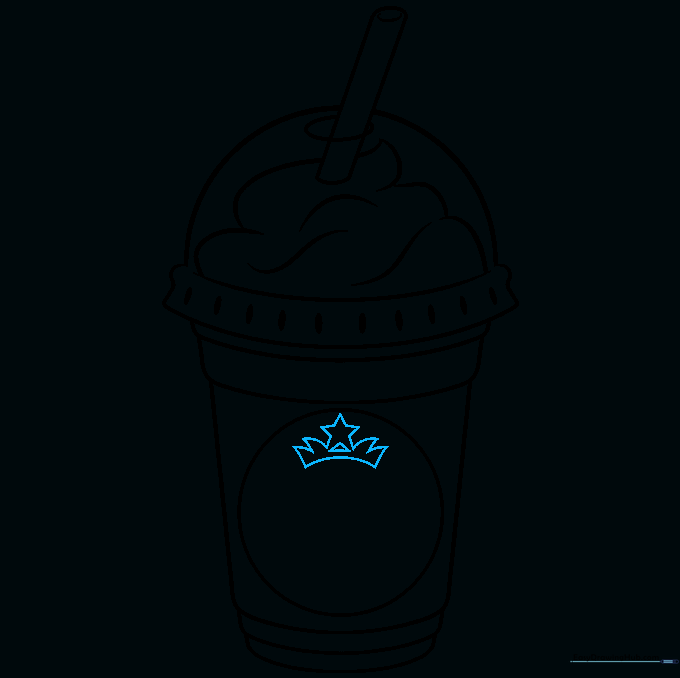
Inside the circle, sketch the mermaid's crown using short, pointed lines. Add a small star in the center. Tip: Focus on the points of the crown to make it look sharp and detailed.
Step 7: Drawing the Face

Sketch the mermaid's face using simple, curved lines for the eyes, nose, and mouth. Tip: Keep the features small and centered to maintain the iconic look of the logo.
Step 8: Adding Hair and Body
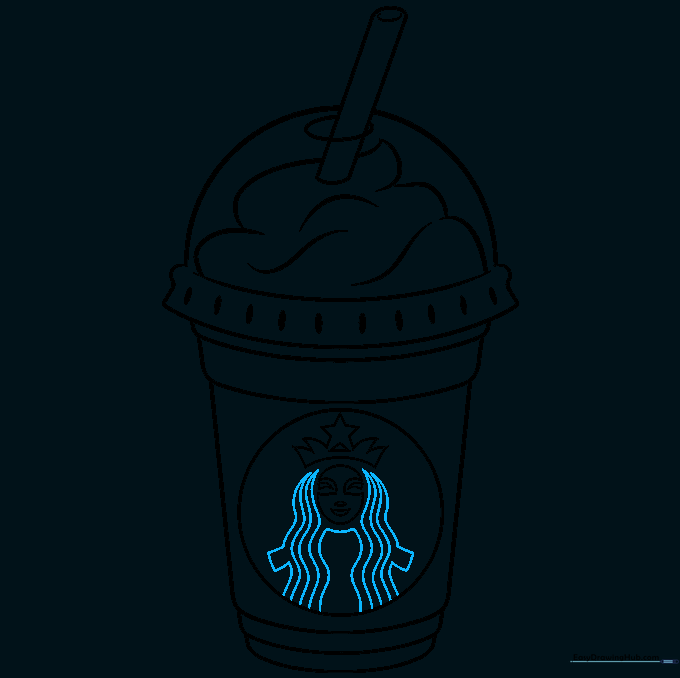
Use flowing, curved lines to draw the mermaid's hair and body. Tip: Think of the hair as two large waves framing the face.
Step 9: Completing the Logo
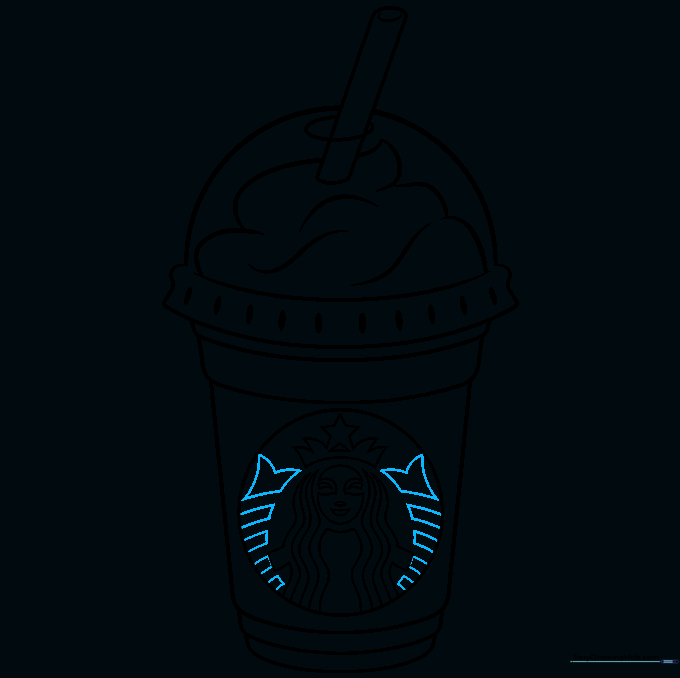
Add the final details to the logo, including the tail fins on either side. Tip: The 'Y' shapes for the fins should be symmetrical to balance the design.
Step 10: Coloring Your Frappuccino

Time to color! Use your favorite shades to make it look like a real drink. Tip: Use light brown for coffee, pink for strawberry, or green for matcha to make your drawing pop.
More Tutorials


