How to Draw a Perfect Star: Easy 5-Step Guide for Kids
Perfect for budding artists ages 5 and up, this tutorial breaks down the classic five-pointed star into simple, manageable strokes. All you need is a pencil, paper, and an eraser to get started. Follow along to build confidence and precision in your geometric drawing skills.
🎯 Final Result

Step-by-Step Instructions
Step 1: The First Diagonal
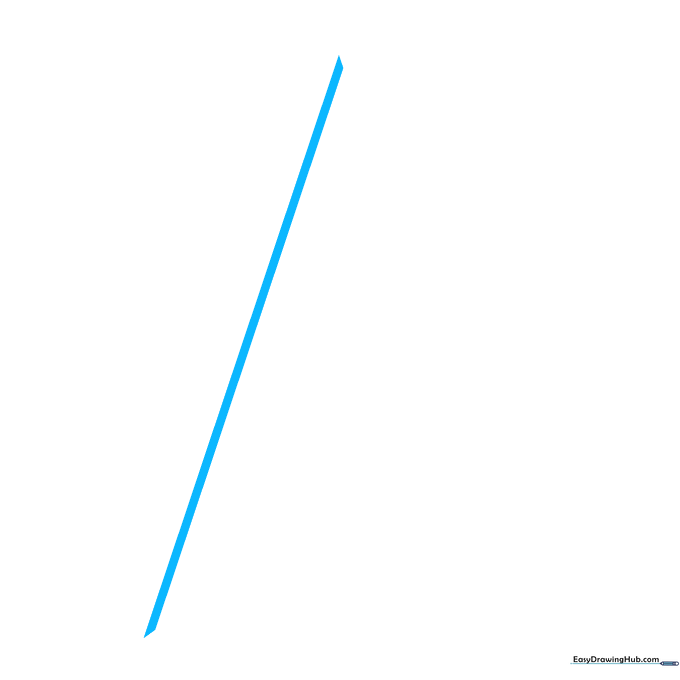
Draw a single diagonal line starting from the top. Teacher's Tip: If you're struggling with straight lines, it's perfectly okay to use a ruler to guide your hand while you learn the shape.
Step 2: Creating the Peak
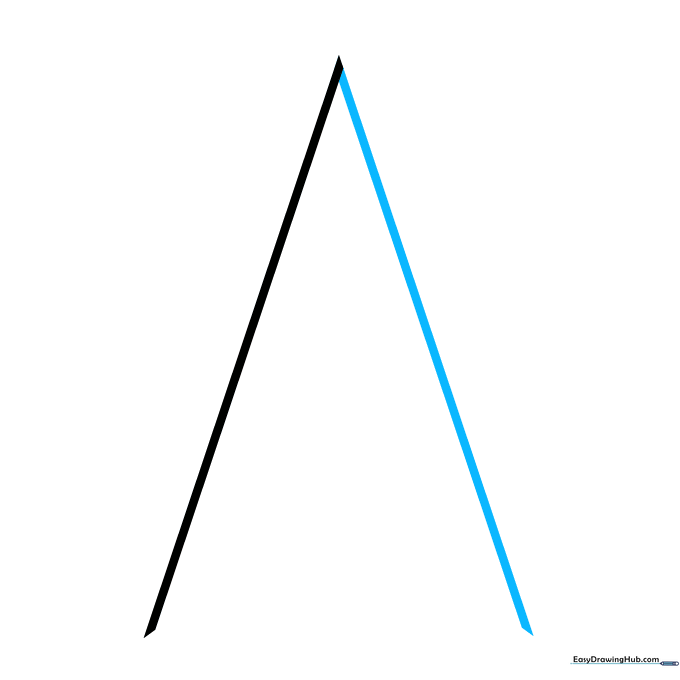
Draw a second diagonal line that meets the first one at the top to form a triangle-like peak. Teacher's Tip: Try to make both lines roughly the same length for a balanced look.
Step 3: Adding the Horizontal Base
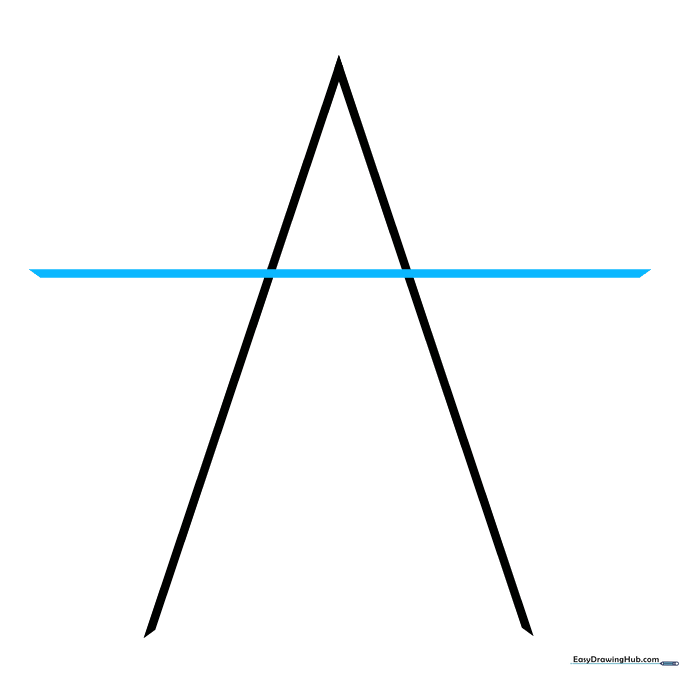
Draw a horizontal line connecting across the middle. Teacher's Tip: Keep your pencil pressure light here, as we will be erasing parts of this line later.
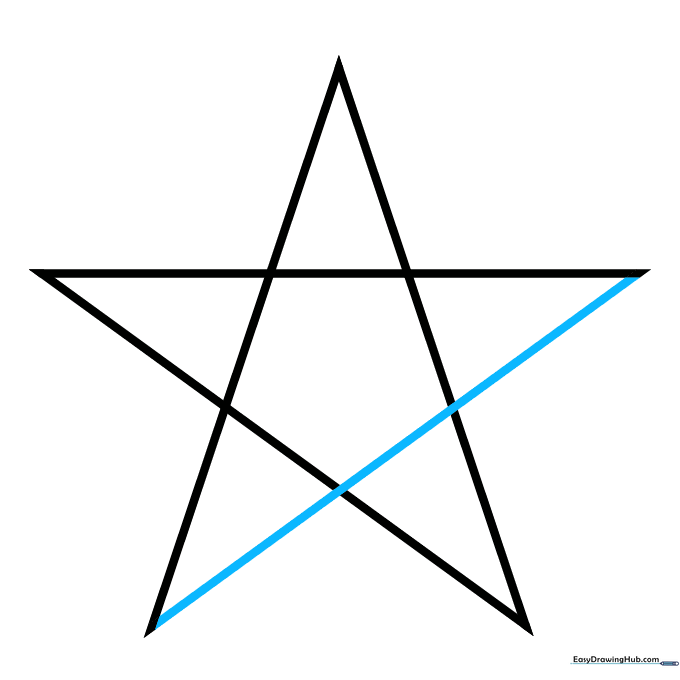
Step 4: Forming the Lower Points
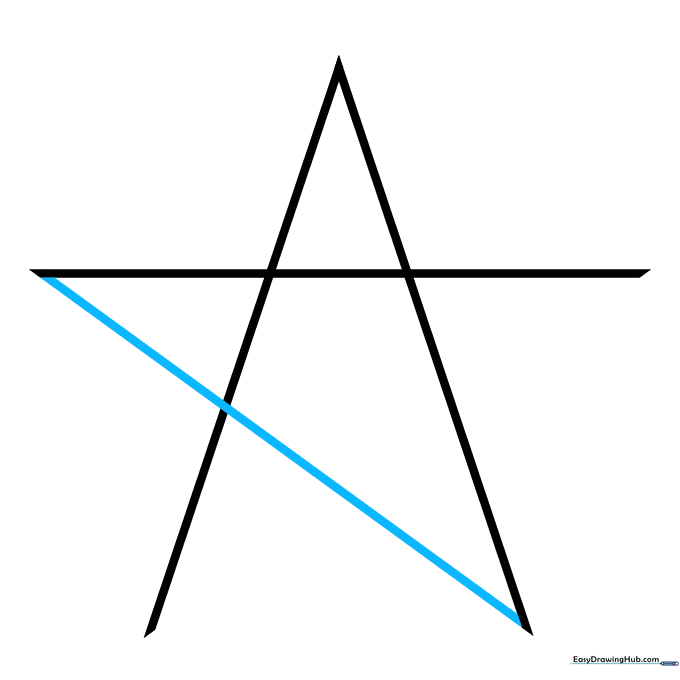
Add a diagonal line extending from the horizontal base to the bottom. Teacher's Tip: Visualize where the bottom point of the star should land before you draw the line.
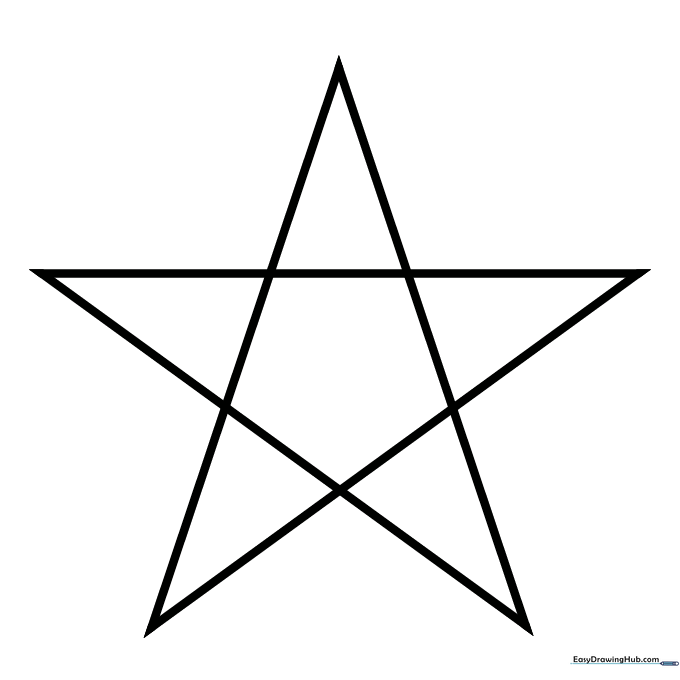
Step 5: Completing the Outline
Draw the final diagonal line to close the shape. Teacher's Tip: Now you can see the five distinct points of your star taking shape!
Step 6: Cleaning Up
Carefully erase the internal lines so only the outer star shape remains. Teacher's Tip: Use a soft eraser and gentle circular motions to avoid crinkling your paper.
Step 7: Adding Color

Bring your star to life with color! Teacher's Tip: Try using a bright yellow or gold, and add a little orange around the edges to give your star a glowing, magical effect.
More Tutorials


