How to Draw a 3D Star: Easy Step-by-Step Guide
Looking for a fun, screen-free activity to boost your child's confidence? This guide is perfect for artists ages 5 and up. All you need is a pencil, paper, and an eraser to create a professional-looking 3D star that pops off the page.
🎯 Final Result

Step-by-Step Instructions
Step 1: Sketching the Top Point
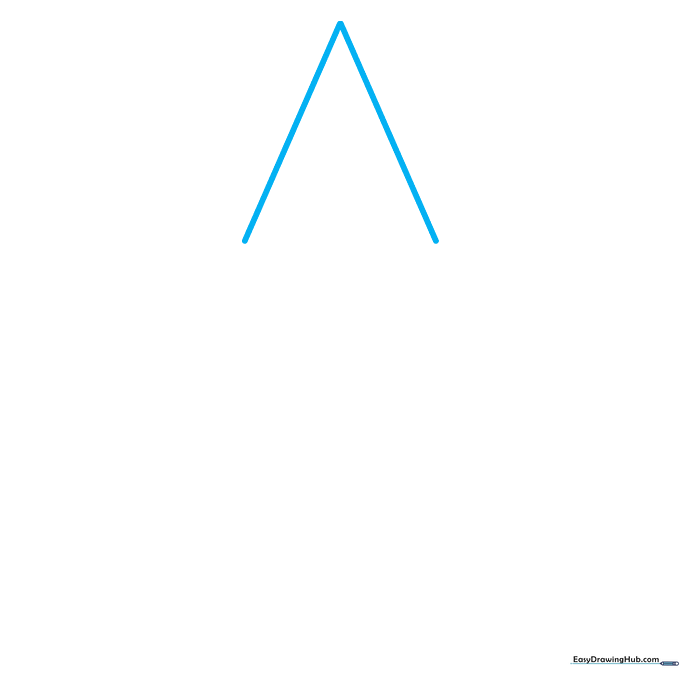
Start by drawing an inverted 'V' shape at the top of your paper. Teacher's Tip: Keep your pencil pressure light; this is just the guide for your star's top peak.
Step 2: Adding the Second Arm
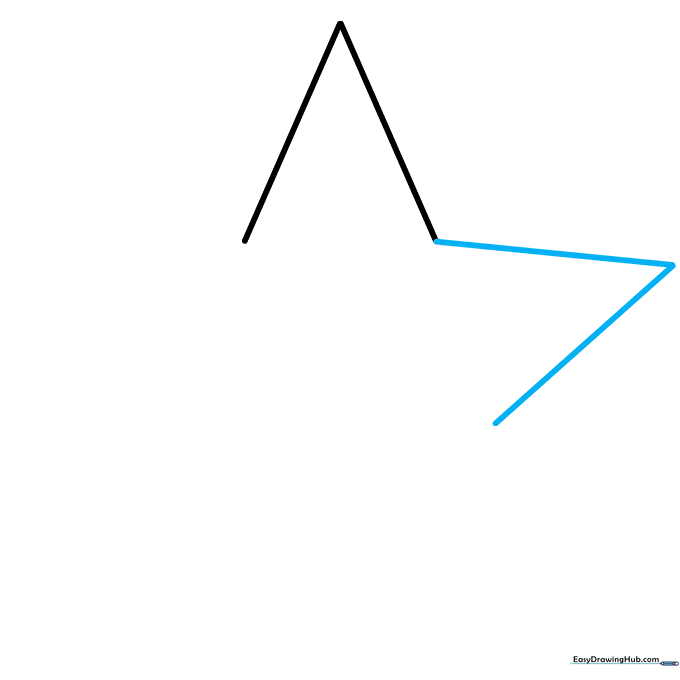
Draw another 'V' shape connected to the first one. Teacher's Tip: Try to make the arms the same length to keep your star symmetrical.
Step 3: Forming the Third Point
Add a third 'V' shape to the bottom right. Teacher's Tip: If your lines aren't perfect, don't worry! Drawing is all about practice.
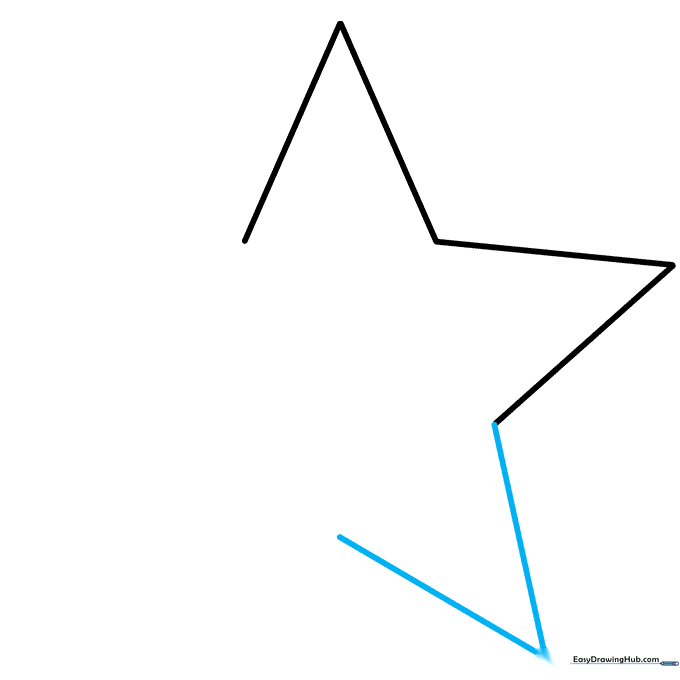
Step 4: Creating the Fourth Arm

Continue the pattern by adding a fourth 'V' shape on the bottom left. Teacher's Tip: Check your spacing to ensure the star looks balanced.
Step 5: Closing the Shape

Connect the final 'V' to close the star outline. Teacher's Tip: Ensure all points are sharp and meet at the corners.
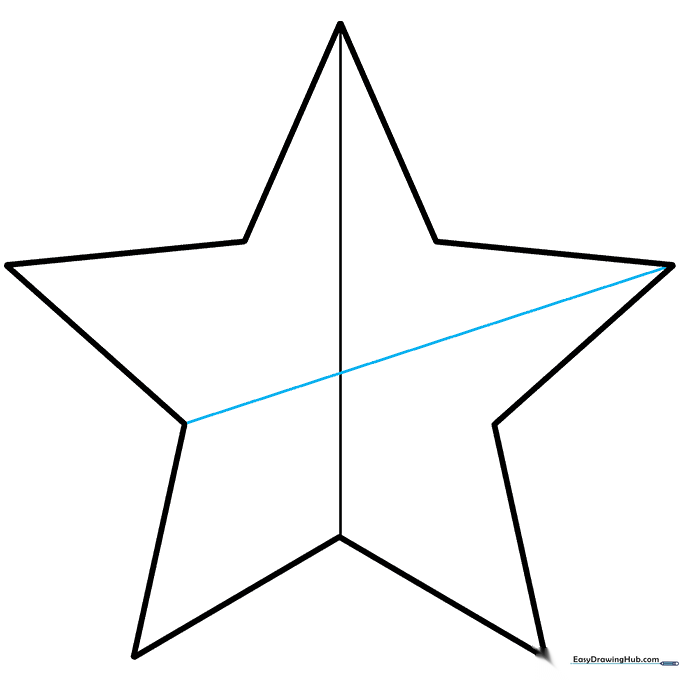
Step 6: Adding Internal Depth Lines
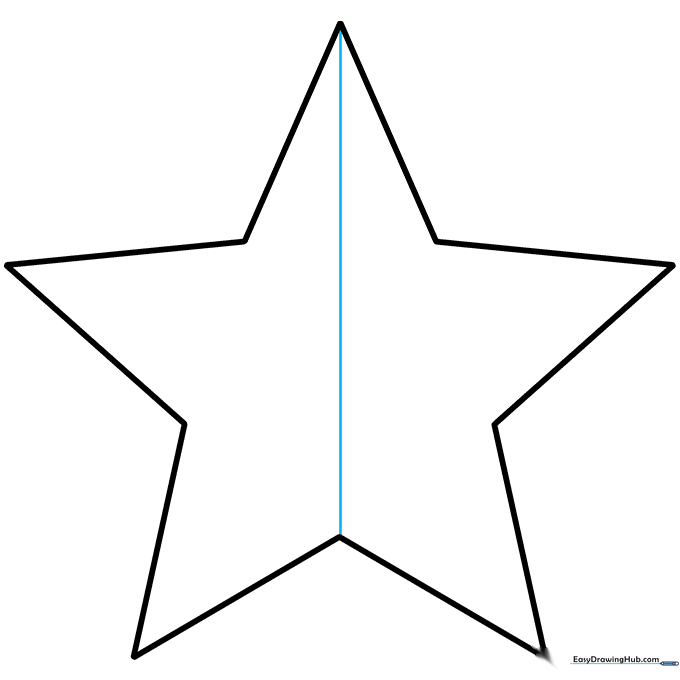
Draw a vertical line from the top point to the center. Teacher's Tip: Using a ruler here helps keep the lines straight for that 3D effect.
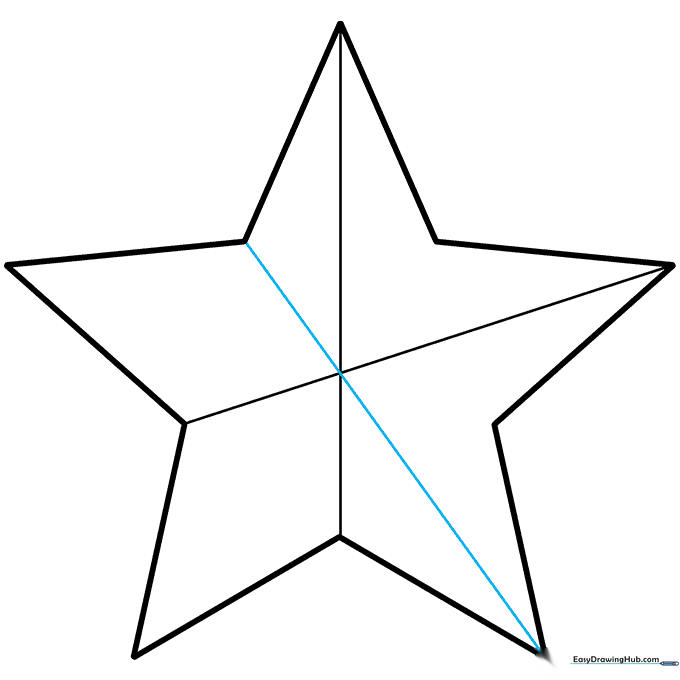
Step 7: Connecting the Points
Draw lines connecting the points to the center junction. Teacher's Tip: Imagine you are drawing the spokes of a wheel meeting in the middle.
Step 8: Refining the 3D Structure
Continue adding lines from the junctions to the points. Teacher's Tip: Make sure all lines intersect at the exact center point.
Step 9: Finalizing the Outline
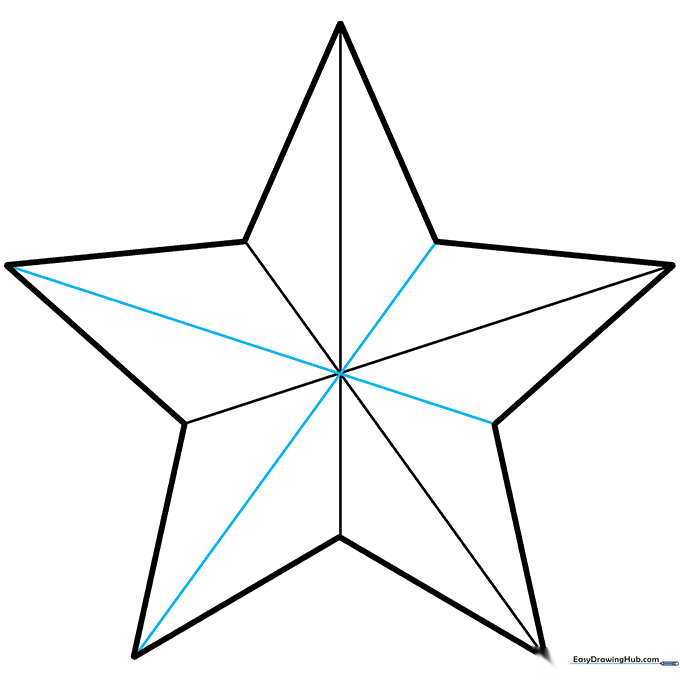
Connect the remaining points to finish the 3D framework. Teacher's Tip: Darken your final lines now to make the star stand out.
Step 10: Adding Color and Dimension

Color your star using different shades. Teacher's Tip: Use a lighter color on one side and a darker shade on the other to create a realistic 3D shadow effect.
More Tutorials


