How to Draw a Stack of Money: Easy 10-Step Guide
Ready to practice your perspective skills? This tutorial is perfect for artists ages 6 and up who want to master drawing 3D objects. You will only need a pencil, an eraser, and a piece of paper to create this classic stack of bills.
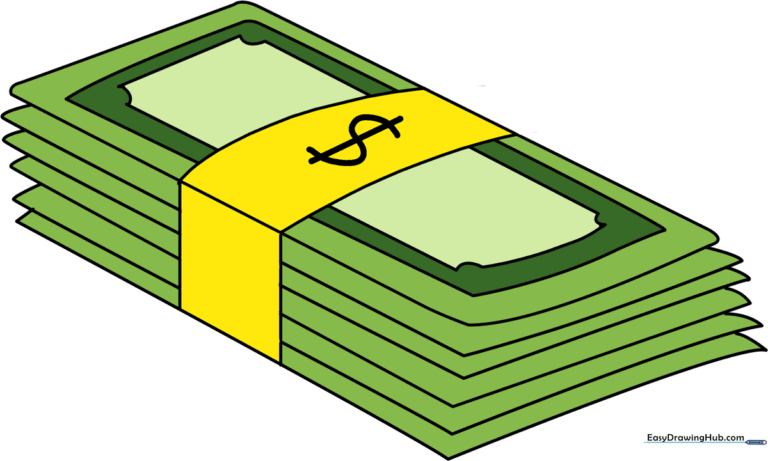
🎯 Final Result
Step-by-Step Instructions
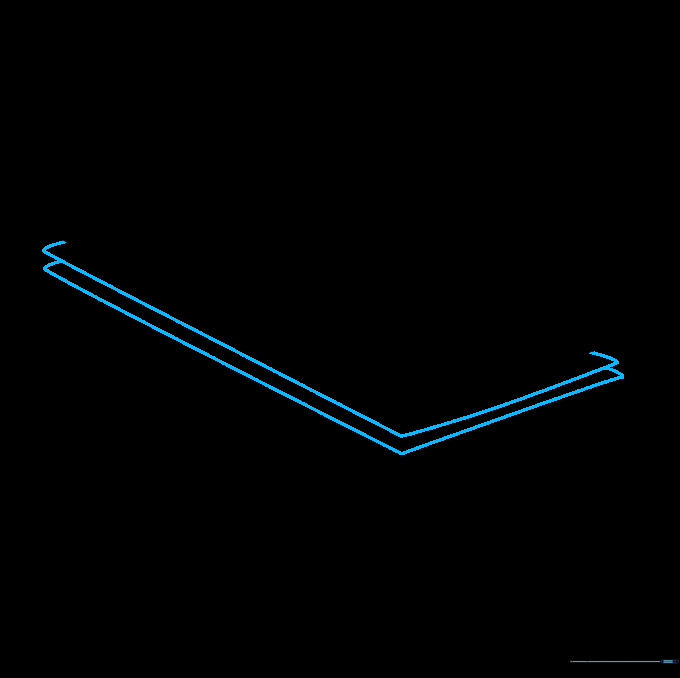
Sketching the Top Bill

Draw a rectangle with rounded corners, tilted on a diagonal slant. This represents the top bill in your stack. Tip: Keep your pencil pressure light so you can easily adjust the shape if needed.
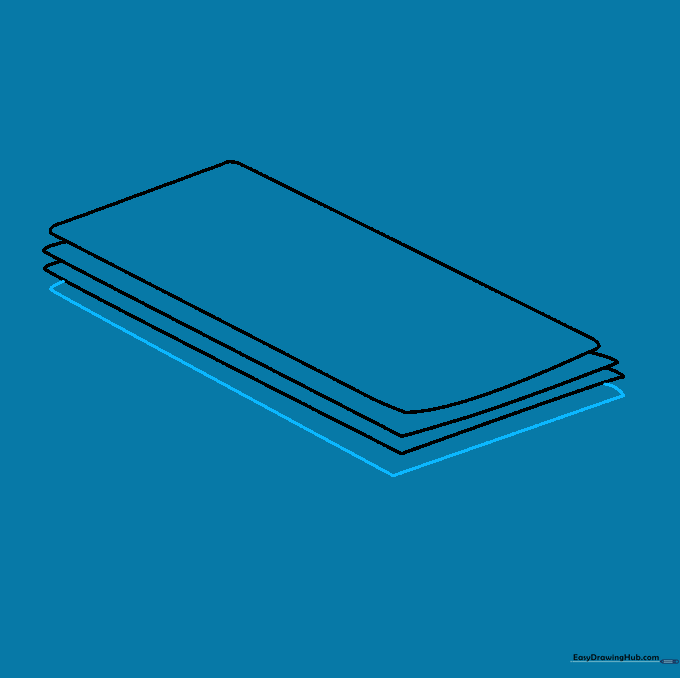
Creating the Stack Depth
Extend short vertical lines from two corners of your rectangle. Connect these with straight lines to create the edge of the next bill. Repeat this process to add a third bill beneath the others. Tip: Ensure your lines are parallel to maintain the illusion of depth.
Adding More Bills
Continue the pattern by extending short lines from the corners of your existing stack and connecting them with longer straight lines. This creates the fourth bill. Tip: Don't worry if the lines aren't perfectly straight; money is often folded or slightly uneven!
Building the Full Stack

Repeat the process two more times until you have a total of six bills in your stack. Tip: Keep your spacing consistent between each bill to make the stack look uniform.
Drawing the Currency Strap
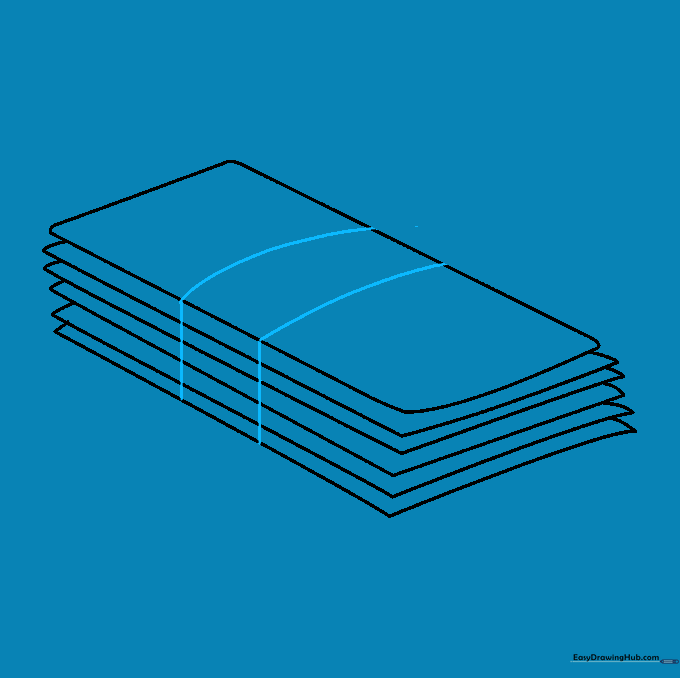
Draw two parallel lines across the top of the stack, extending them down the sides. This represents the paper band that holds the money together. Tip: Use a ruler if you struggle to keep these lines straight.
Cleaning Up Your Lines

Carefully erase the guide lines inside the currency strap. Leave the edges of the strap visible to show where it wraps around the bills. Tip: Use a kneaded eraser for more control over small areas.
Adding Detail to the Bill

Draw a smaller rectangle inside the face of the top bill. This will serve as the frame for your money design. Tip: Center this rectangle to make the bill look more realistic.
Adding Decorative Patterns
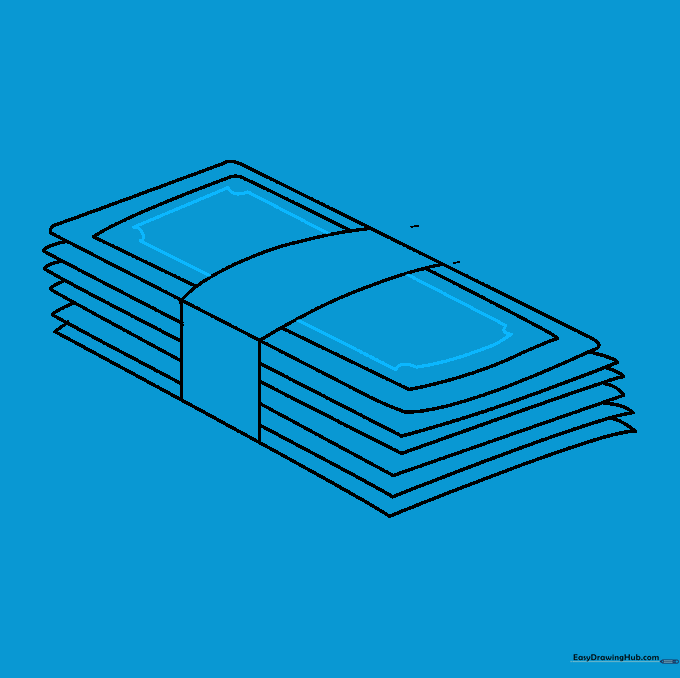
Inside your rectangle, draw four parallel lines that don't quite touch at the corners. Connect them with small, curved lines to create a fancy border pattern. Tip: Take your time here; small details make the drawing look professional.
Finalizing the Currency Band
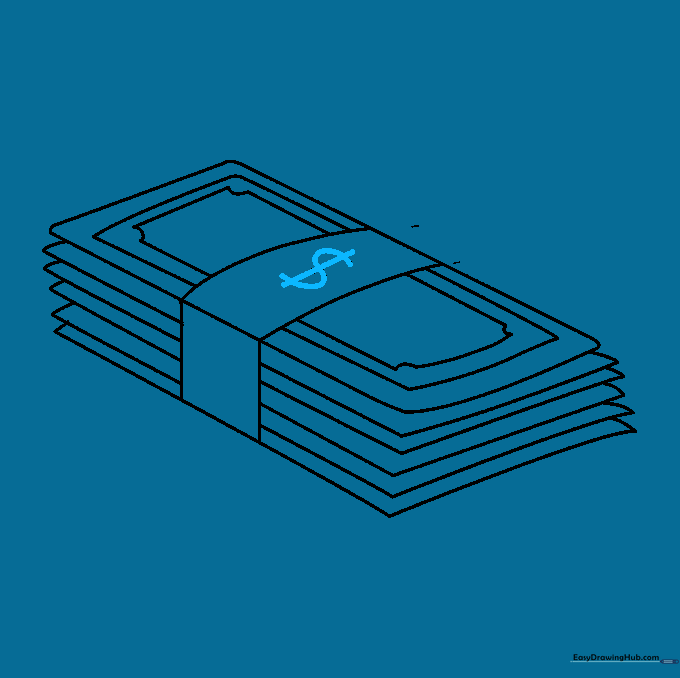
Draw a dollar sign ($) on the center of the currency strap. Tip: Draw the 'S' first, then add the vertical line through the middle to keep it balanced.
Adding Color
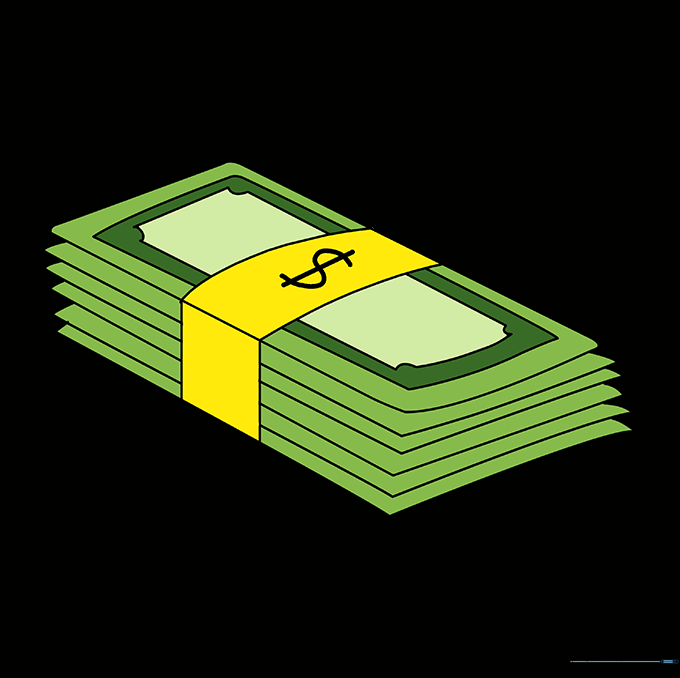
Bring your drawing to life with color! While US money is traditionally green, feel free to experiment with other colors like blue, pink, or orange to represent global currencies. Tip: Use light pressure for a soft look or heavy pressure for a vibrant, bold finish.
More Tutorials


