How to Draw a Spruce Tree: Easy 10-Step Guide for Kids
Bring the forest to your sketchbook with this simple spruce tree tutorial, perfect for young artists ages 5 and up. All you need is a pencil, an eraser, and your favorite green markers or crayons. By the end of this lesson, you will master the art of drawing layered, jagged branches to create a beautiful, textured evergreen.
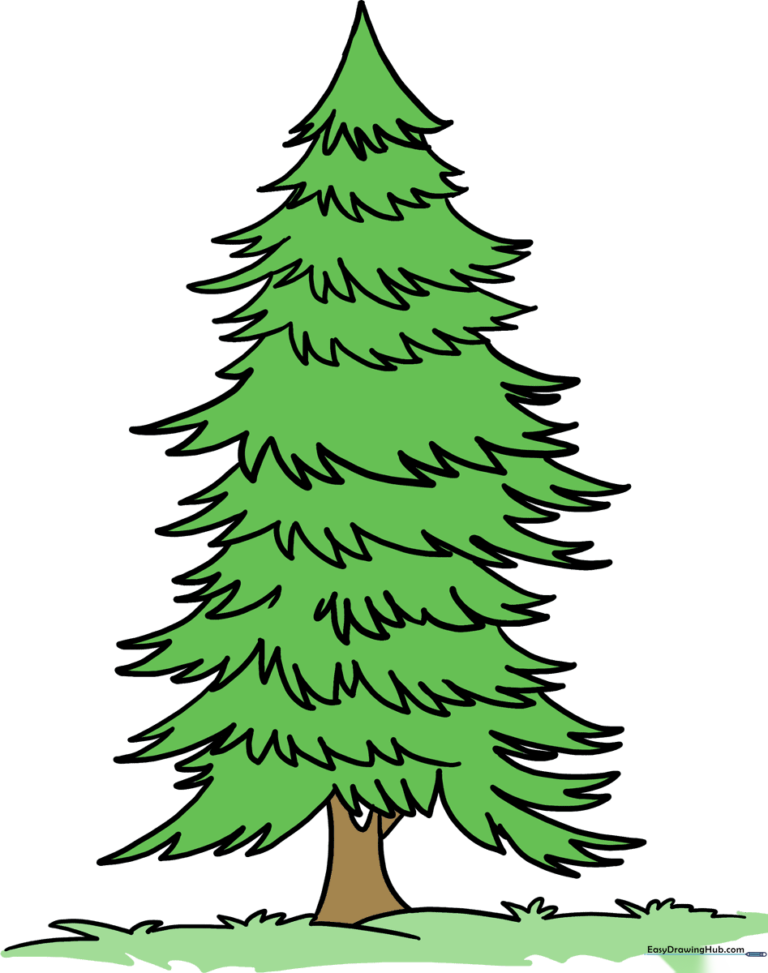
🎯 Final Result
Step-by-Step Instructions
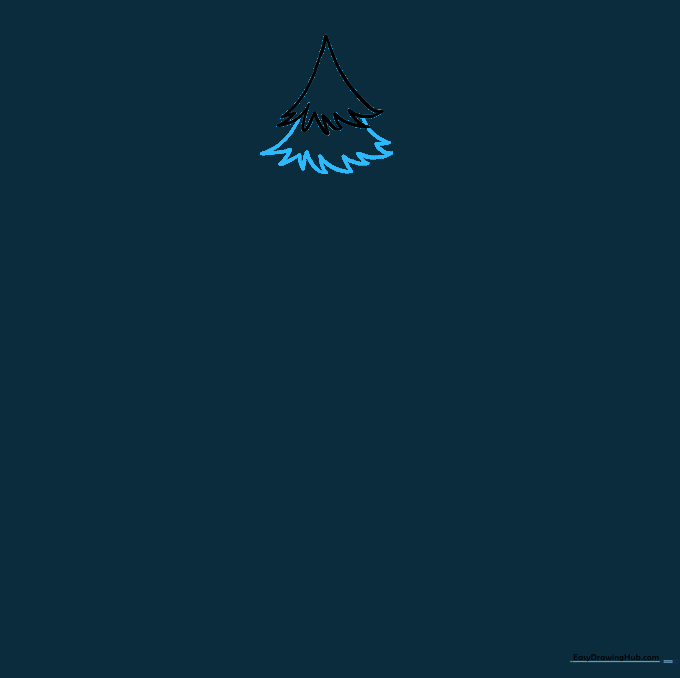
Step 1: Sketching the Crown

Start at the very top of your tree. Draw an upside-down 'V' shape, then connect the bottom with short, jagged lines to create a triangular point. Teacher's Tip: Keep these points sharp to mimic the look of real spruce needles.
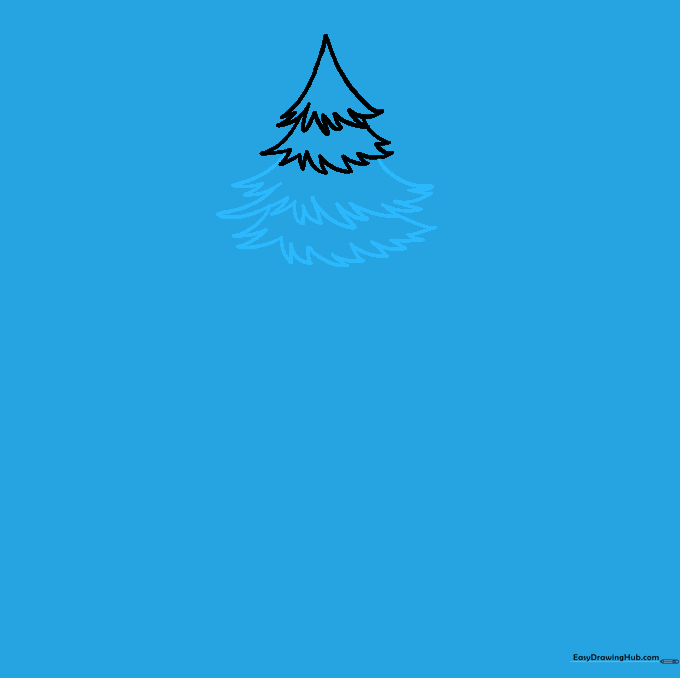
Step 2: Adding the First Whorl
Draw a rounded set of branches just beneath the crown. Extend curved lines from the sides and connect them with more jagged, zigzag strokes. Teacher's Tip: Think of these as 'steps' for the tree to grow downward.
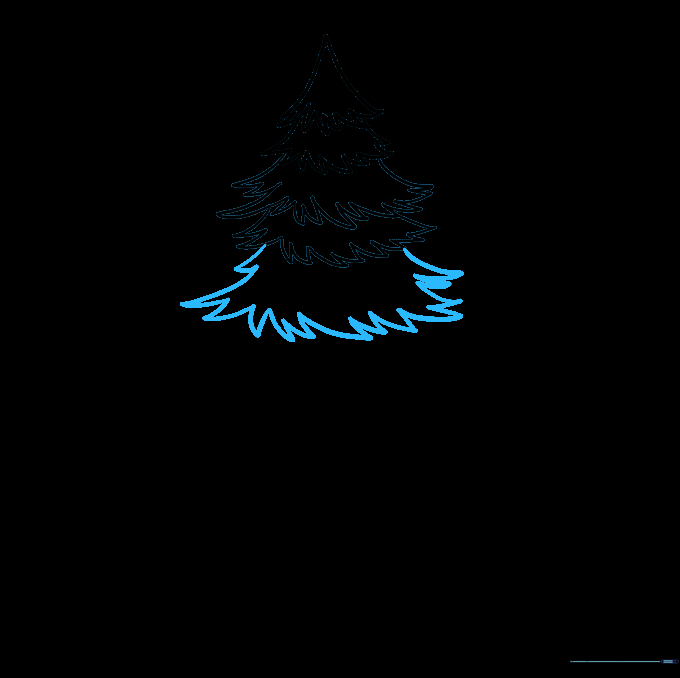
Step 3: Expanding the Branches
Continue adding two more layers, making each one slightly wider than the one above it. Use the same jagged-line technique. Teacher's Tip: Don't worry about making the lines perfect; nature is rarely symmetrical!
Step 4: Creating the Main Body
Draw a larger, wider whorl beneath the previous sections. This gives the tree its classic, sturdy shape. Teacher's Tip: Press slightly harder on your pencil here to define the outer edge of the branches.
Step 5: Tapering the Shape
Add another layer, but this time, keep the width consistent with the one above. This helps the tree look natural. Teacher's Tip: Use short, quick strokes to keep the 'needles' looking prickly.
Step 6: Adding Detail Layers

Draw another whorl, making it slightly smaller than the one above to start the bottom taper. Teacher's Tip: If you make a mistake, just turn it into a branch—there are no mistakes in nature!
Step 7: Continuing the Base
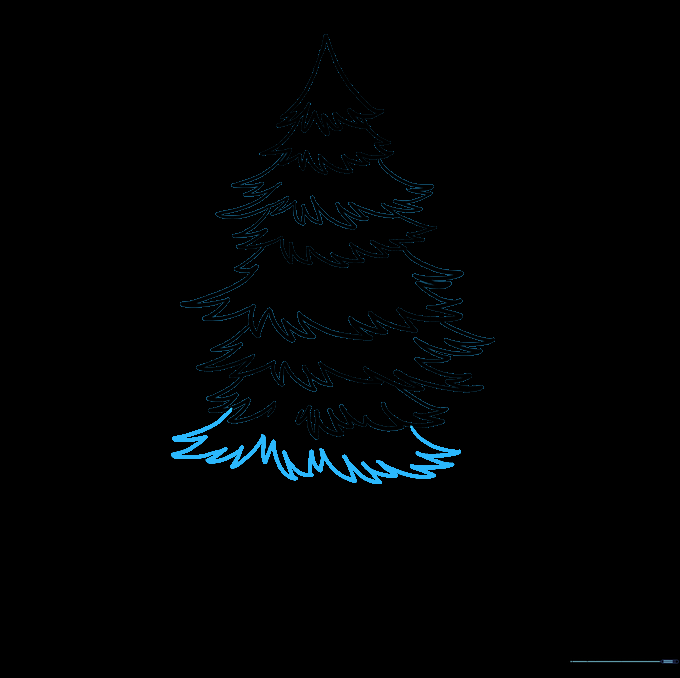
Add one more small whorl beneath the previous section. You are almost at the trunk! Teacher's Tip: Keep your hand relaxed to ensure your lines stay fluid and natural.
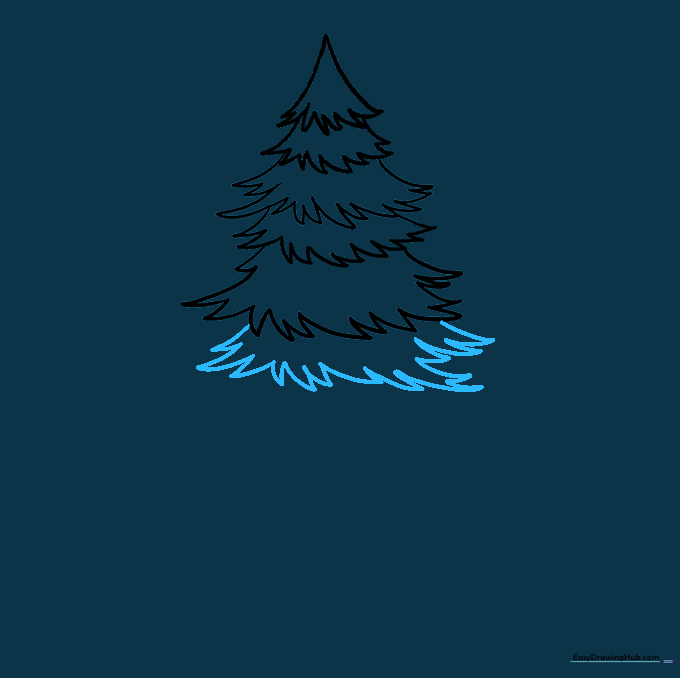
Step 8: Final Branch Whorls
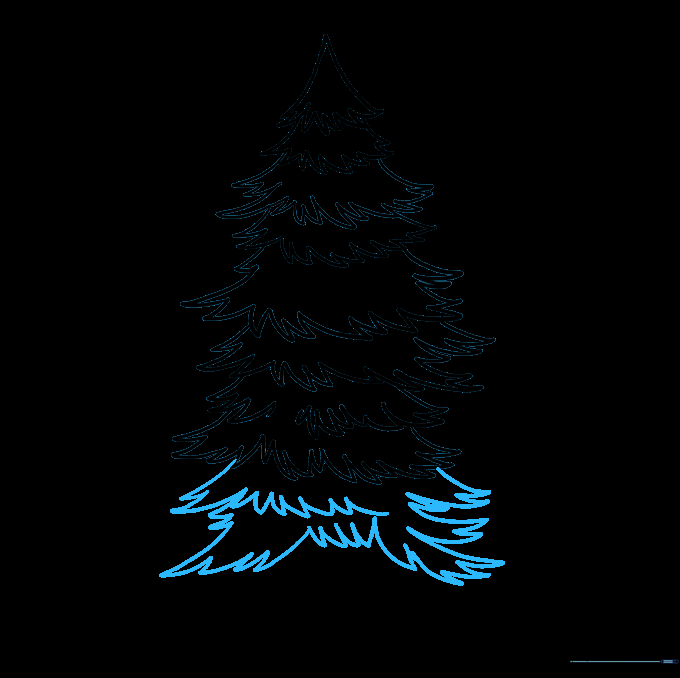
Add two final, larger whorls at the bottom. Leave a small gap in the center of the final layer—this is where the trunk will peek through. Teacher's Tip: Ensure these bottom branches look heavy and full.
Step 9: Trunk and Ground
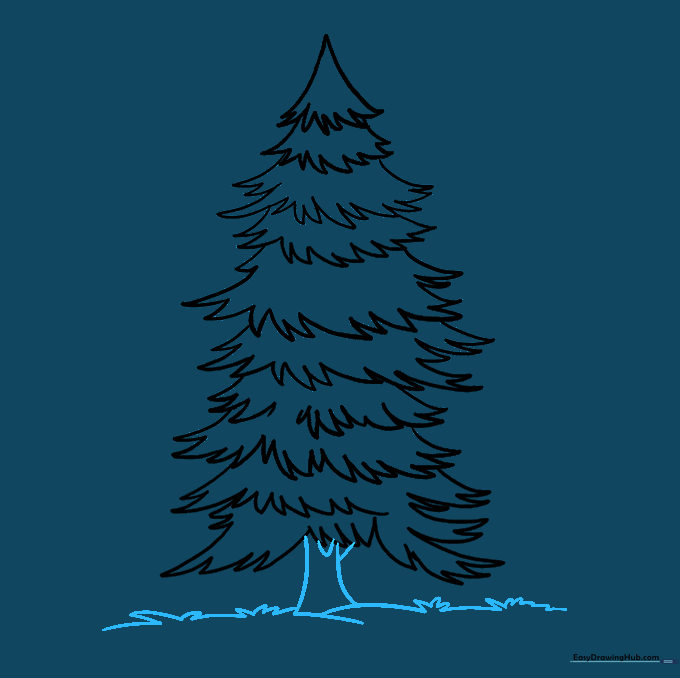
Draw two vertical lines for the trunk. Add a 'V' shape for a branch fork, and finish by drawing jagged lines at the base to represent tufts of grass. Teacher's Tip: Vary the height of the grass tufts to make the ground look realistic.
Step 10: Adding Color
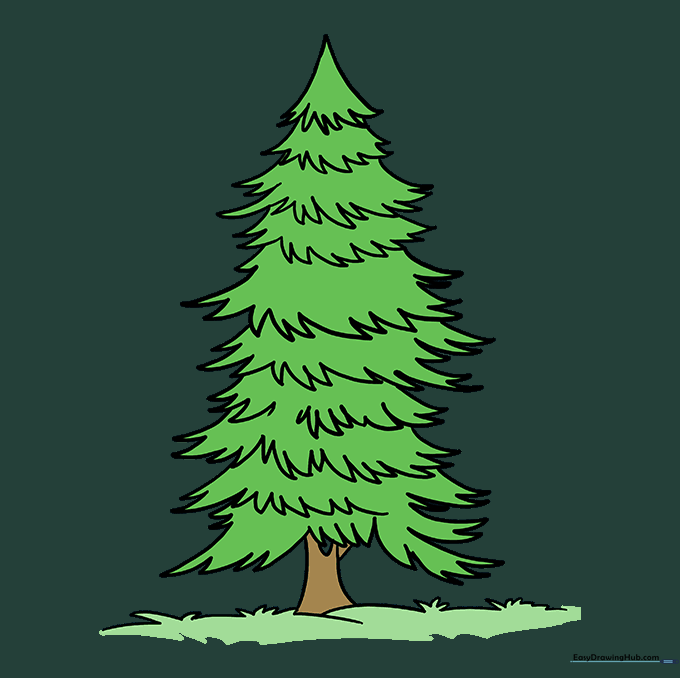
Bring your spruce to life with deep forest greens or blue-greens. Use a brown pencil for the trunk. Teacher's Tip: Try coloring the needles with small, diagonal strokes to give the tree a textured, realistic look.
More Tutorials


