How to Draw a Sports Car: Easy 9-Step Guide for Kids
Ready to design your own dream car? This tutorial is perfect for young artists ages 5+ who want to master drawing a fast, sporty vehicle. Grab a pencil, an eraser, and some paper, and let’s get started on this fun, confidence-building project.
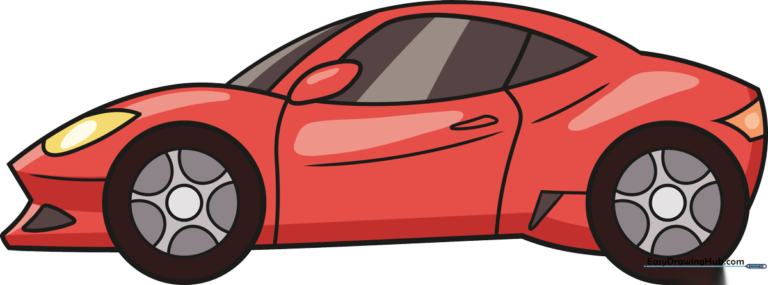
🎯 Final Result
Step-by-Step Instructions
Step 1: Sketching the Wheels
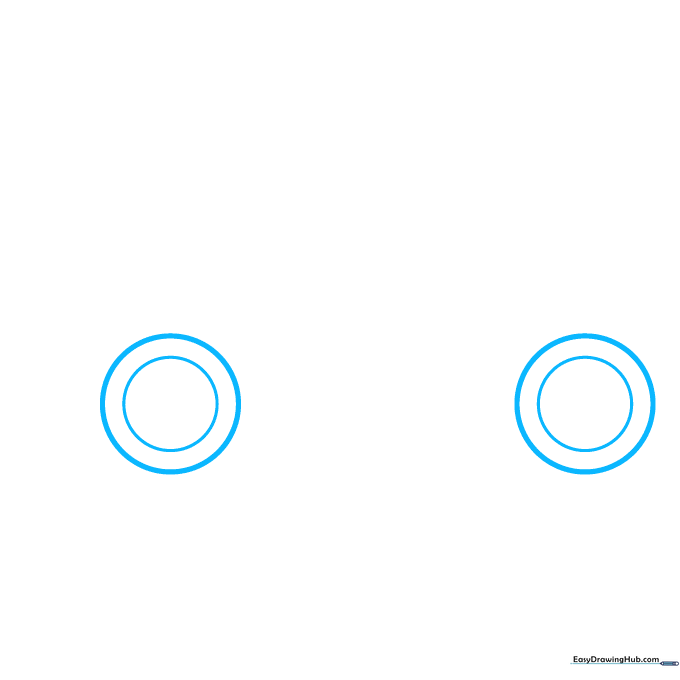
Start by drawing two circles for the wheels. Tip: Draw them about the size of a quarter. To make them look like real tires, draw a smaller circle inside each one.
Step 2: Connecting the Chassis
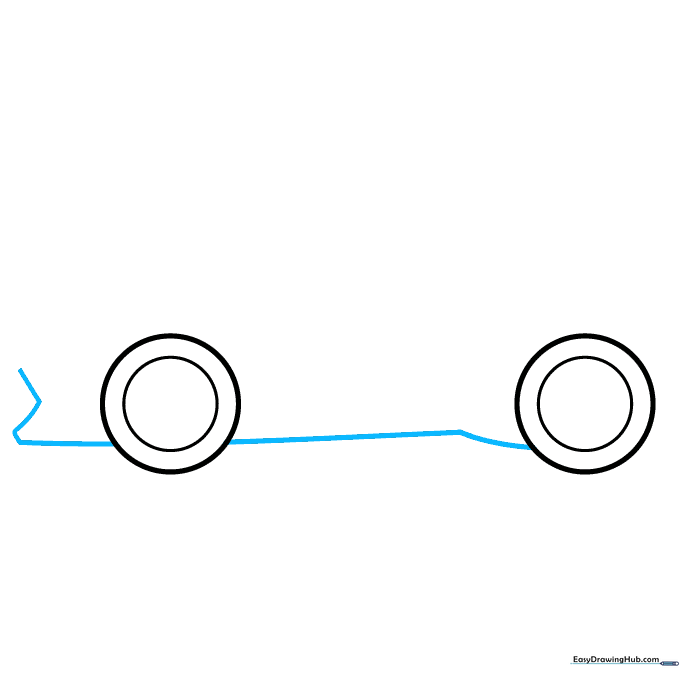
Connect your wheels with a straight line at the bottom and a curved line above. Tip: Use a light touch here, as this forms the base of your car's frame.
Step 3: Defining the Hood and Roof
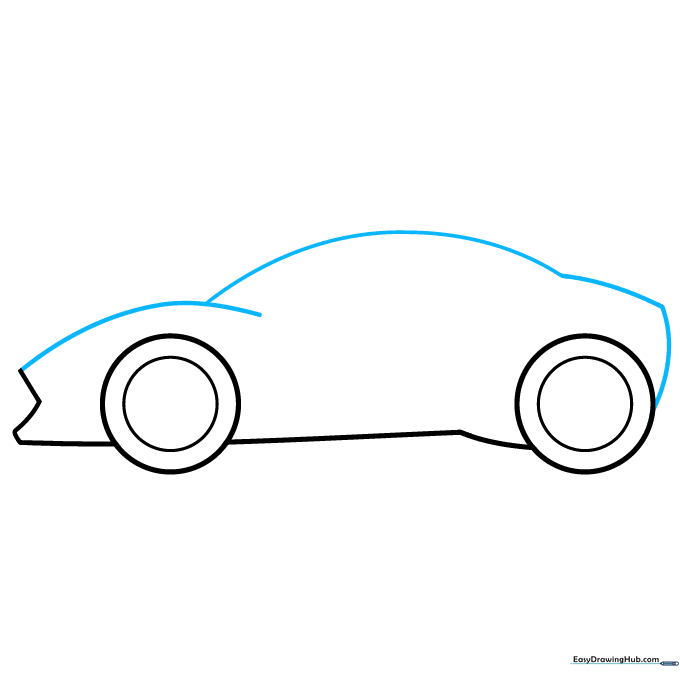
Draw a long, sweeping curved line from the front wheel to create the hood. Then, continue that line up and over to form the roof and the back of the car.
Step 4: Adding the Windshield and Mirror
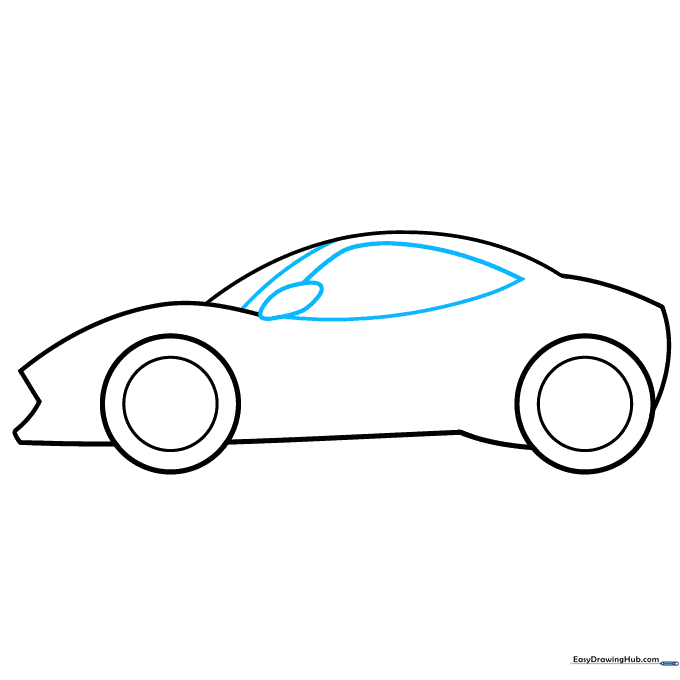
Draw a small rounded shape for the side mirror. Then, add two lines meeting at a point to create the window. Tip: Keep the windshield angle sharp to make the car look fast!
Step 5: Doors and Headlights

Sketch the door outline with a few curved lines. Add a teardrop shape at the front for the headlight. Tip: A teardrop shape makes the headlight look modern and sleek.
Step 6: Adding Body Contours
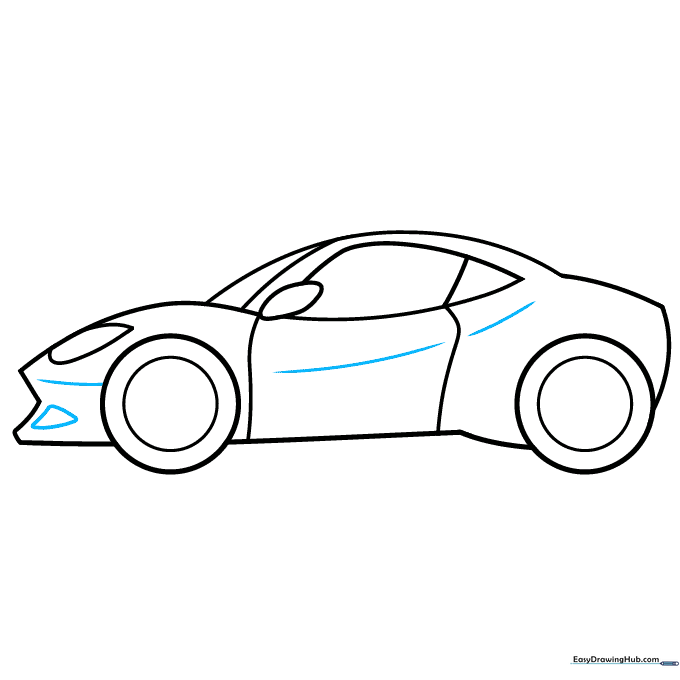
Draw extra lines along the side and front to give the car a sporty, aerodynamic look. Add a small curved triangle near the front bumper for extra detail.
Step 7: Handles and Taillights
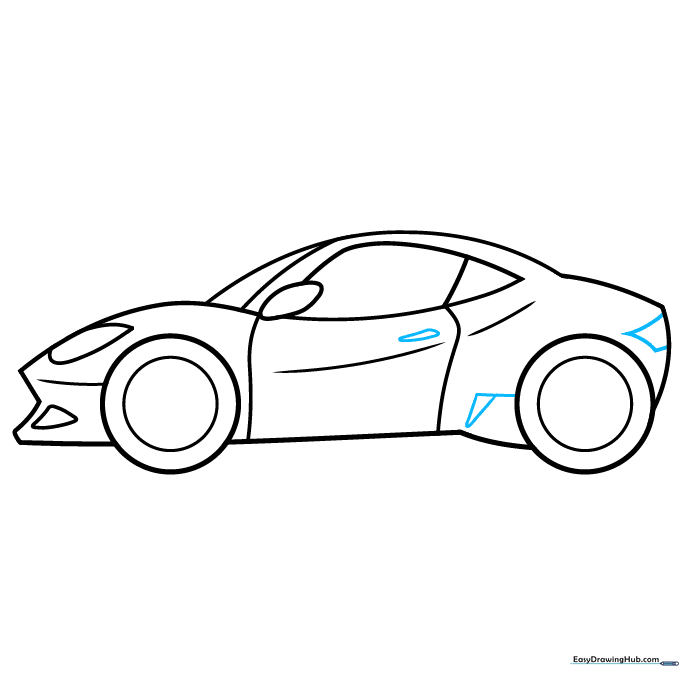
Draw a small triangle for the door handle and a rectangle for the taillight. Tip: Keep these shapes small so they don't distract from the car's main body.
Step 8: Detailing the Wheels
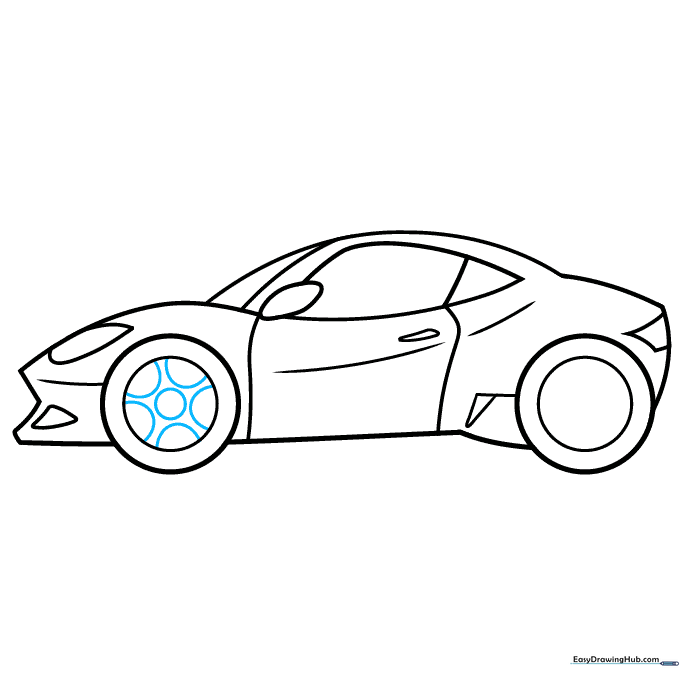
Let's make those wheels look like rims! Draw a small circle in the center and five half-circles around the edge. Tip: Take your time—this is where the car starts to look professional.
Step 9: Final Touches
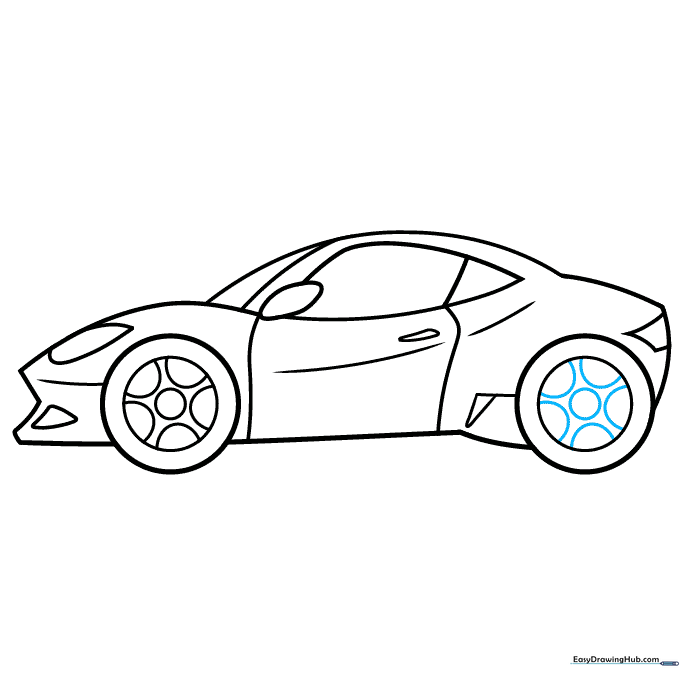
Repeat the wheel detailing on the front tire. Once you're happy with your sketch, go over your lines with a darker pencil or pen to make them pop!
Step 10: Color Your Creation
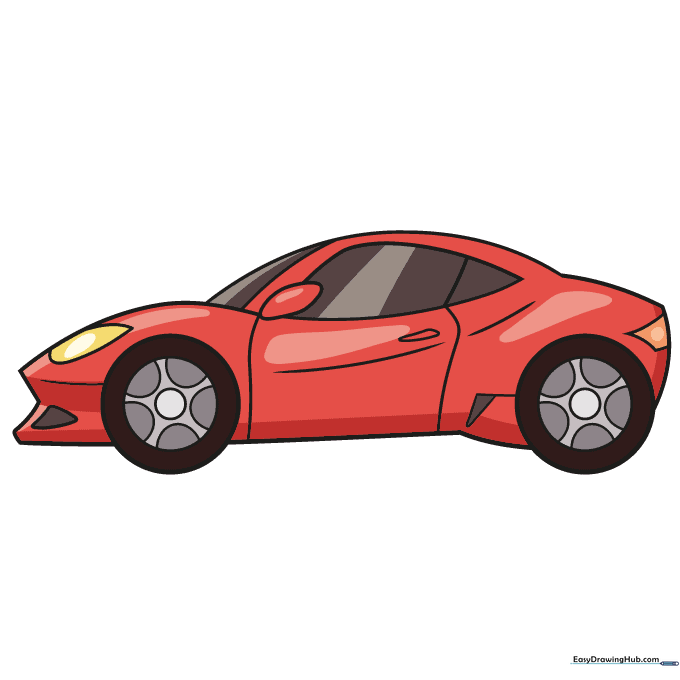
Time to bring your car to life! Use bright colors like red or blue for the body. Tip: Use a light grey or blue for the windows to create a cool 'tinted' effect.
More Tutorials


