How to Draw a Spoon and Fork: Easy 10-Step Guide
Ready to draw some kitchen essentials? This tutorial is perfect for young artists ages 5+ to practice basic shapes and symmetry. All you need is a pencil, an eraser, and a piece of paper to bring this cutlery duo to life.
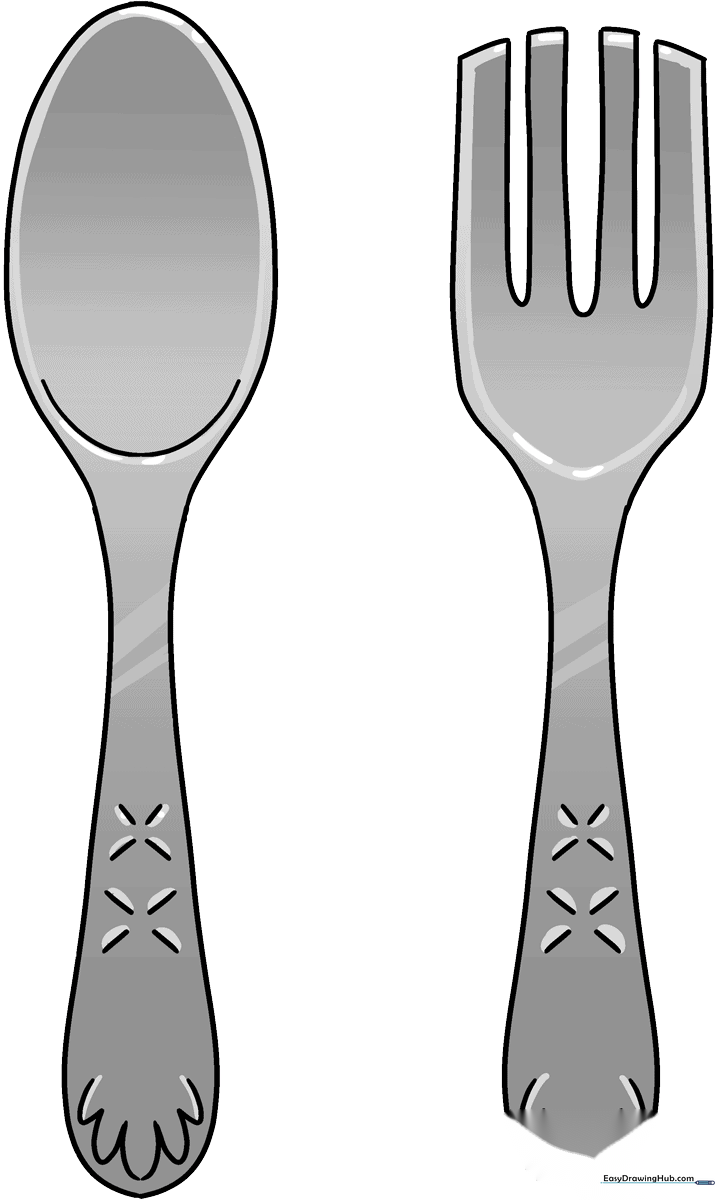
🎯 Final Result
Step-by-Step Instructions
Step 1: Sketching the Spoon Bowl

Start by drawing the oval bowl of the spoon. Tip: Keep your pencil strokes light and loose so you can easily adjust the shape if it looks a bit lopsided.
Step 2: Adding the Spoon Handle
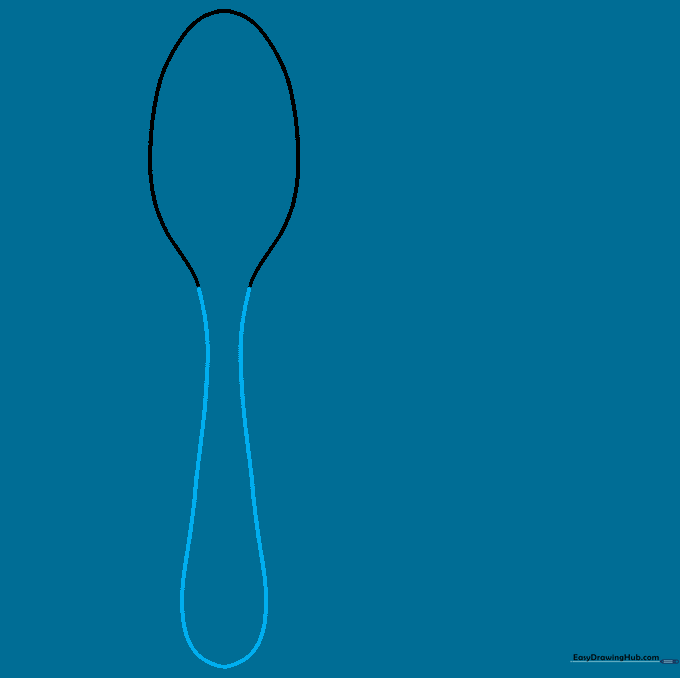
Extend a long, slightly curved line from the bowl to create the handle. Tip: Try to keep the handle centered so your spoon looks balanced and sturdy.
Step 3: Creating Depth
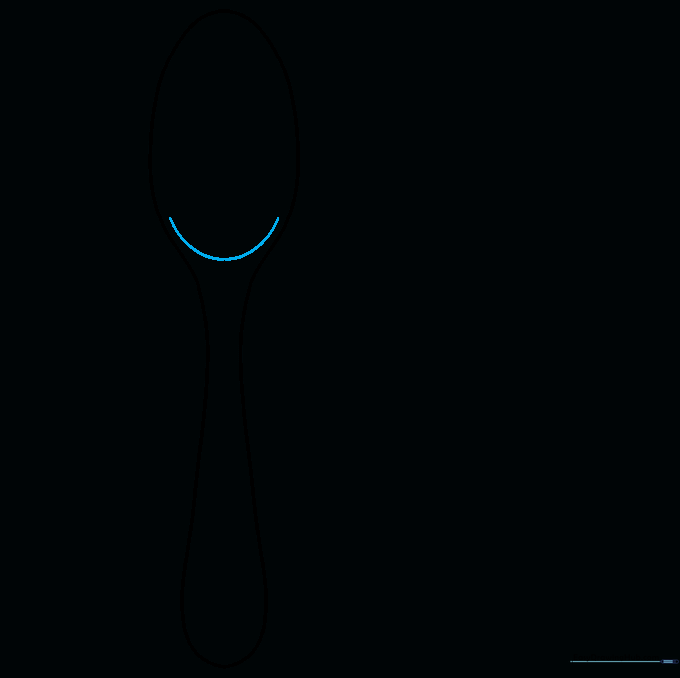
Draw a small 'U' shape where the bowl meets the handle. Tip: This subtle curve adds a 3D effect, making the spoon look like it has a real scoop.
Step 4: Outlining the Fork
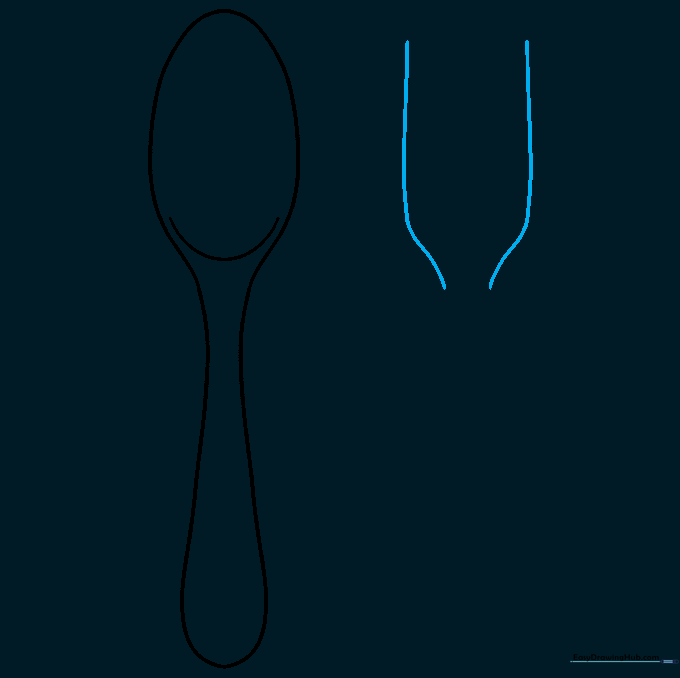
Sketch two parallel lines to define the width of the fork head. Tip: Use a ruler if you want perfectly straight lines, or go freehand for a more organic, hand-drawn look.
Step 5: Drawing the Fork Handle
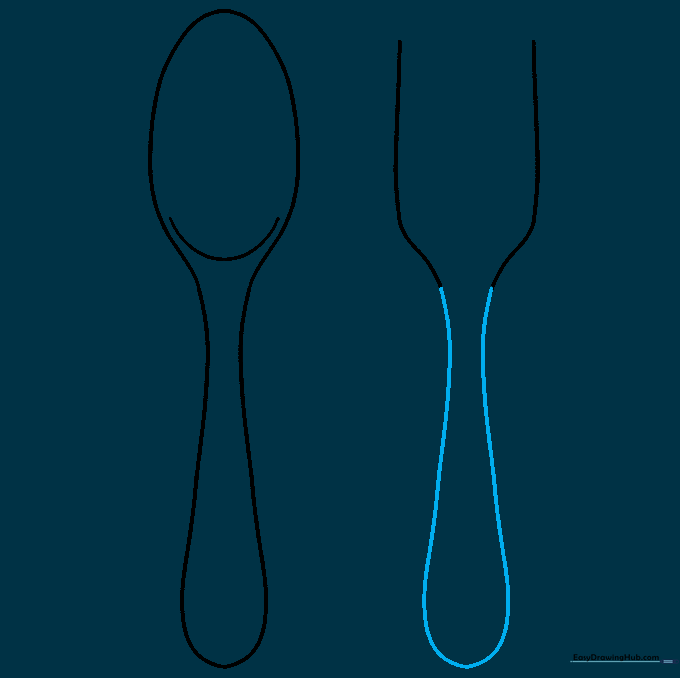
Draw the fork handle extending downward, mirroring the style of your spoon handle. Tip: Keep the width consistent so the fork looks like it belongs in the same set as the spoon.
Step 6: Adding Handle Details
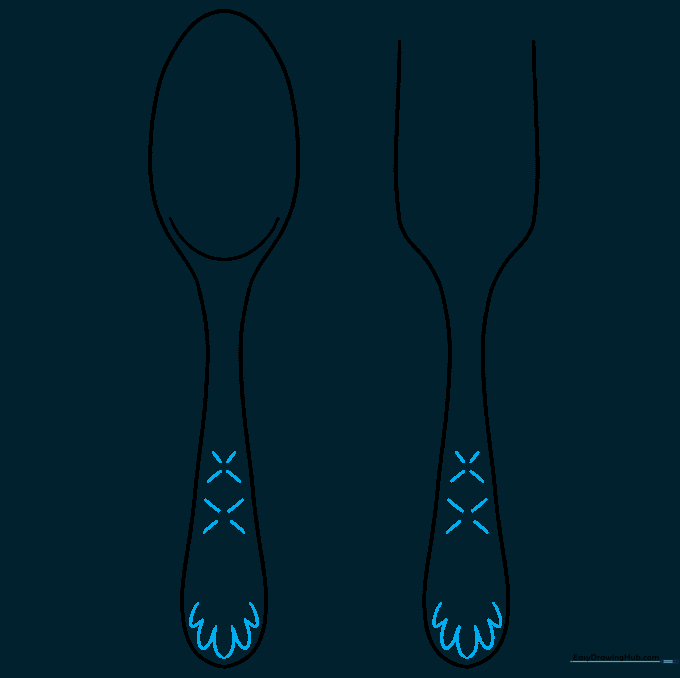
Add decorative 'U' shapes at the end of the handles and small 'X' patterns in the center. Tip: Focus on keeping the spacing even to make the design look professional.
Step 7: Shaping the First Tine
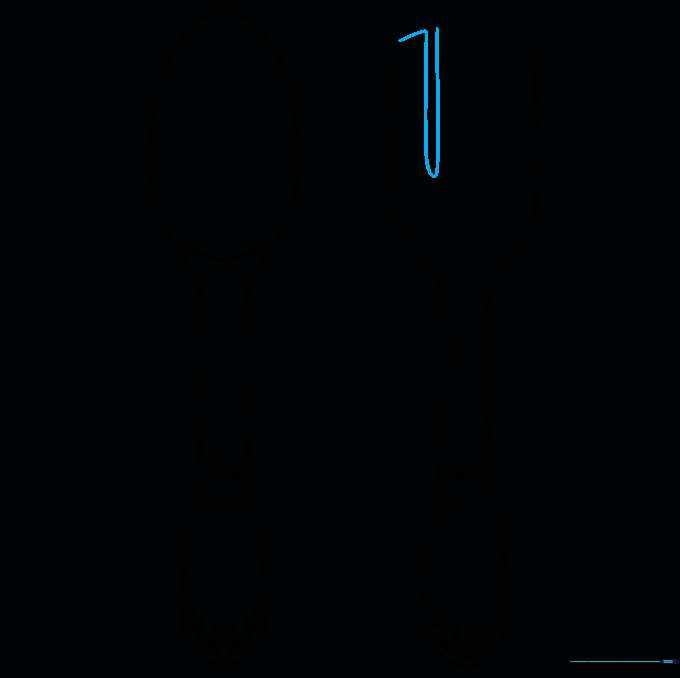
Draw a small notch at the top of the fork to start the first tine. Tip: Think of this as drawing a tiny 'U' shape at the very top edge.
Step 8: Adding More Tines
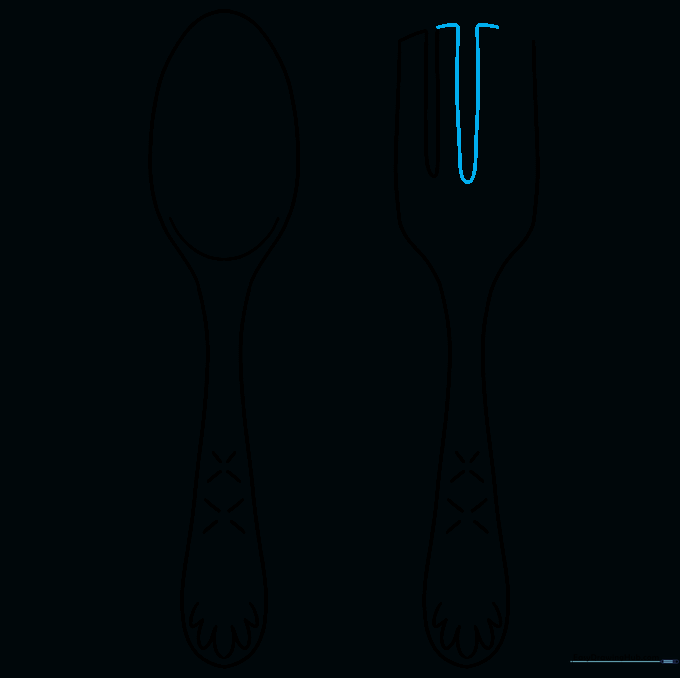
Continue adding notches across the top of the fork head. Tip: If you find it tricky, draw light guidelines across the top first to keep your tines even.
Step 9: Completing the Fork
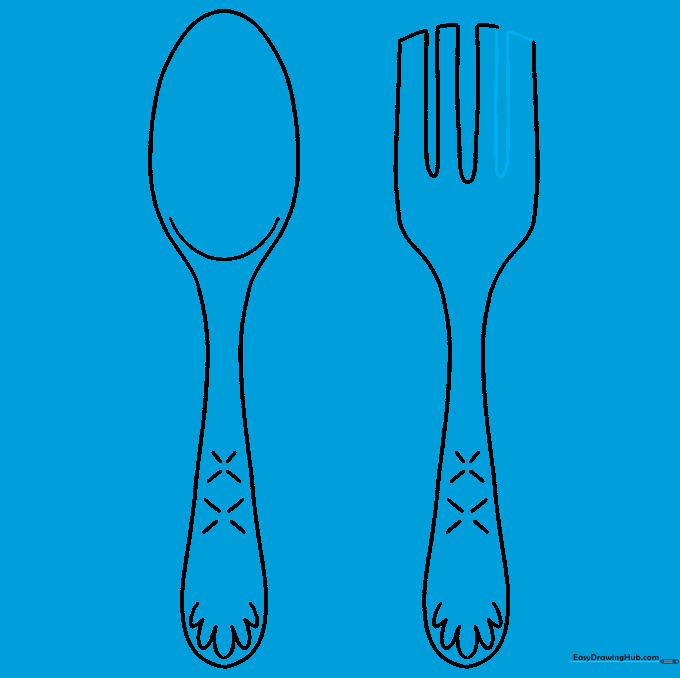
Finish the remaining tines to complete the fork head. Tip: Check that all tines are roughly the same length for a clean, finished look.
Step 10: Adding Color
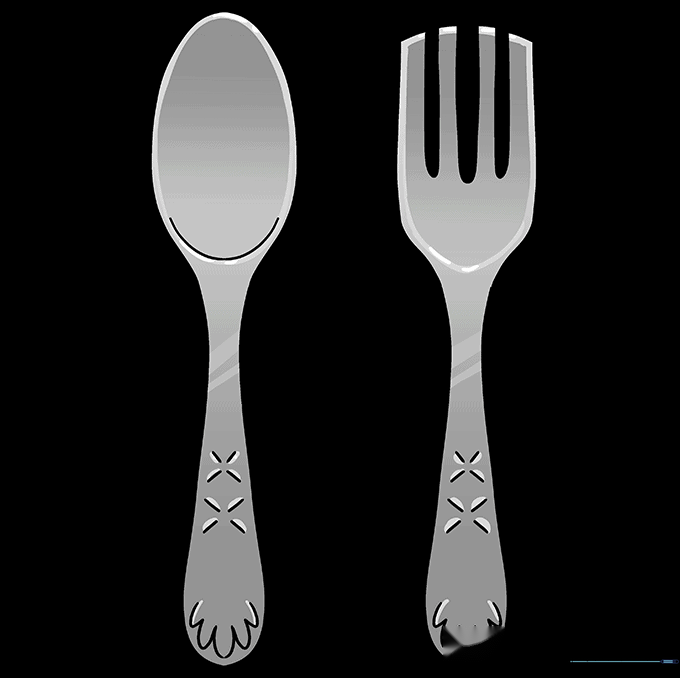
Time to color! Use silver or gray for a classic metallic look, or get creative with bright colors if you're drawing plastic picnic cutlery. Tip: Use a darker shade of gray on one side of the handle to create a simple 'shine' effect.
More Tutorials


