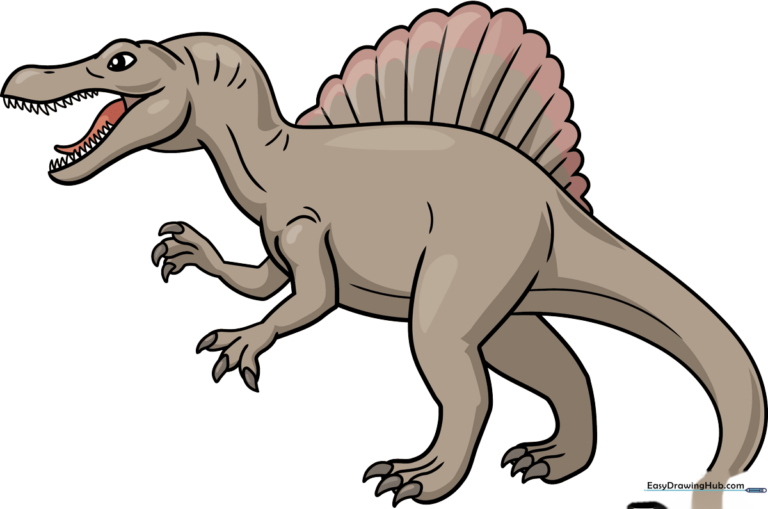
How to Draw a Spinosaurus: Easy 9-Step Dinosaur Guide
Bring the king of the river to life with this easy-to-follow Spinosaurus tutorial. Designed for young artists ages 5 and up, this guide requires only a pencil, paper, and an eraser. Follow these steps to master the iconic sail-backed dinosaur and build your confidence in sketching prehistoric creatures.
🎯 Final Result
Step-by-Step Instructions
Step 1: Sketching the Head and Snout
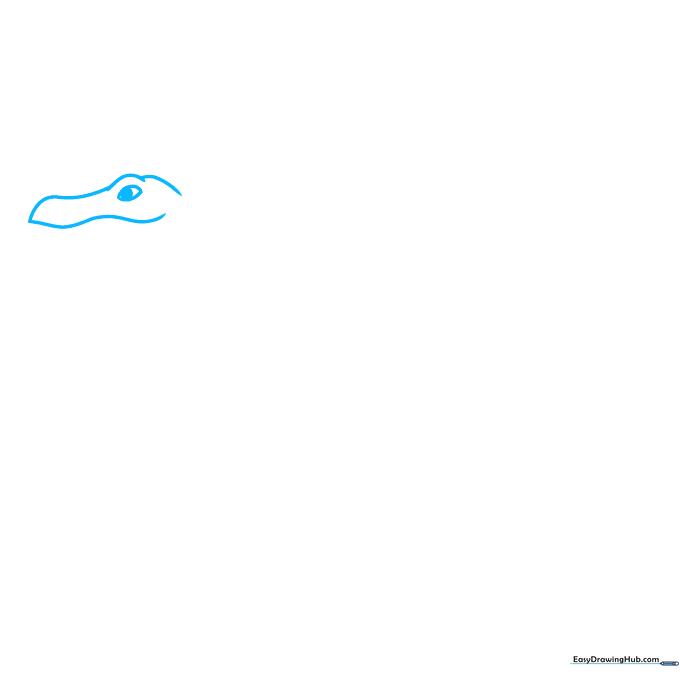
Start by drawing the snout and the top of the head using smooth, curved lines. Draw a small teardrop shape for the eye and add a round pupil inside. Teacher's Tip: Keep your pencil lines very light here so you can easily adjust the jaw shape later.
Step 2: Defining the Open Jaw
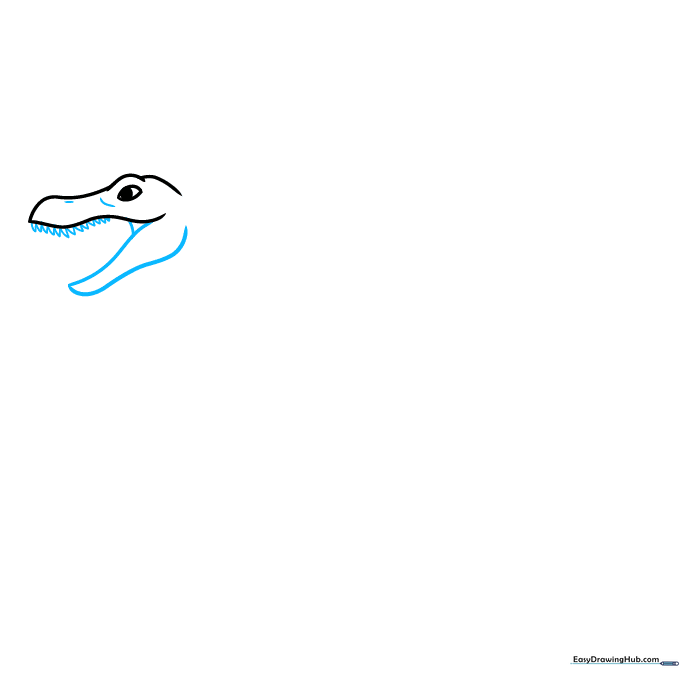
Use two curved lines to form the lower jaw, creating a wide-open mouth. Add a small triangle at the hinge to show depth, and draw sharp, triangular teeth along the upper jaw. Teacher's Tip: Make the teeth slightly different sizes to give your dinosaur a more natural, fierce look.
Step 3: Adding Teeth and Neck
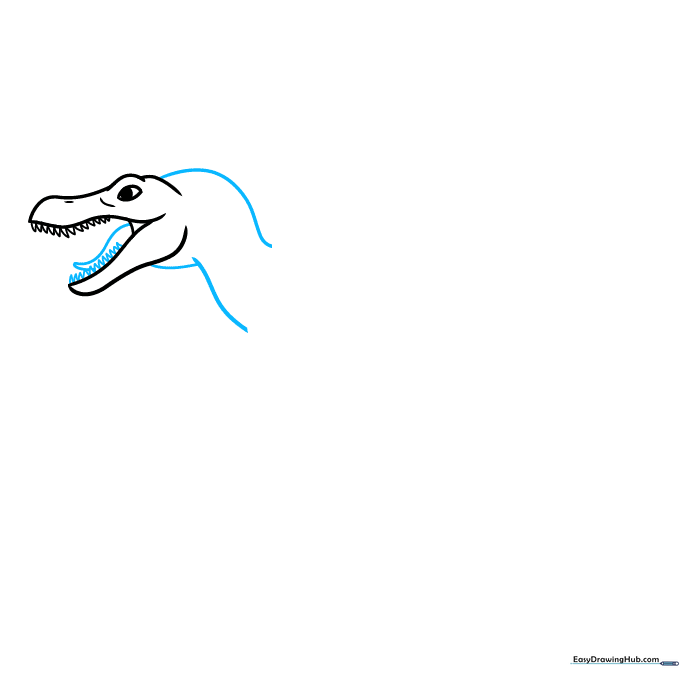
Add teeth to the lower jaw and draw a curved tongue inside the mouth. Extend the lines from the head to begin the neck. Teacher's Tip: Use short, overlapping strokes to suggest the texture of dinosaur skin as the neck meets the head.
Step 4: Sketching the Back and Forearm
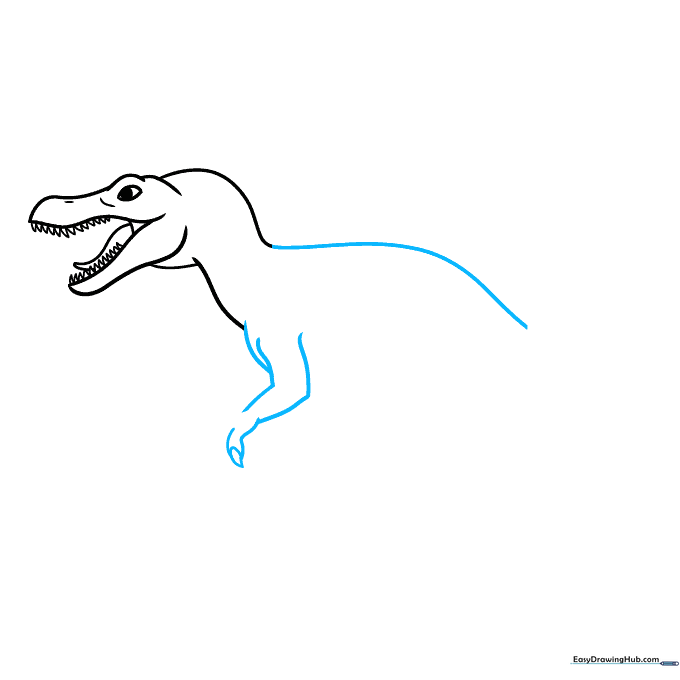
Continue the neck line into the back. Draw the chest and the first forearm, ending with a sharp, teardrop-shaped claw. Teacher's Tip: Spinosaurus claws were quite large; don't be afraid to make them look bold and pointy!
Step 5: Adding Fingers and Rear Leg
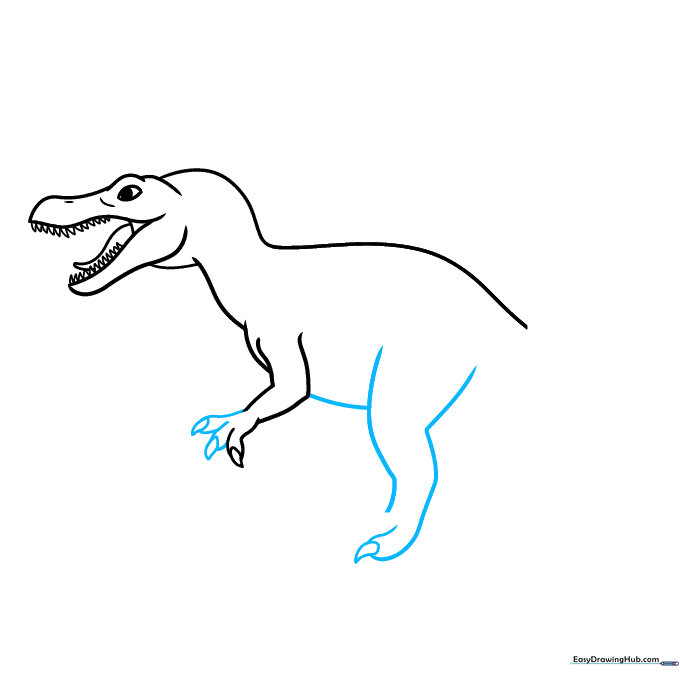
Draw the remaining fingers with claws, then sketch the belly and the upper part of the rear leg. Teacher's Tip: Use a 'C' shape for the belly to give your dinosaur a sturdy, grounded appearance.
Step 6: Completing the Feet and Second Arm

Finish the rear foot with teardrop-shaped claws. Add the second, smaller forearm tucked behind the body. Teacher's Tip: Overlapping lines help create the illusion that one arm is further away than the other.
Step 7: Drawing the Tail and Leg
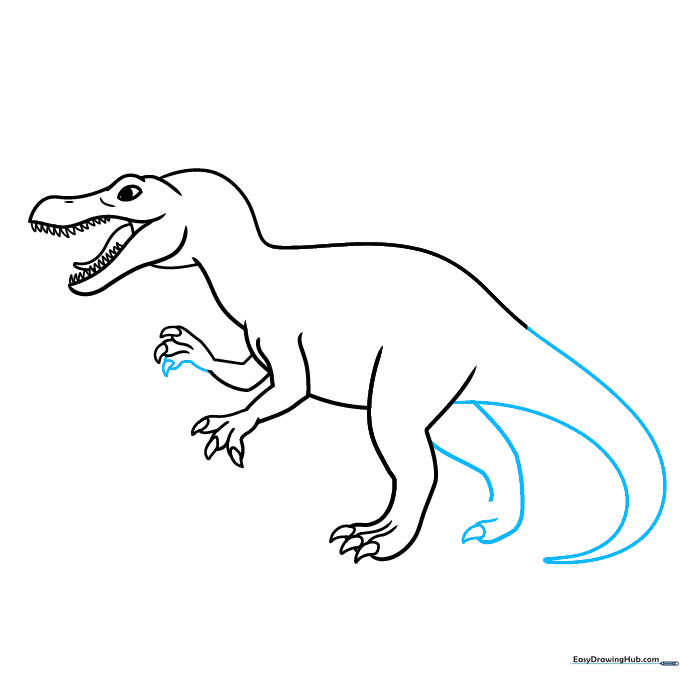
Complete the foreleg and draw the long, powerful tail. Add the remaining rear leg with a large claw. Teacher's Tip: Make the tail slightly curved to show movement, as if the dinosaur is walking.
Step 8: The Iconic Sail
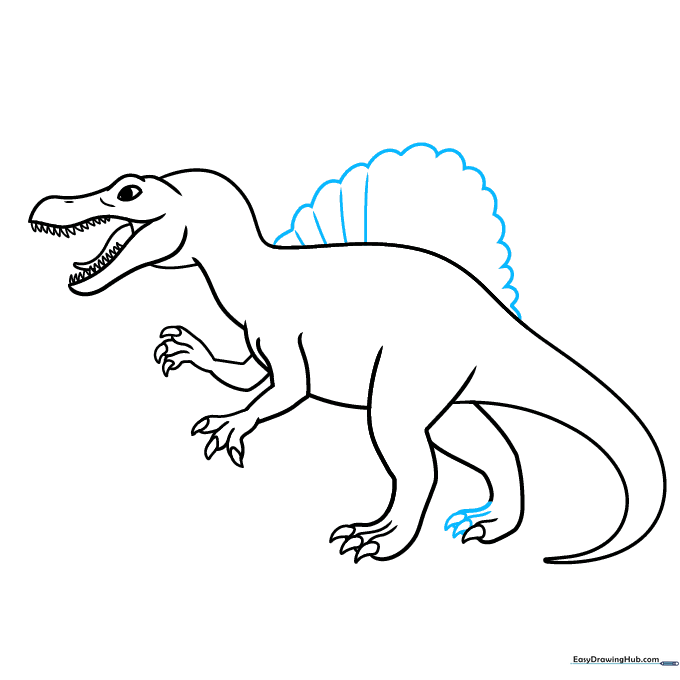
Finish the rear foot, then draw the Spinosaurus's most famous feature: the back sail. Use a series of scalloped, curved lines to create the fan shape. Teacher's Tip: Draw the spines connecting the back to the sail to make it look structurally sound.
Step 9: Final Details
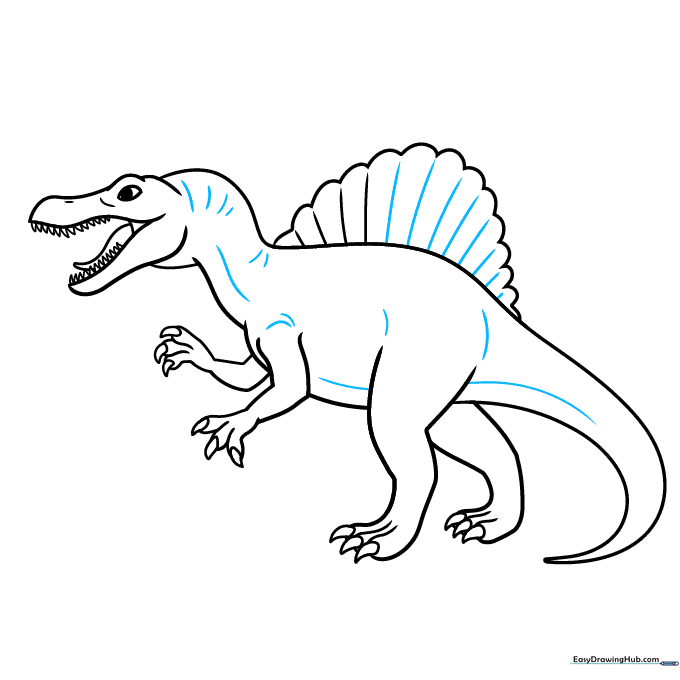
Add final lines to the sail and contour the neck, shoulders, and belly with short, light strokes to suggest muscle and skin texture. Teacher's Tip: Erase any overlapping guidelines from the earlier steps to make your drawing look clean and professional.
Step 10: Bring It to Life with Color
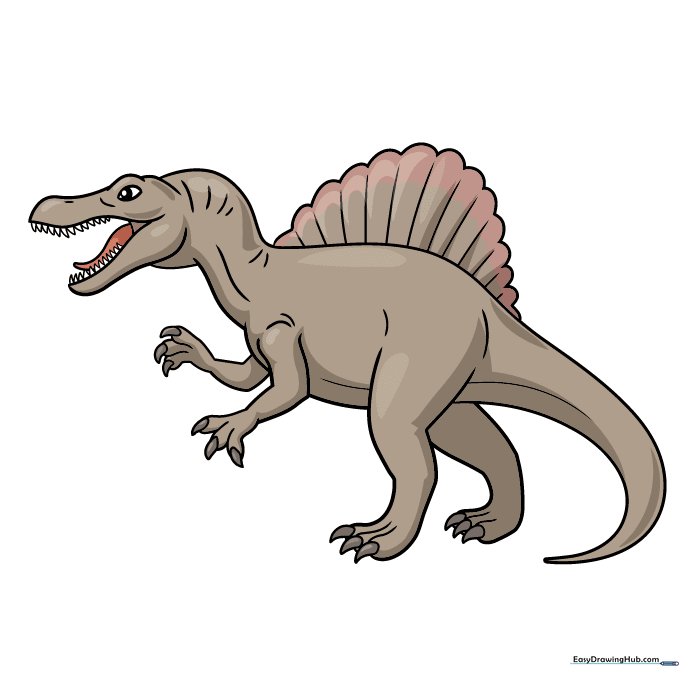
Your Spinosaurus is ready for color! Try using earthy tones like forest green, slate gray, or sandy brown. Teacher's Tip: Use a darker shade of your chosen color near the belly and under the tail to create a simple shadow effect.
More Tutorials


