How to Draw a Speed Boat: Easy 10-Step Guide for Kids
Ready to hit the water? This tutorial is perfect for young artists ages 5 and up who want to draw a fast-moving speed boat. Grab your pencil, eraser, and paper, and follow along to build your boat from the hull up while practicing essential shape-based drawing techniques.
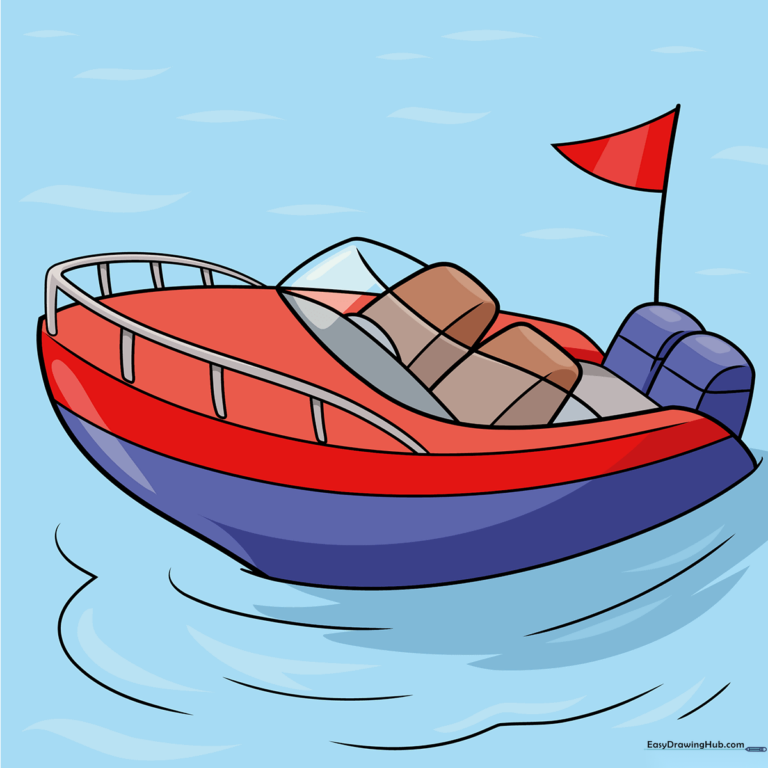
🎯 Final Result
Step-by-Step Instructions
Step 1: Sketching the Hull
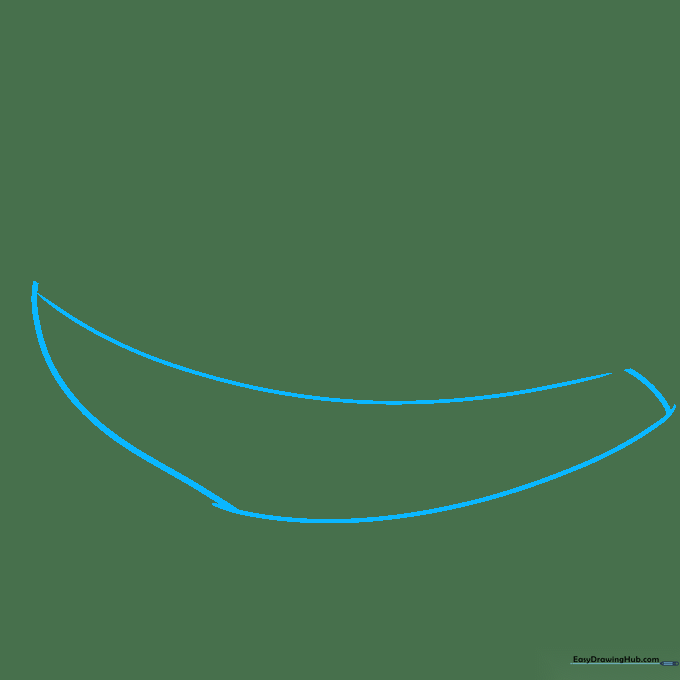
Start by sketching the boat’s hull using long, sweeping curved lines to create a banana-like shape. Teacher's Tip: Keep your pencil pressure light so you can easily adjust the curve if it looks a bit lopsided.
Step 2: Defining the Deck and Cockpit
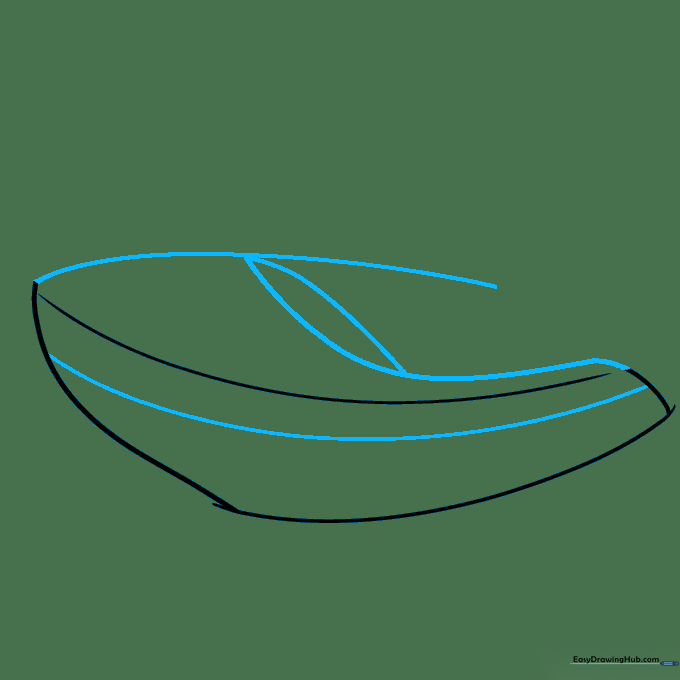
Draw a long curved line parallel to the top of the hull. Use intersecting curved lines to map out the deck and the cockpit area. Teacher's Tip: Think of this as the 'floor' of your boat where the seats will go.
Step 3: Adding the Seats
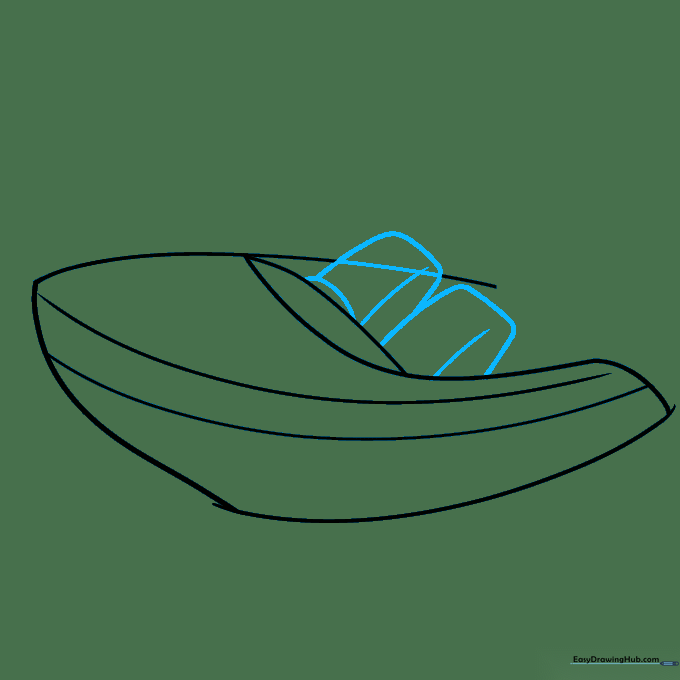
Sketch two seats inside the cockpit. Use long curved lines for the seat backs and shorter lines to suggest the cushion depth. Teacher's Tip: If you make a mistake, use your eraser to clean up the lines inside the seats for a tidy look.
Step 4: Drawing the Windshield
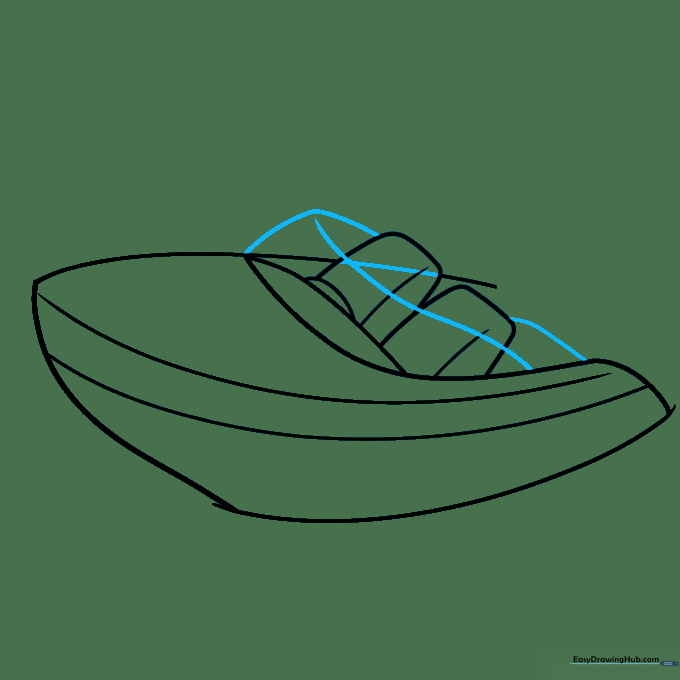
Use smooth, curved lines to enclose the windshield around the front of the cockpit. Teacher's Tip: Try to draw this in one continuous motion to keep the lines looking sleek and aerodynamic.
Step 5: Adding the Railing
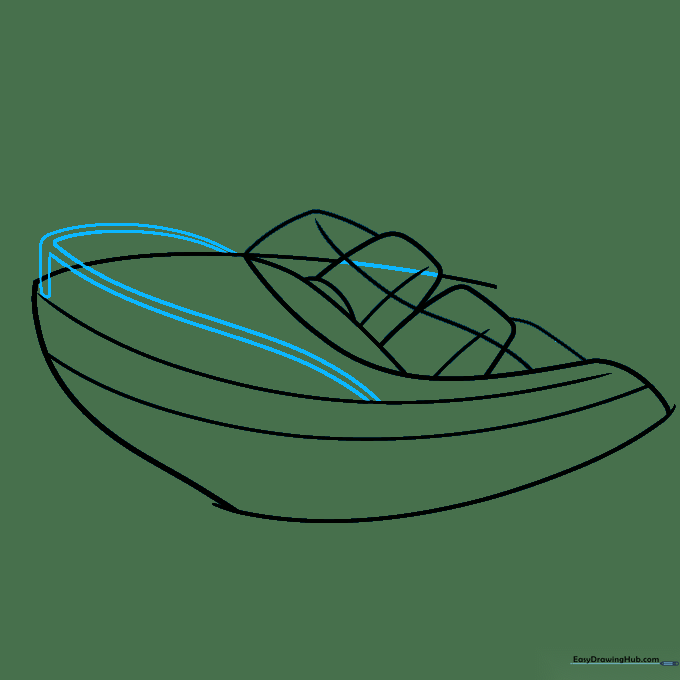
Draw a 'Y' shaped railing on the front deck using parallel lines. Teacher's Tip: Use a ruler if you struggle with straight lines, but freehand is great for practicing steady hands!
Step 6: Sketching the Engine
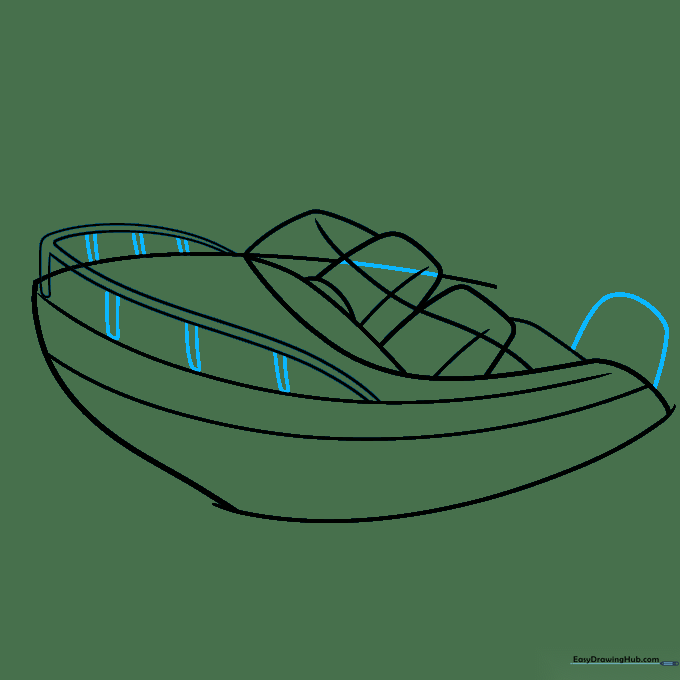
Draw pairs of lines between the railing and the front. Then, add a rounded rectangle at the back to represent the boat's engine. Teacher's Tip: Make sure the engine is at the very back so it looks like it's pushing the boat forward.
Step 7: Detailing the Engines
Add a second engine next to the first. Use 'f' shaped curved lines on the engines to give them a 3D, mechanical look. Teacher's Tip: These little details make your drawing look much more professional!
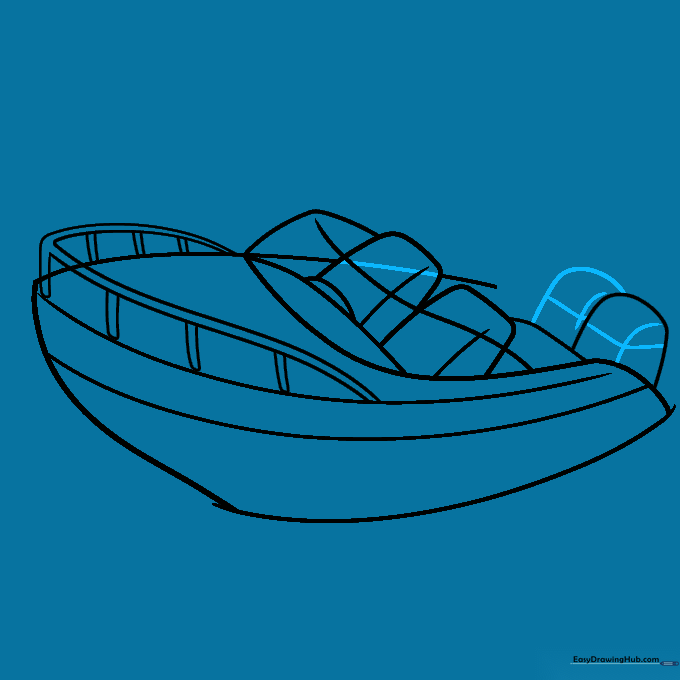
Step 8: Adding the Flag and Water
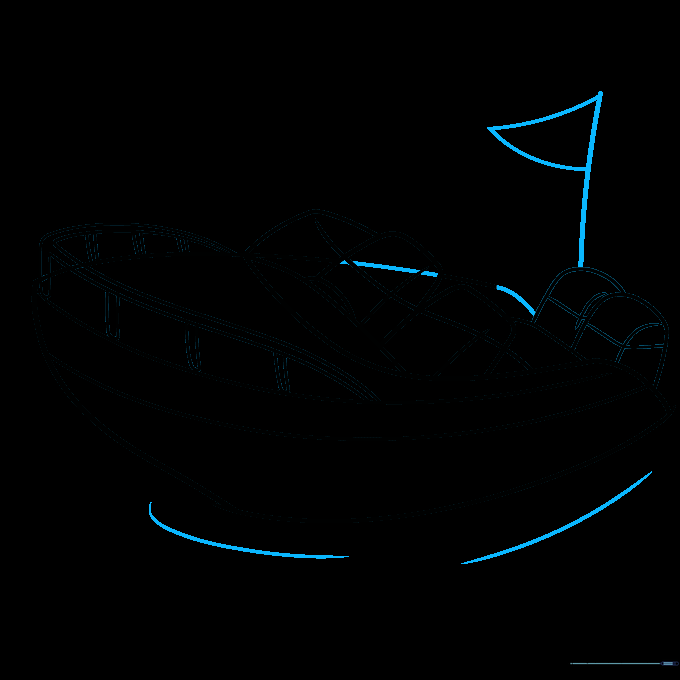
Finish the back of the boat with a curved line. Add a vertical pole with a 'V' shaped flag, and draw long, wavy lines around the hull to represent splashing water. Teacher's Tip: Vary the length of your water lines to make the boat look like it's moving fast.
Step 9: Finalizing the Water
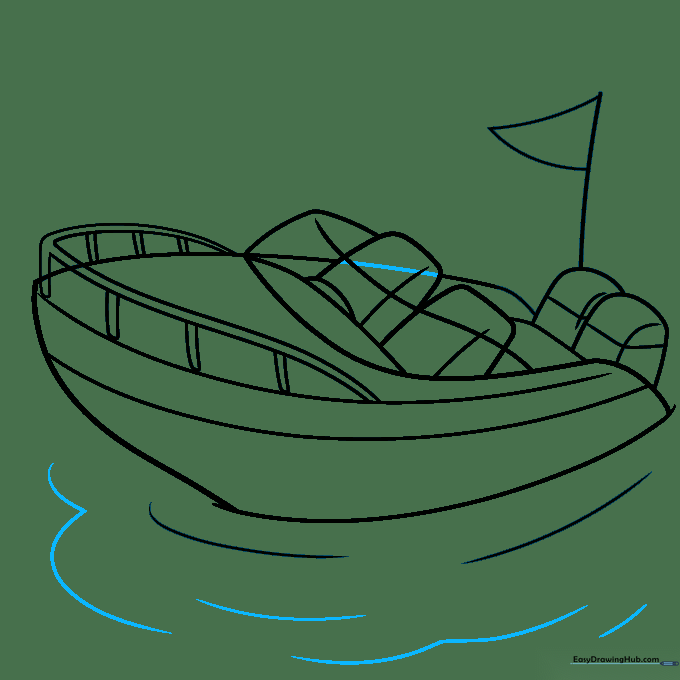
Add a few more curved lines in the water to create a sense of wake and speed. Teacher's Tip: Keep these lines light and flowing to contrast with the solid lines of the boat.
Step 10: Bringing Your Boat to Life with Color
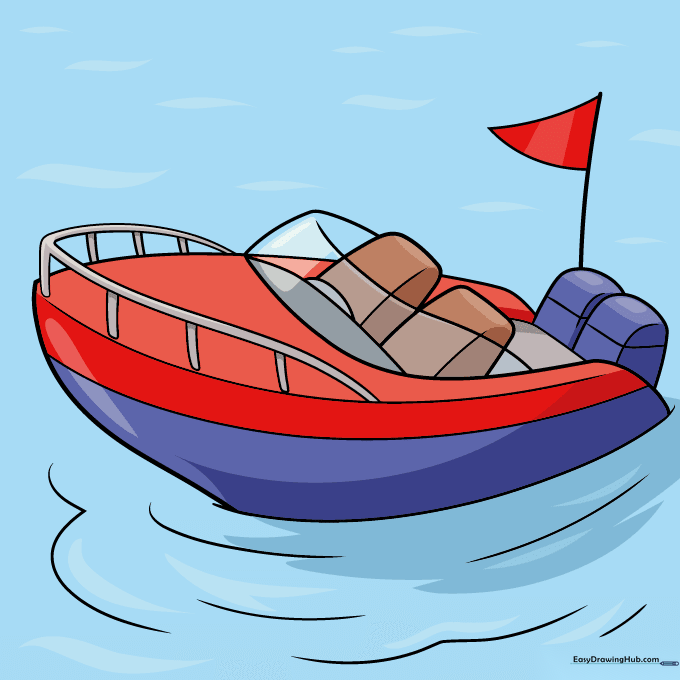
Your outline is complete! Now, grab your favorite markers or crayons. We used bold red and blue, but feel free to pick your own color scheme. Teacher's Tip: Use a light blue for the water to make your boat pop!
More Tutorials


