How to Draw a Sparrow: Easy 10-Step Guide for Kids
Bring nature to your sketchbook with this simple sparrow drawing guide, designed specifically for ages 5 and up. You will only need a pencil, an eraser, and a piece of paper to get started. By following these clear steps, you will develop your confidence in sketching organic bird shapes and feathery textures.
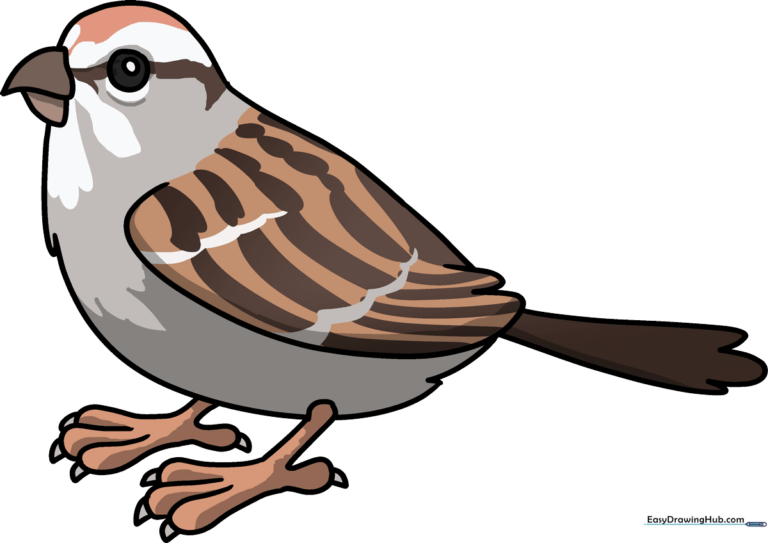
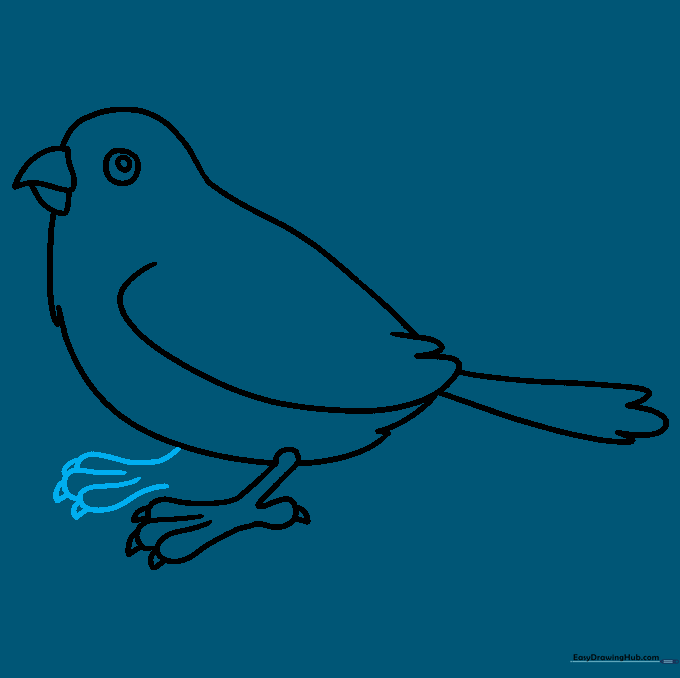
🎯 Final Result
Step-by-Step Instructions
Step 1: Sketching the Head and Body
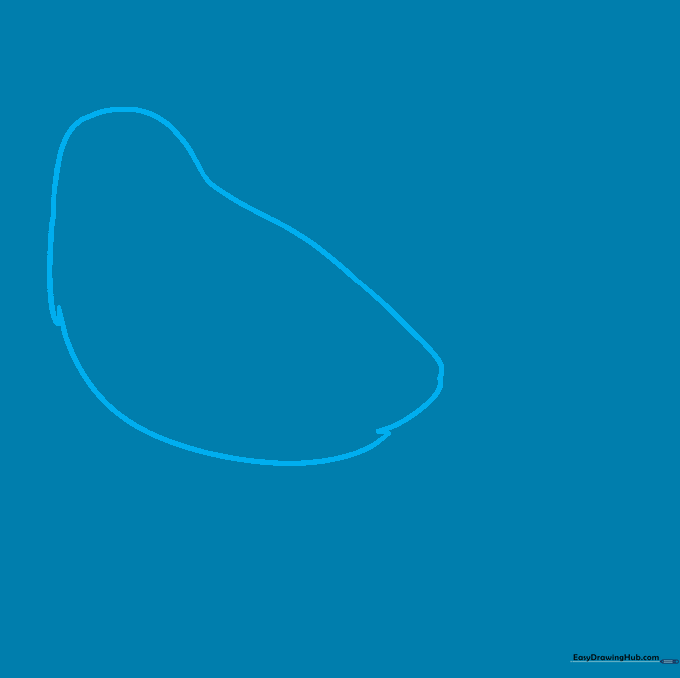
Start by sketching a soft, rounded shape for the head and a larger, oval-like shape for the body. Teacher's Tip: Keep your pencil pressure light; these are just guidelines to help you find the sparrow's posture.
Step 2: Defining the Wing
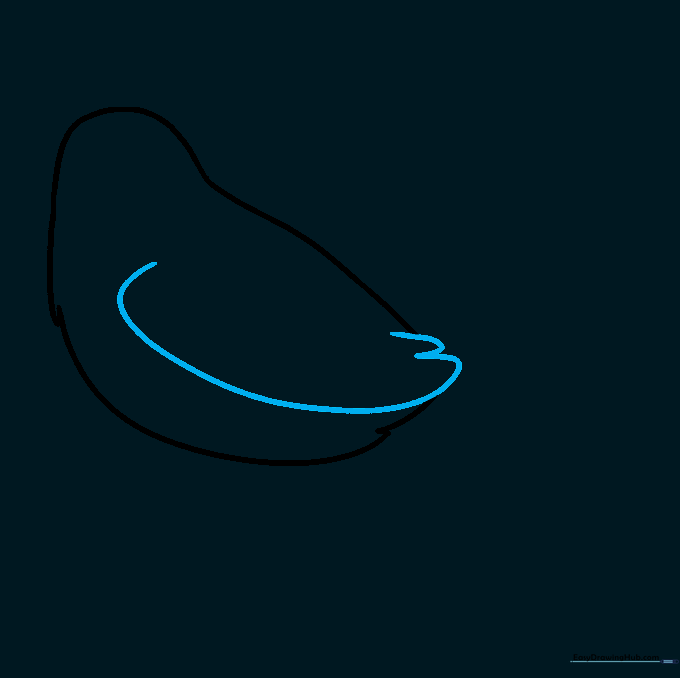
Draw a long, sweeping curve along the side of the body for the wing. Add small 'U' shapes at the bottom to represent individual feathers. Tip: Don't worry about perfection; feathers are naturally overlapping and slightly messy.
Step 3: Adding the Eye
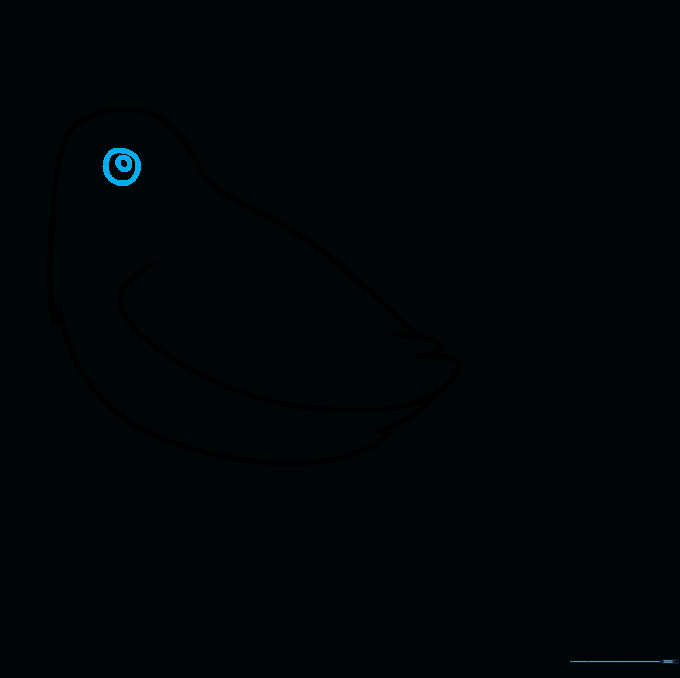
Place a small circle near the front of the head, then draw a tiny dot inside it for the pupil. Tip: Leaving a tiny white space inside the pupil creates a 'sparkle' effect, making your bird look lively.
Step 4: Drawing the Beak
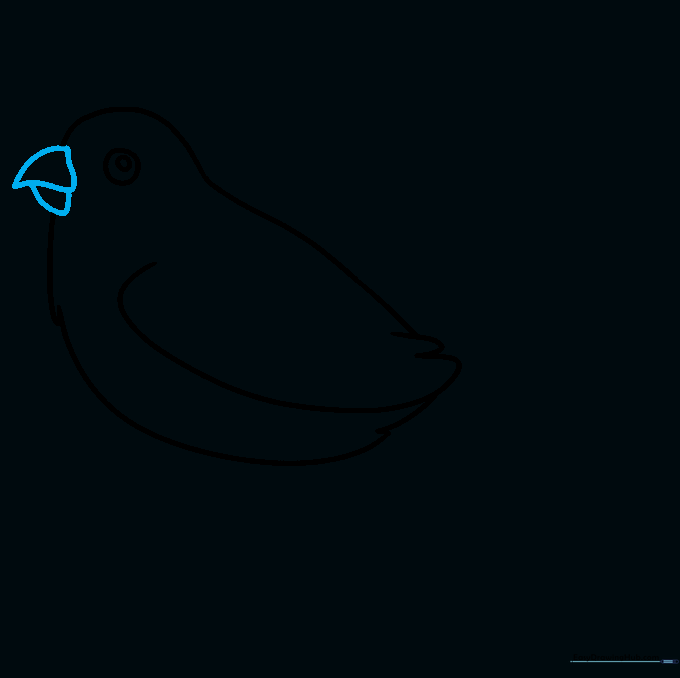
Sketch a small triangle shape extending from the face. Use two curved lines to separate the top and bottom parts of the beak. Tip: Sparrows have short, sturdy beaks for cracking seeds, so keep it compact.
Step 5: Sketching the Tail
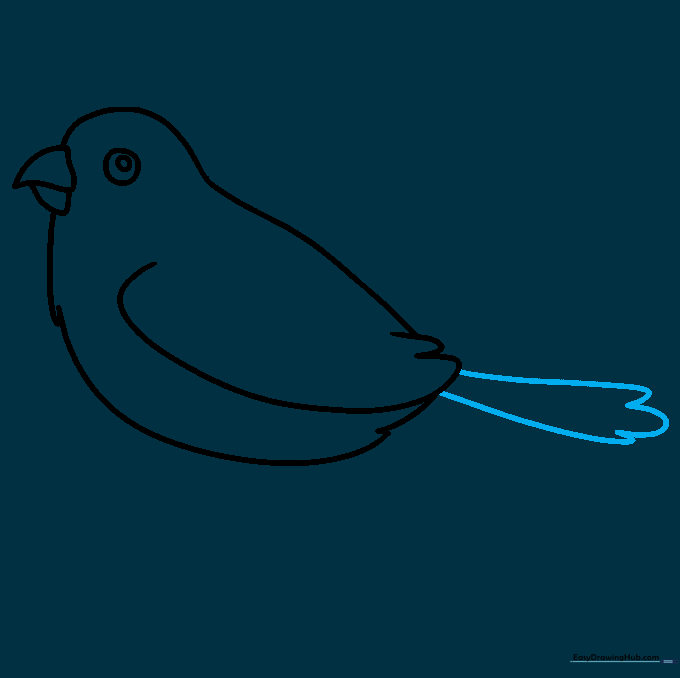
Extend two curved lines from the back of the body to form the tail. Connect them with a series of small 'U' shapes at the end. Tip: Make the tail slightly fan-shaped to give it a natural, resting look.
Step 6: Drawing the First Leg
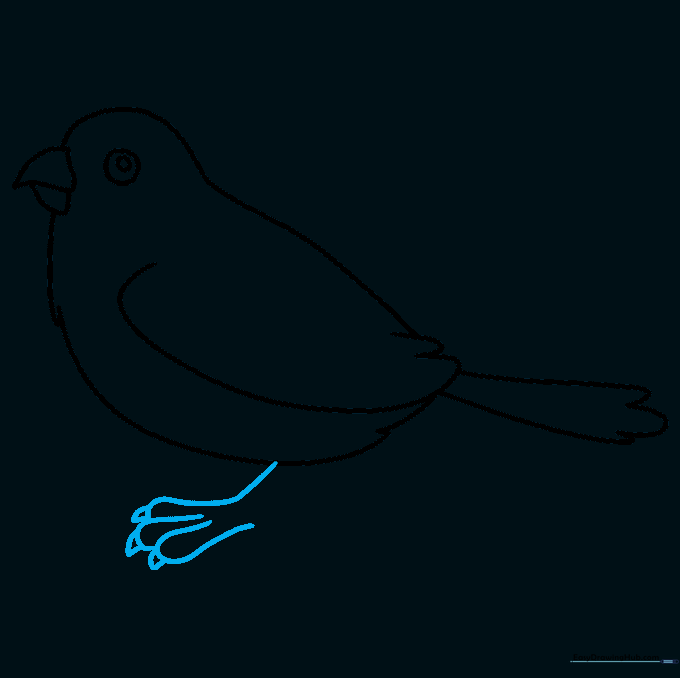
Draw the leg using two parallel curved lines. Add three small toes at the bottom, each ending in a tiny triangle for the claw. Tip: Birds have thin legs, so keep your lines close together.
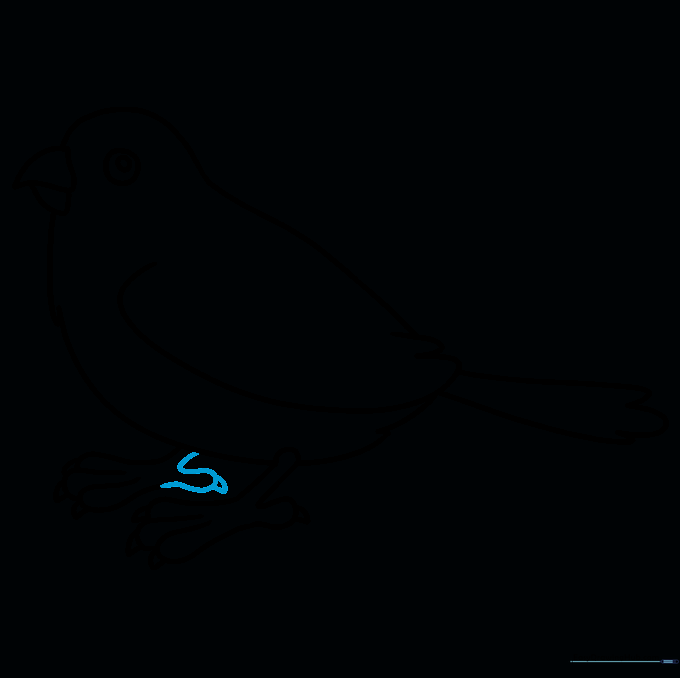
Step 7: Adding the Rear Toe
Add a small, curved toe pointing backward to help the sparrow 'grip' the branch. Tip: This adds balance to your drawing and makes the bird look like it's perched naturally.
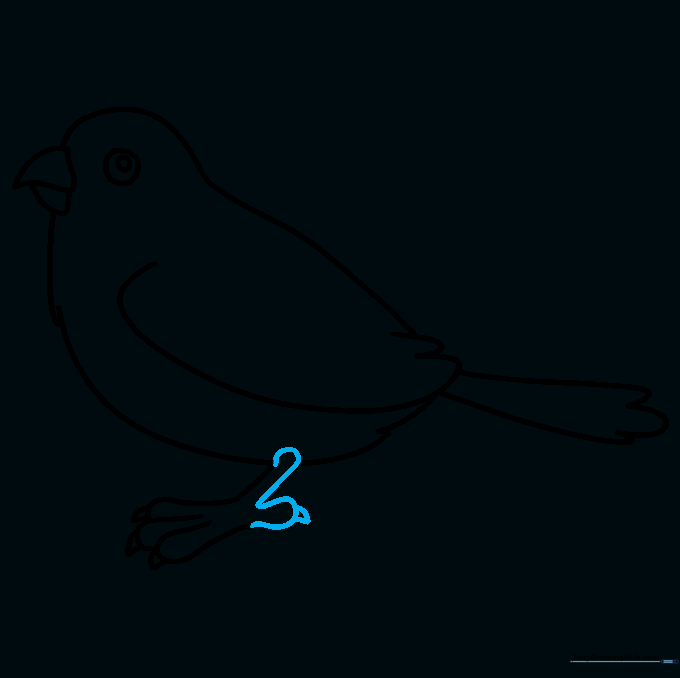
Step 8: Adding the Second Leg
Draw the second leg slightly behind the first one. Use the same technique of curved lines and triangular claws. Tip: Drawing the second leg slightly higher creates a sense of depth.
Step 9: Finalizing the Outline
Go over your sketch with a darker pencil or pen. Erase any stray guideline marks from the head and body. Tip: Use a clean eraser to ensure your final lines look crisp and professional.
Step 10: Bringing Your Sparrow to Life with Color
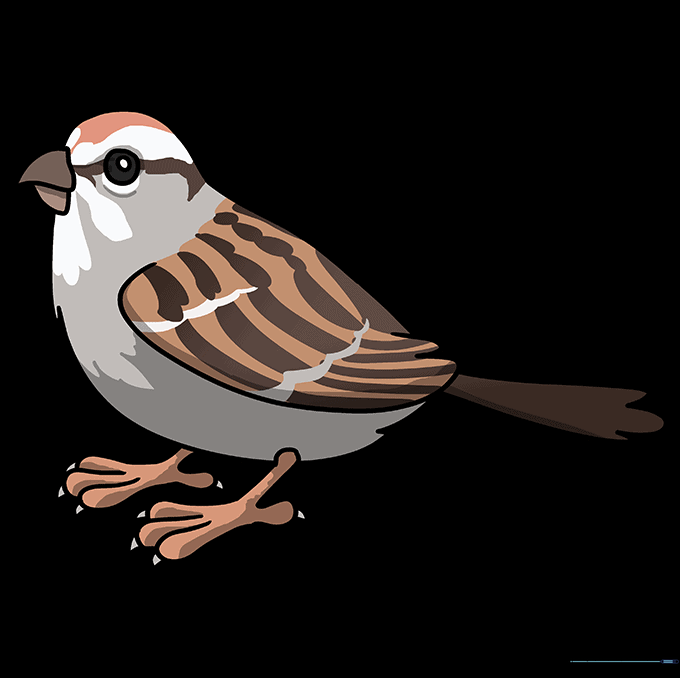
Use shades of brown, cream, and black to color your sparrow. Add a touch of yellow near the beak for a realistic look. Tip: Use short, light strokes to mimic the texture of feathers rather than coloring in solid blocks.
More Tutorials


