How to Draw a Snow Leopard: Easy 10-Step Guide for Kids
Bring the 'ghost of the mountains' to life with this engaging drawing tutorial, perfect for young artists ages 7 and up. You will only need a pencil, an eraser, and a piece of paper to capture this majestic cat's features. Follow along to develop your spatial awareness and confidence in sketching complex animal forms.
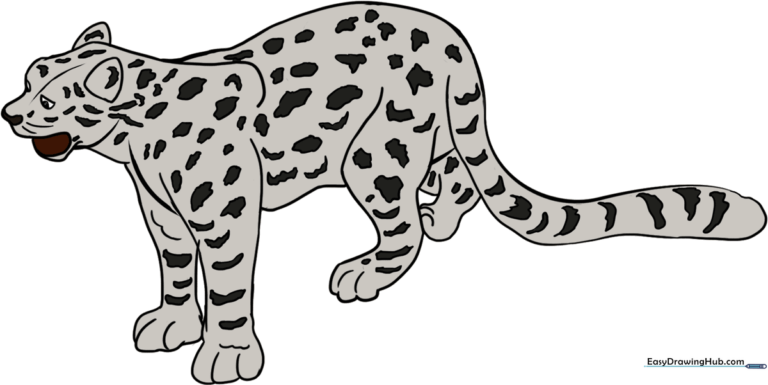
🎯 Final Result
Step-by-Step Instructions
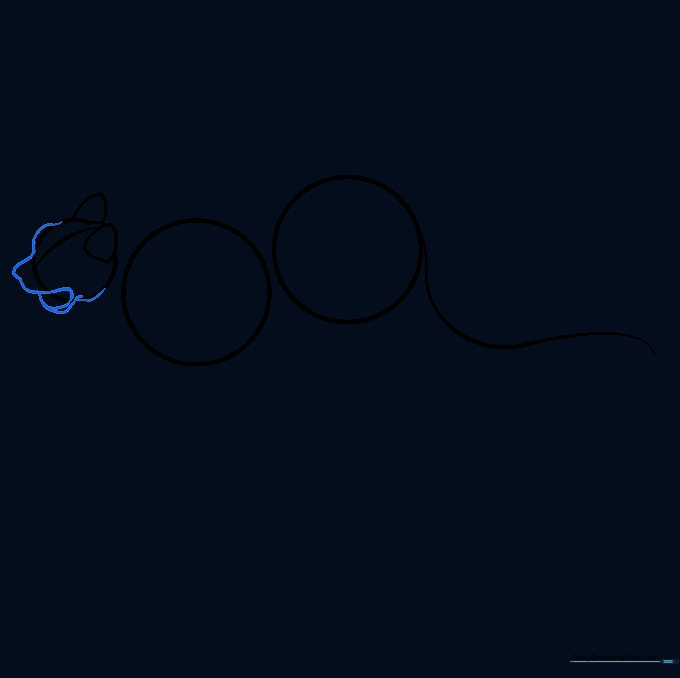
Step 1: Sketching the Base Shapes

Draw three circles in a row to act as your skeleton. One small circle for the head, and two larger ones for the shoulders and hips. Teacher's Tip: Keep these light! They are just placeholders to help you get the proportions right before we add detail.
Step 2: Adding Ears and Tail

Add a curved brow line on the head circle, then place two rounded triangles on top for ears. Sketch a long, sweeping line from the back circle to create the tail. Teacher's Tip: Snow leopards have long, thick tails for balance—don't be afraid to make it nice and curvy!
Step 3: Shaping the Snout
Draw a curved line for the jaw, starting outside the head circle and looping back in. This creates the muzzle. Teacher's Tip: Think of this as drawing a 'C' shape that tucks back into the face to give the cat a realistic profile.
Step 4: Connecting the Body
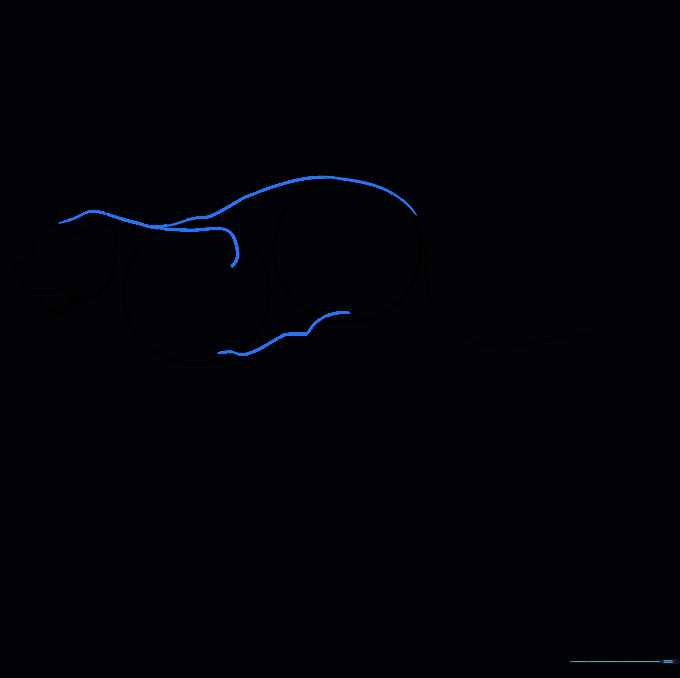
Use long, smooth lines to connect the circles, forming the neck, back, and belly. Now is the time to erase those inner guide circles. Teacher's Tip: Use long, fluid strokes rather than short, choppy ones to make the cat look sleek.
Step 5: Facial Features

Add small, almond-shaped eyes and a triangular nose. Teacher's Tip: Place the eyes slightly below the brow line to give the leopard a focused, alert expression.
Step 6: Leg Guides
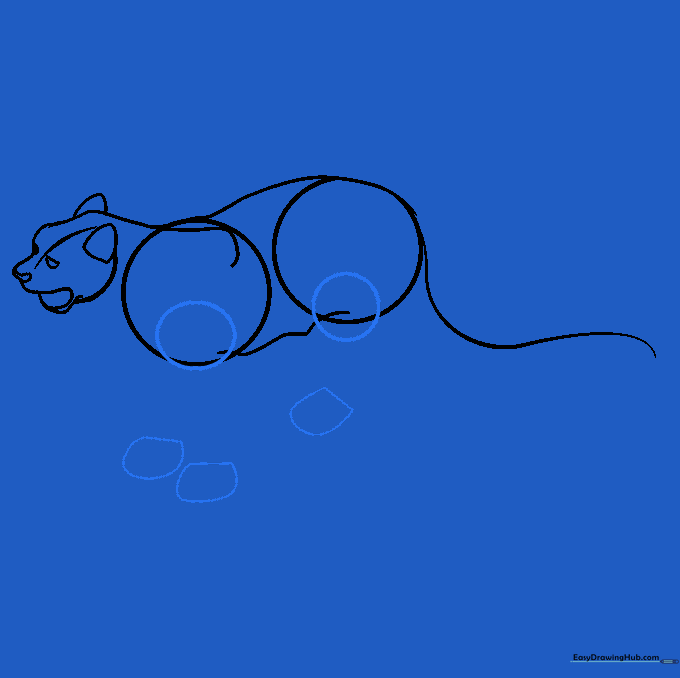
Draw small circles where the legs meet the body and flat-bottomed shapes for the paws. Teacher's Tip: The flat bottom is key—it makes the paws look like they are firmly planted on the ground.
Step 7: Defining the Legs
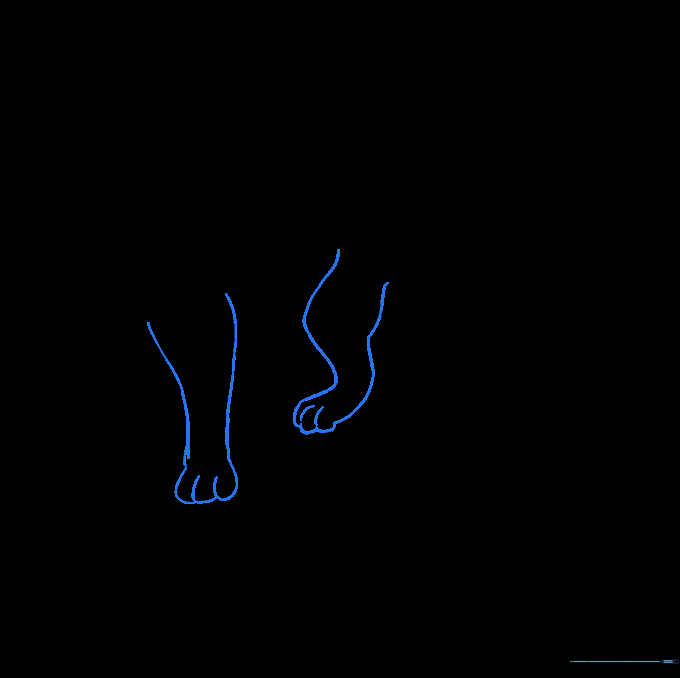
Connect the leg joints to the paws using curved lines. Add small 'U' shapes at the bottom of the paws for toes. Teacher's Tip: Keep the legs slightly thicker at the top and narrower at the bottom for a natural look.
Step 8: Refining the Outline
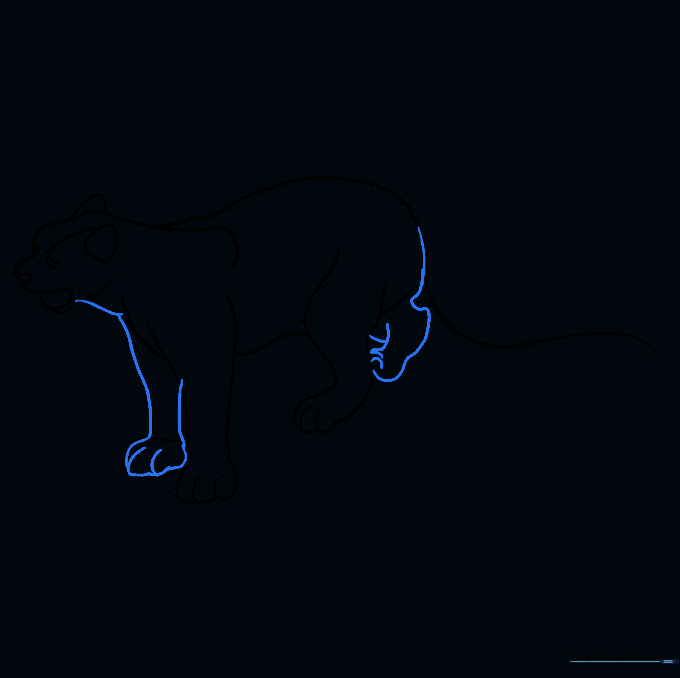
Clean up your drawing by erasing any remaining guide lines. Darken the final outline of the neck, legs, and toes. Teacher's Tip: Use a slightly firmer pressure with your pencil now to define the final silhouette.
Step 9: Adding Spots and Patterns
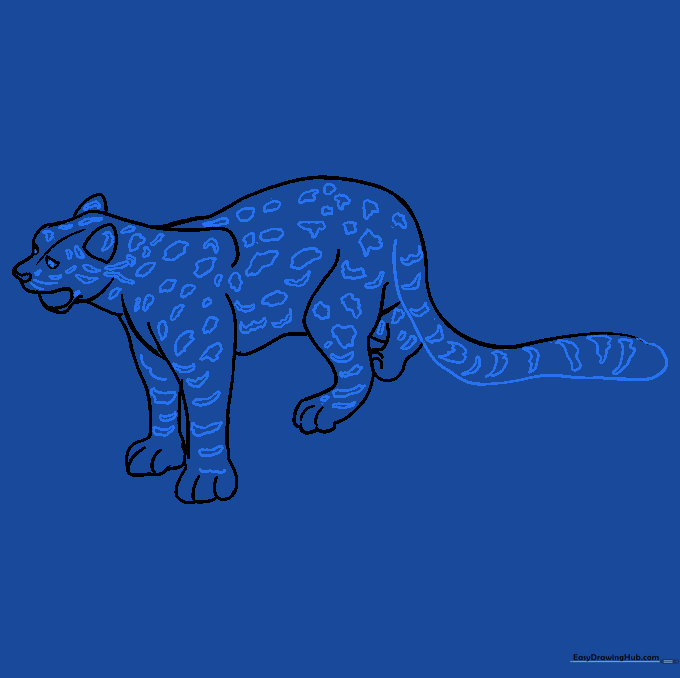
Finish the tail and add irregular, cloud-like spots across the body. Add stripes to the legs. Teacher's Tip: Snow leopard spots aren't perfect circles—make them look a bit like little clouds or broken rings for a realistic effect.
Step 10: Bringing it to Life with Color

Color your masterpiece! Use shades of white, cream, and light gray for the fur, with dark brown or black for the spots. Teacher's Tip: Use a light touch with your coloring pencils to blend the colors, making the fur look soft and thick.
More Tutorials


