How to Draw a Snapdragon: Easy 10-Step Guide for Kids
Bring the garden to your sketchbook! This tutorial is designed for young artists ages 6+ to practice organic shapes and layering. All you need is a pencil, an eraser, and your favorite markers or crayons to bring these vibrant blooms to life.
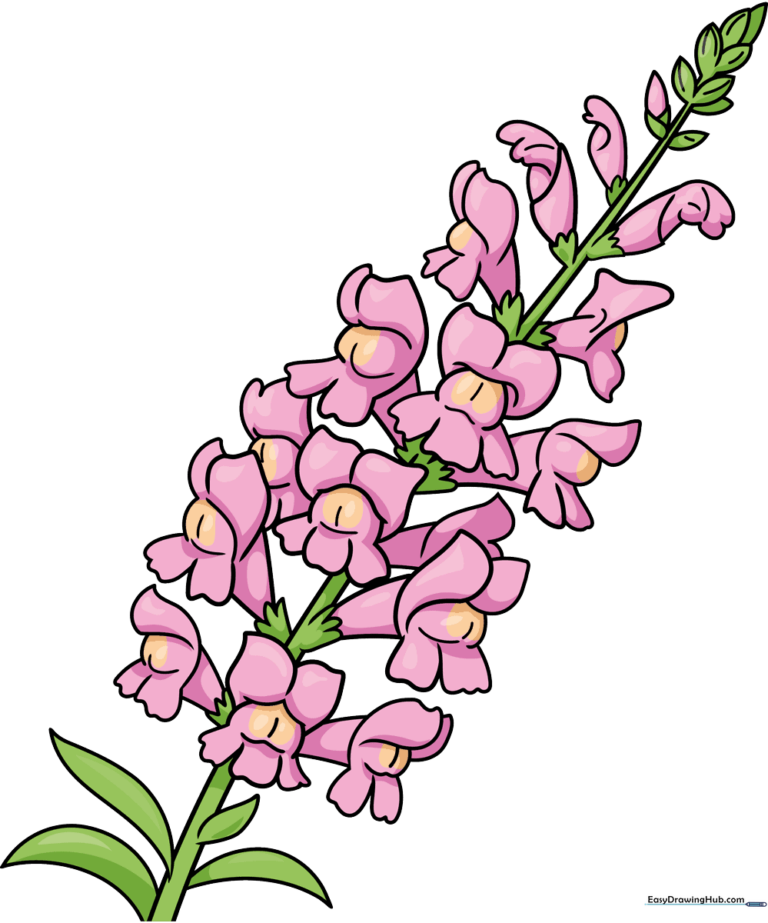
🎯 Final Result
Step-by-Step Instructions
Step 1: Sketching the Main Stem and Base Bloom
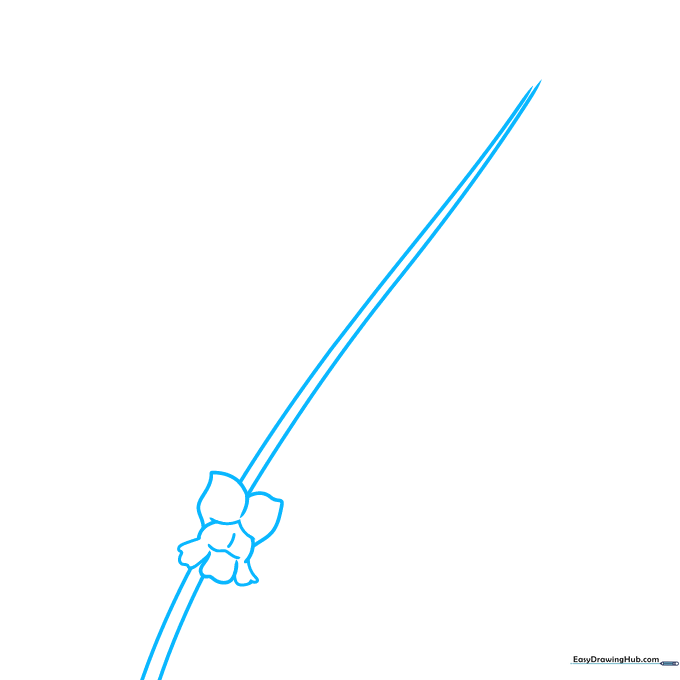
Start by drawing two long, slightly curved lines for the stem. At the bottom, sketch the first flower: the upper petals look like soft, blocky teardrops, while the lower part is an upside-down heart with three wavy edges. Teacher's Tip: Keep your pencil pressure light so you can easily adjust the shape later.
Step 2: Adding Side Blooms
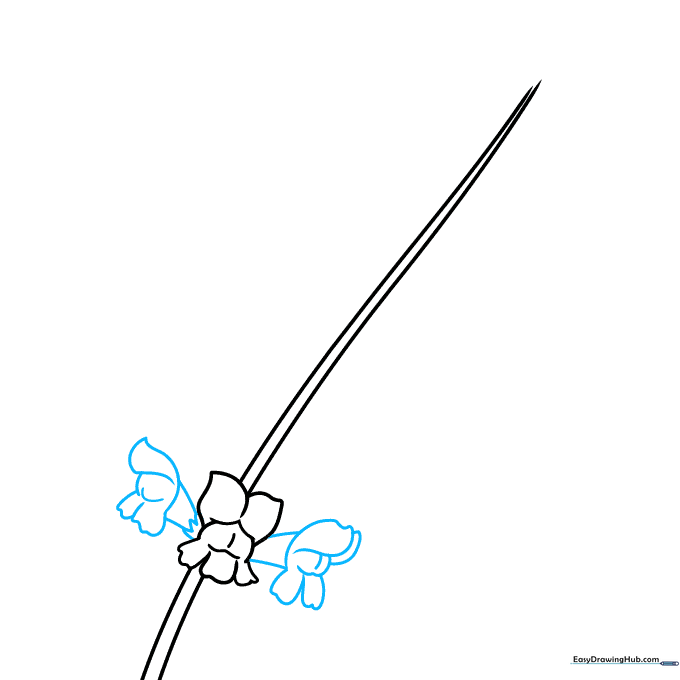
Draw two more flowers flanking the first one. Use small zigzag lines to create the sepals (the green base of the flower) and overlapping curves for the petals. Teacher's Tip: Don't worry about making them identical; flowers in nature are beautifully irregular!
Step 3: Building Upward
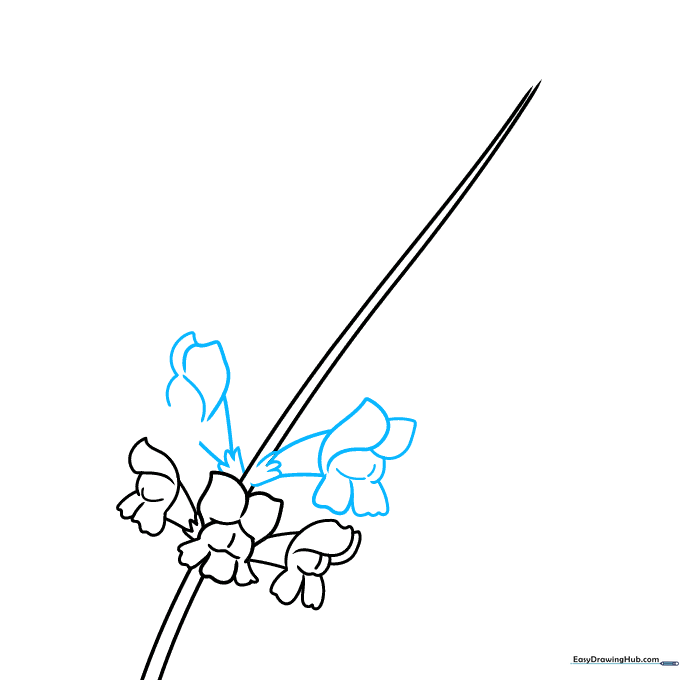
Add two more flowers higher up the stem using 'U' shaped lines for the sepals. Erase any overlapping stem lines inside the flowers to keep your drawing clean. Teacher's Tip: Use your eraser to 'clean up' the stem so the flowers look like they are attached to the plant.
Step 4: Refining the Petal Shapes
Continue adding flowers up the stem. Focus on the blocky upper petals and the wavy, rectangular bottom petals. Teacher's Tip: If the petals look too stiff, add a slight curve to the edges to make them look softer.
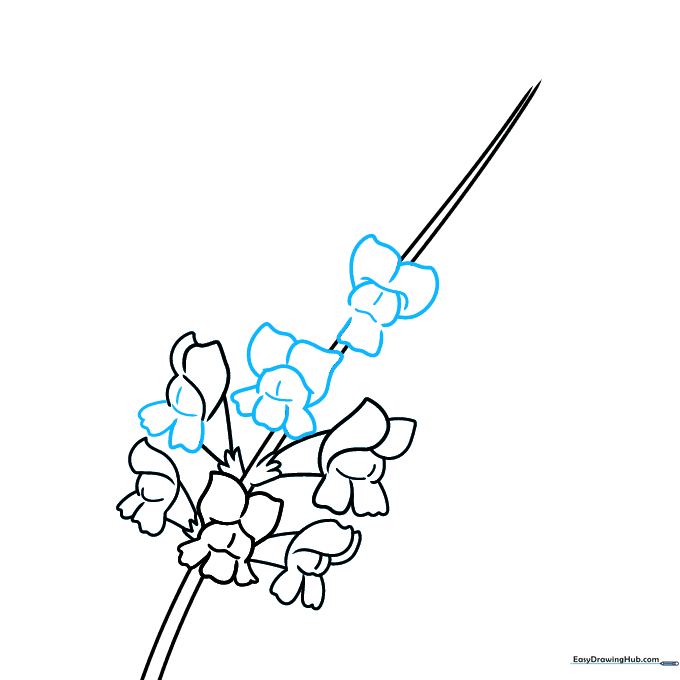
Step 5: Adding Height
Add two more blossoms near the top. Use jagged lines for the sepals to give them a natural, textured look. Teacher's Tip: Vary the size of the flowers slightly as you move up the stem to make the plant look more realistic.
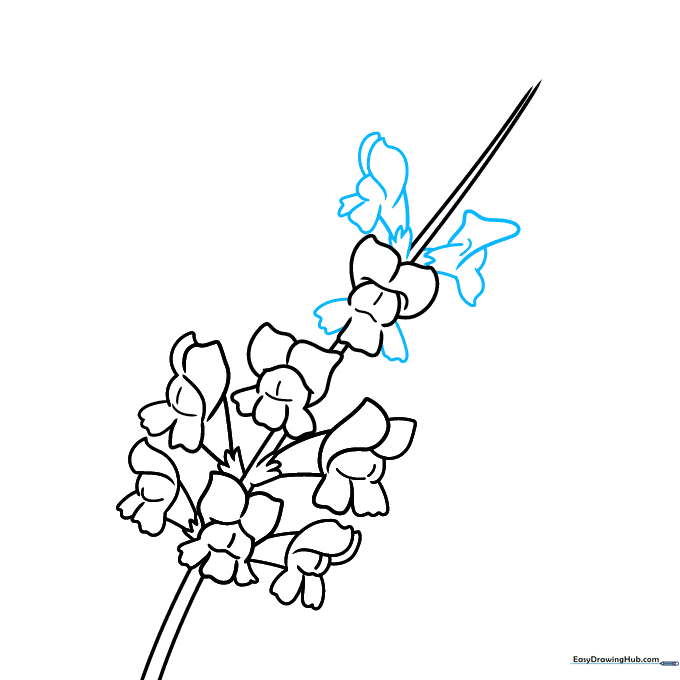
Step 6: Filling the Stem
Continue adding flowers until you have two or three per row. This creates the signature 'full' look of a snapdragon. Teacher's Tip: Overlapping your shapes is the secret to making the flower look dense and healthy.
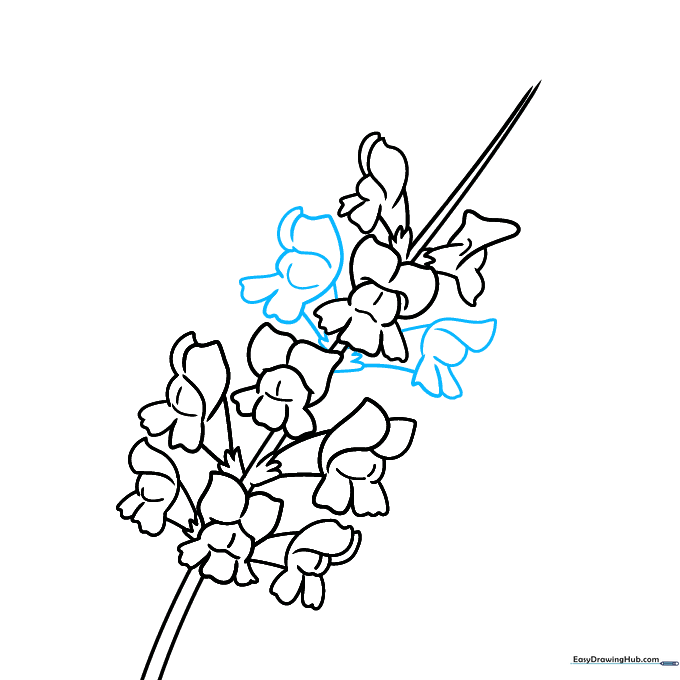
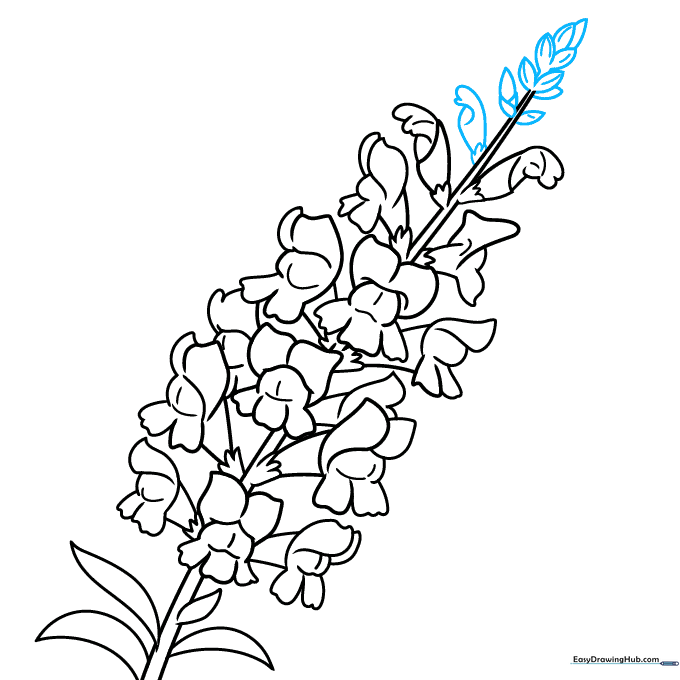
Step 7: Buds and Leaves
Add two unopened buds at the very top. At the base of the stem, draw two curved lines that meet at a point to create a leaf. Teacher's Tip: Leaves are usually long and narrow on snapdragons, so keep them slender.
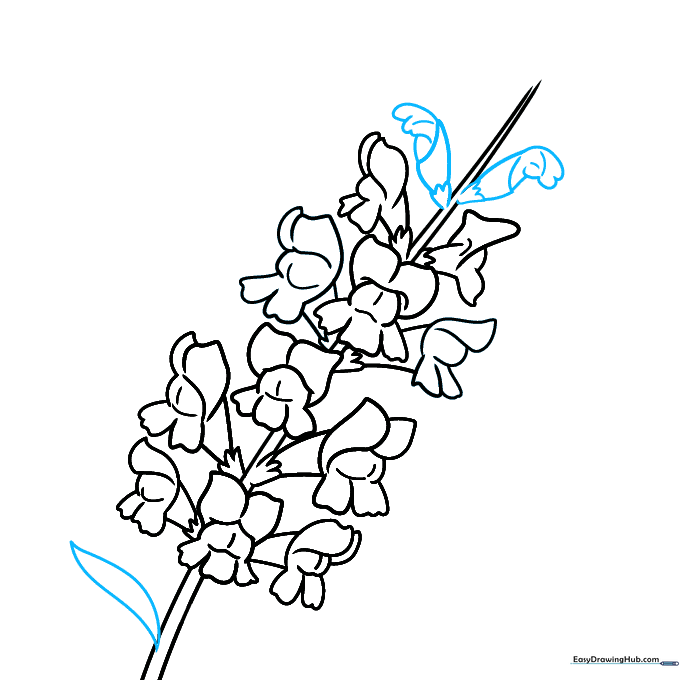
Step 8: Adding Depth
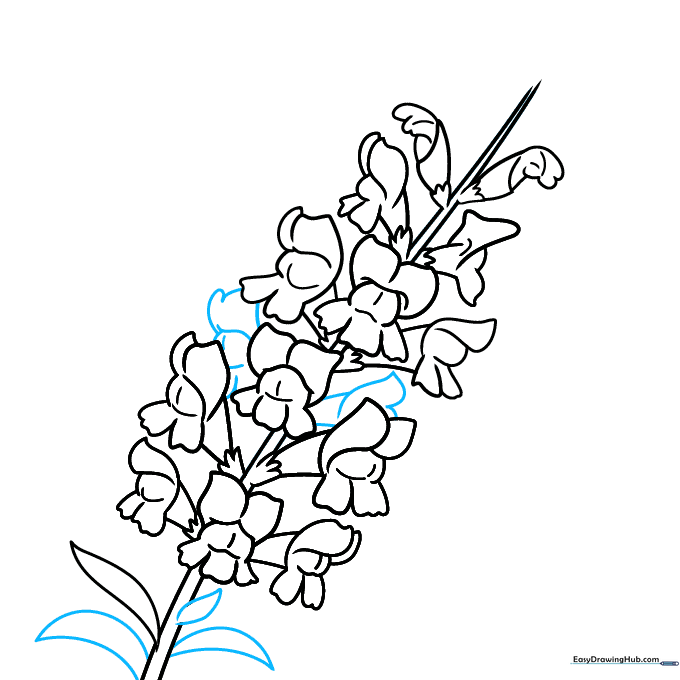
Fill in any gaps by drawing a few more flowers behind the main ones. Add more leaves along the stem. Teacher's Tip: By drawing flowers 'behind' others, you create a 3D effect that makes your art look professional.
Step 9: Final Touches
Add the final top buds and almond-shaped details. Use a short curved line on each bud to show texture. Teacher's Tip: Check your drawing for any stray lines and erase them now before you start coloring.
Step 10: Bring It to Life with Color
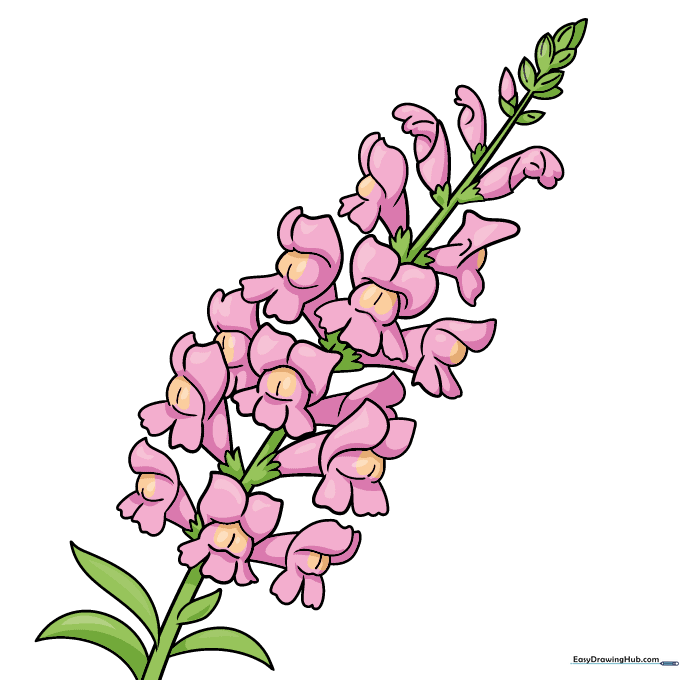
Time to color! We used pink with yellow centers, but snapdragons come in red, orange, white, and purple. Teacher's Tip: Use a darker shade of your main color near the center of the flower to create a beautiful shadow effect.
More Tutorials


