How to Draw a Snake Plant: Easy 9-Step Guide for Kids
Bring a touch of nature to your sketchbook with this beginner-friendly snake plant tutorial. Designed for artists ages 5 and up, this project uses simple geometric shapes to build a complex-looking plant. All you need is a pencil, an eraser, and your favorite markers to get started.
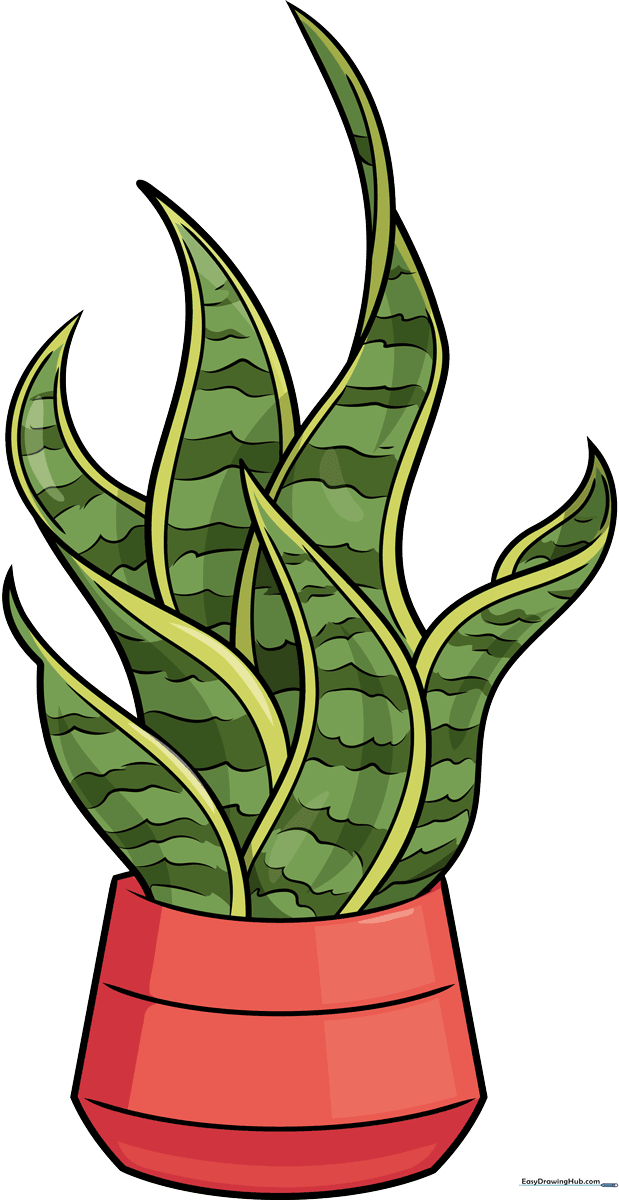
🎯 Final Result
Step-by-Step Instructions
Step 1: Establishing the Base
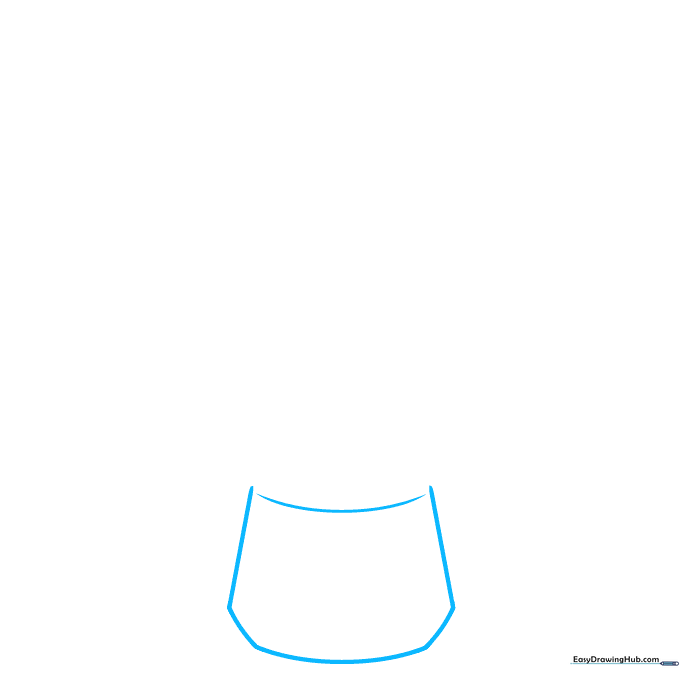
Sketch a gentle curve near the bottom of your paper to act as the soil line. Add two short diagonal lines on either side, then connect them with a bottom curve to form the base of your pot. Teacher's Tip: Keep your pencil pressure light so you can easily adjust the shape later.
Step 2: Drawing the First Leaves

Use long, swooping curves to draw two wide, leaf-like triangles rising from the pot. The left leaf should taper to a narrow, sharp tip. Tip: Snake plant leaves are stiff and upright, so try to keep your lines straight rather than floppy.
Step 3: Adding Leaf Layers
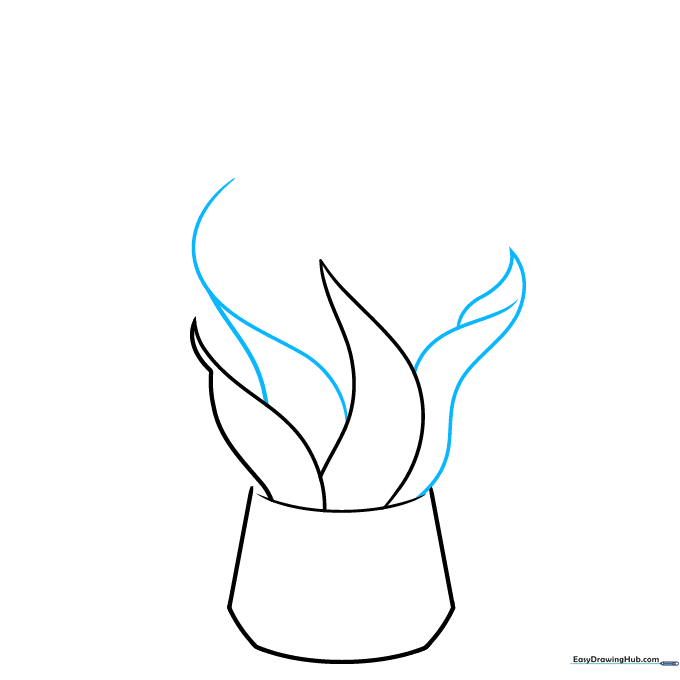
Sketch another triangle that ends in a curve, and add a shape with two overlapping triangles. This creates the illusion of depth. Tip: Overlapping shapes is a great way to teach children about foreground and background in art.
Step 4: Filling the Pot
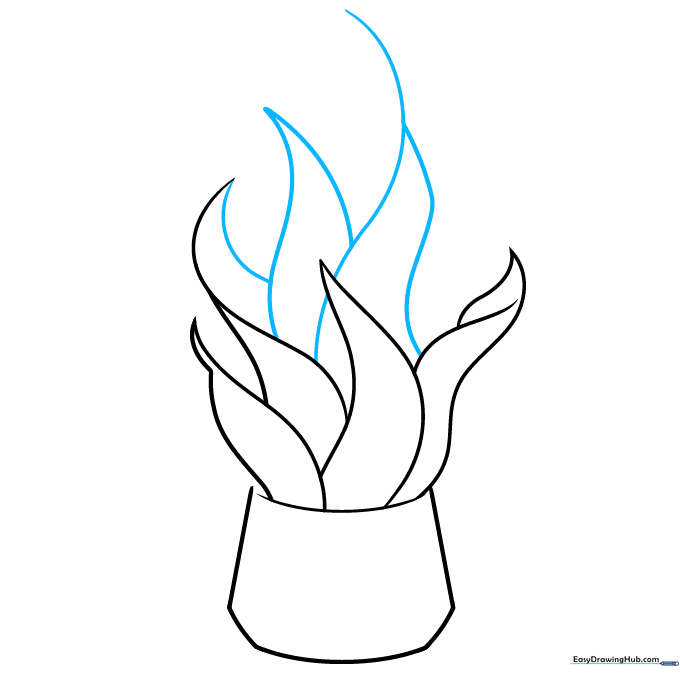
Complete the base of your initial leaves, then draw two more curved triangles. Add a vertical line that reaches toward the top of the page to represent a tall, central leaf. Tip: Varying the heights of the leaves makes the drawing look more natural.
Step 5: Adding Leaf Detail

Draw a curve at the top to cap off the tallest leaf. Sketch parallel curves inside the leaves to give them a sense of volume. Tip: Keep these inner lines parallel to the outer edge to maintain the leaf's shape.
Step 6: Defining the Container
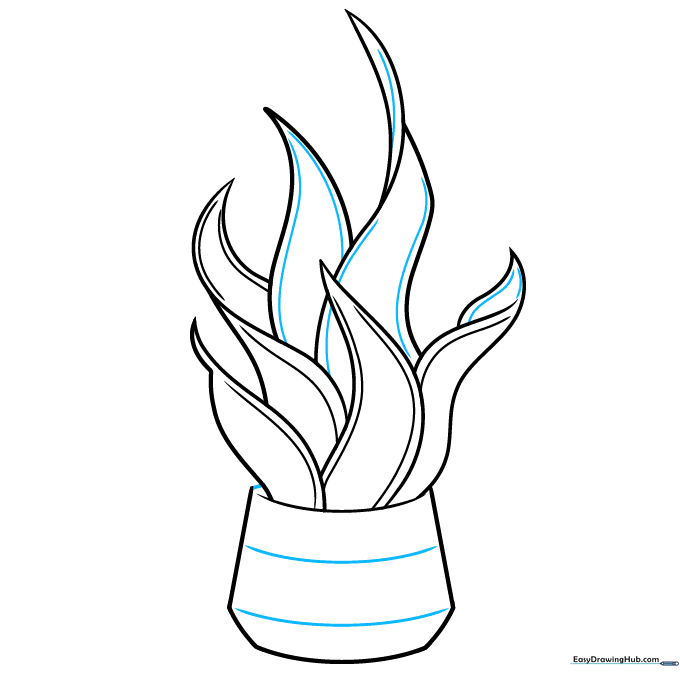
Add more interior curves to the leaves. Sketch a small dash to complete the rim of your vase, and add two curves inside the container to show its rounded shape. Tip: A simple dash can really help define the perspective of the pot.
Step 7: Creating Texture
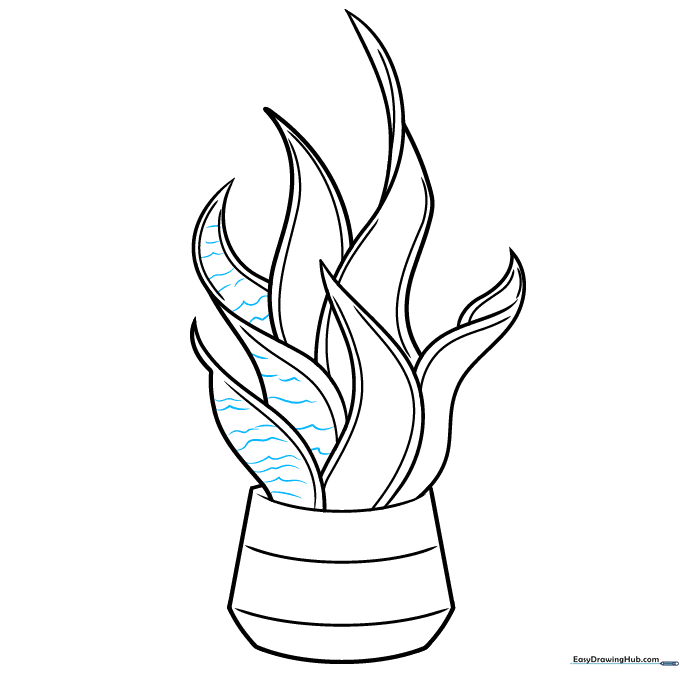
Draw several squiggly lines inside the three leaves on the left. Make these lines thinner than your main outline. Tip: Think of these as small waves—they represent the unique variegated patterns found on real snake plants.
Step 8: Finalizing Leaf Patterns
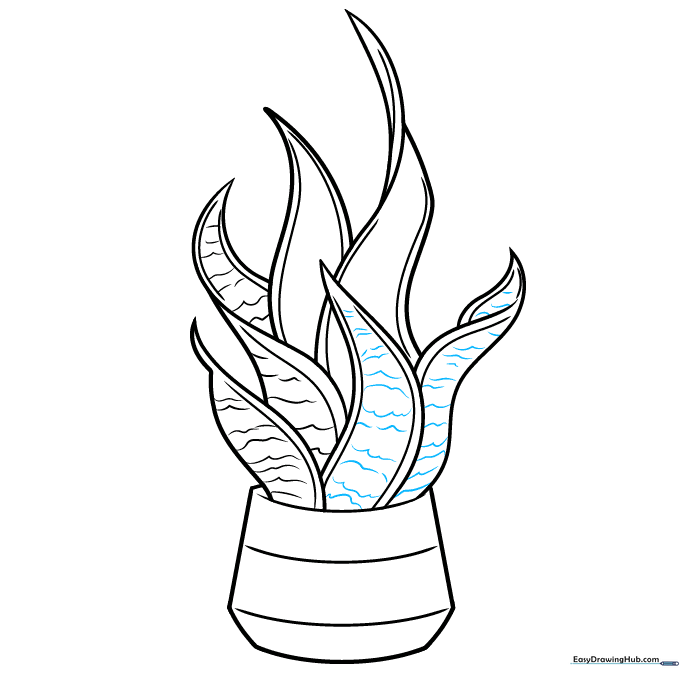
Add similar squiggly lines to the two leaves on the right. Vary the lengths and shapes of these lines to make the plant look organic and realistic. Tip: Don't worry about making them perfect; nature is rarely symmetrical!
Step 9: Outlining and Cleanup
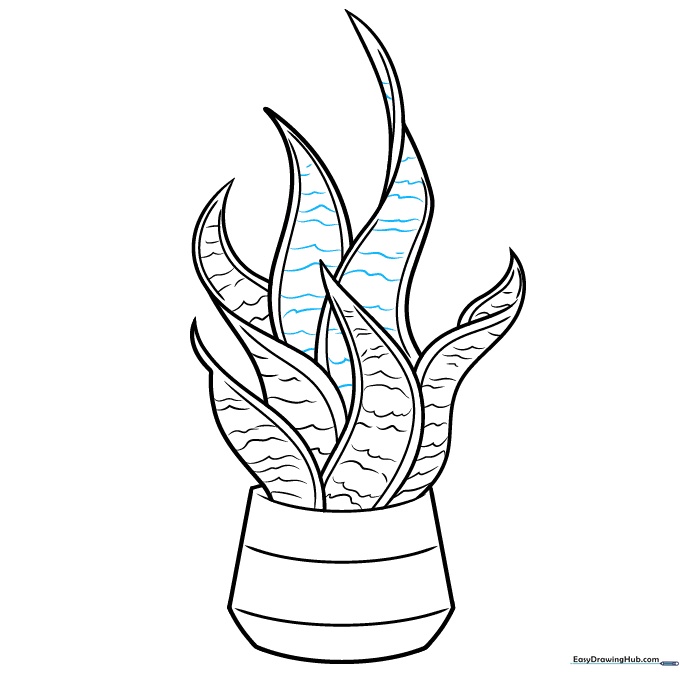
Add final squiggly lines to the remaining leaves. Once you are happy with your sketch, go over your lines with a black pen or marker. After the ink dries, gently erase your pencil marks for a clean, professional look.
Step 10: Adding Color
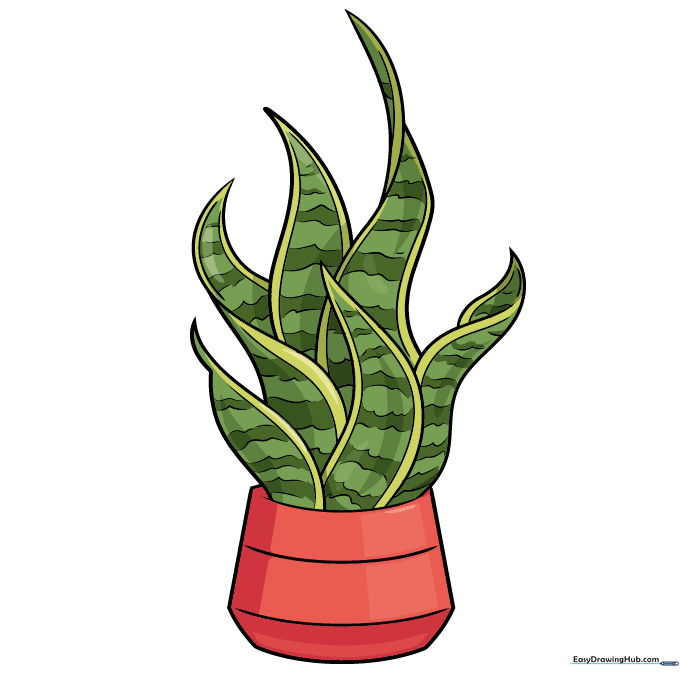
Bring your plant to life! Color the edges of the leaves pale yellow, then fill the inner sections with dark and light green stripes. Add a touch of shadow for a 3D effect and pick a bright color like pink for the vase to make it pop.
More Tutorials


