How to Draw a Snake Face: Easy 9-Step Tutorial
Ready to bring a slithering reptile to life? This tutorial is perfect for young artists ages 7+ who want to master reptilian features. All you need is a pencil, an eraser, and a piece of paper to start building your snake’s character from the eyes down to its forked tongue.
🎯 Final Result

Step-by-Step Instructions
Step 1: Sketching the Piercing Eye

Start by drawing a sharp, almond-shaped eye. Add a narrow triangle inside for the pupil. Teacher's Tip: Keep your lines light; snakes have intense expressions, so a slightly angled eye helps make it look more alert.
Step 2: Defining the Brow and Snout

Draw a curved ridge above the eye to create the brow, then sketch the front curve of the snout. Teacher's Tip: Think of the brow as a small 'roof' over the eye to give your snake a grumpy or focused personality.
Step 3: Shaping the Upper Jaw

Extend the line from the snout to form the upper jaw and add two small ovals for nostrils. Teacher's Tip: Keep the nostrils small and close to the front tip to maintain the snake's sleek profile.
Step 4: Adding the Fangs
Draw two sharp, curved triangles hanging from the upper jaw. Then, sketch the lower jaw line. Teacher's Tip: Make the fangs slightly curved rather than straight to give them a more natural, menacing look.
Step 5: Connecting the Jaws

Outline the lower jaw and add a small curved line at the corner of the mouth to show the hinge. Teacher's Tip: This hinge detail makes the snake look like it can actually open and close its mouth.
Step 6: Drawing the Body Outline

Extend long, flowing lines from the back of the head to form the neck and belly. Teacher's Tip: Use long, sweeping strokes to make the snake look smooth and flexible.
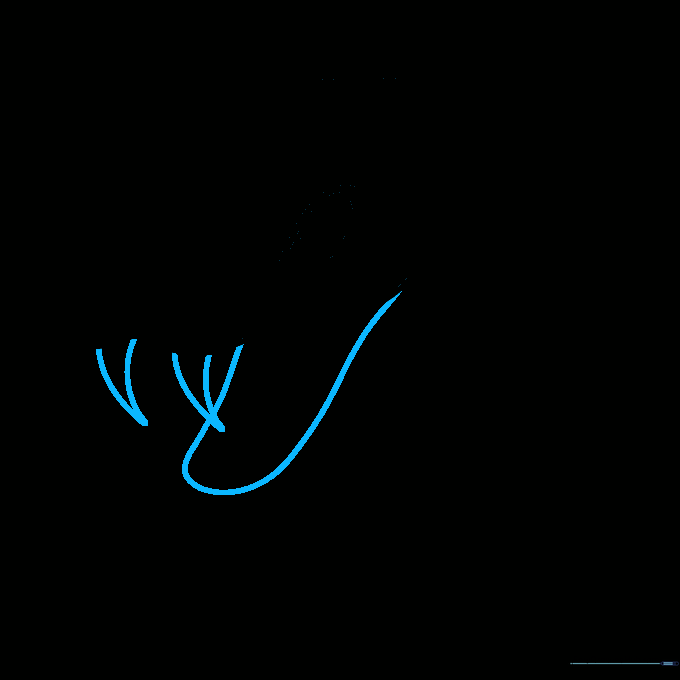
Step 7: Adding the Forked Tongue

Draw a 'Y' shape inside the mouth to create the forked tongue. Teacher's Tip: Keep the tongue thin and pointed to make it look realistic.
Step 8: Adding Scale Texture

Add short, curved lines along the jaws to suggest scales. Teacher's Tip: Don't draw every single scale; just adding a few here and there gives the illusion of texture without cluttering the drawing.
Step 9: Final Details

Add final contour lines to the belly and mouth area to complete the look. Teacher's Tip: Erase any overlapping guide lines now to make your drawing look clean and professional.
Step 10: Bringing it to Life with Color

Time to color! Use bright greens for a tropical viper look or earthy browns for a garden snake. Teacher's Tip: Use a darker shade of your main color to shade the underside of the jaw for extra depth.
More Tutorials


